
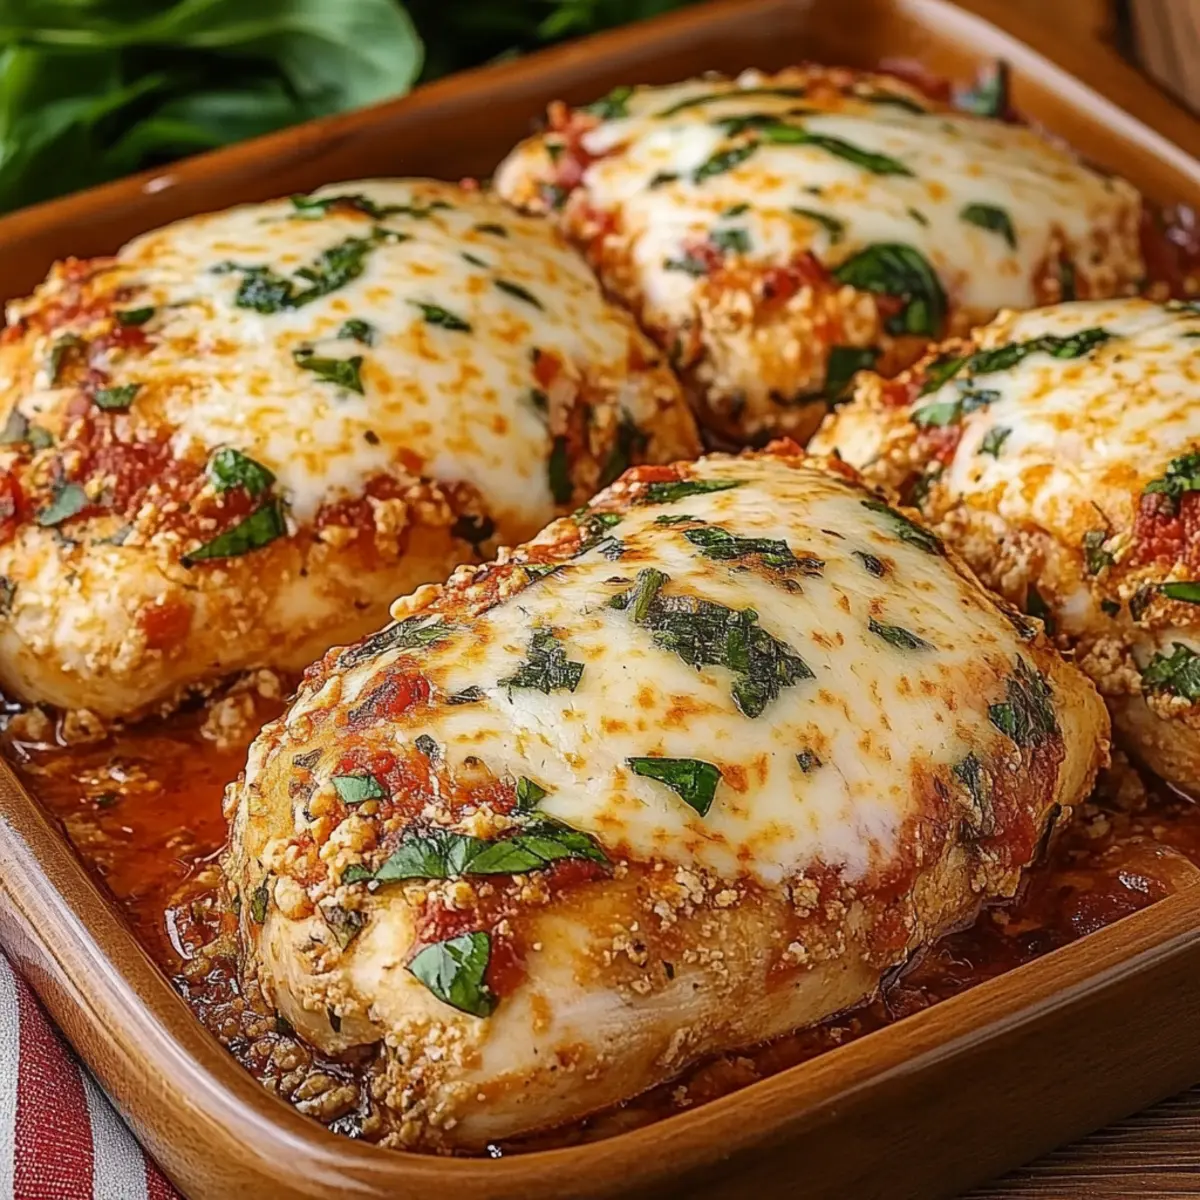
As the comforting aroma of warm marinara wafts through the kitchen, I can't help but feel transported to a cozy Italian eatery. This Baked Ricotta Chicken is my answer to those busy weeknights when I crave something truly special without hours of prep. Juicy chicken breasts are topped with a creamy ricotta blend that transforms an ordinary dinner into a comforting delight. Not only is this dish rich and cheesy, but it also embraces the heart of classic Italian flavors, making it a fantastic crowd-pleaser. Plus, it's gluten-free, so everyone can dig in without worry! Ready to impress your taste buds and maybe even your guests with this easy weeknight dinner? Let’s dive into this delicious recipe that may just become your new favorite comfort food!
Why Is Baked Ricotta Chicken Irresistible?
Comforting Aroma: The warm scent of marinara and melting cheese welcomes you home.
Easy Weeknight Dinner: With just a few simple steps, you can have a gourmet meal ready in no time, allowing you to enjoy more quality time with your loved ones.
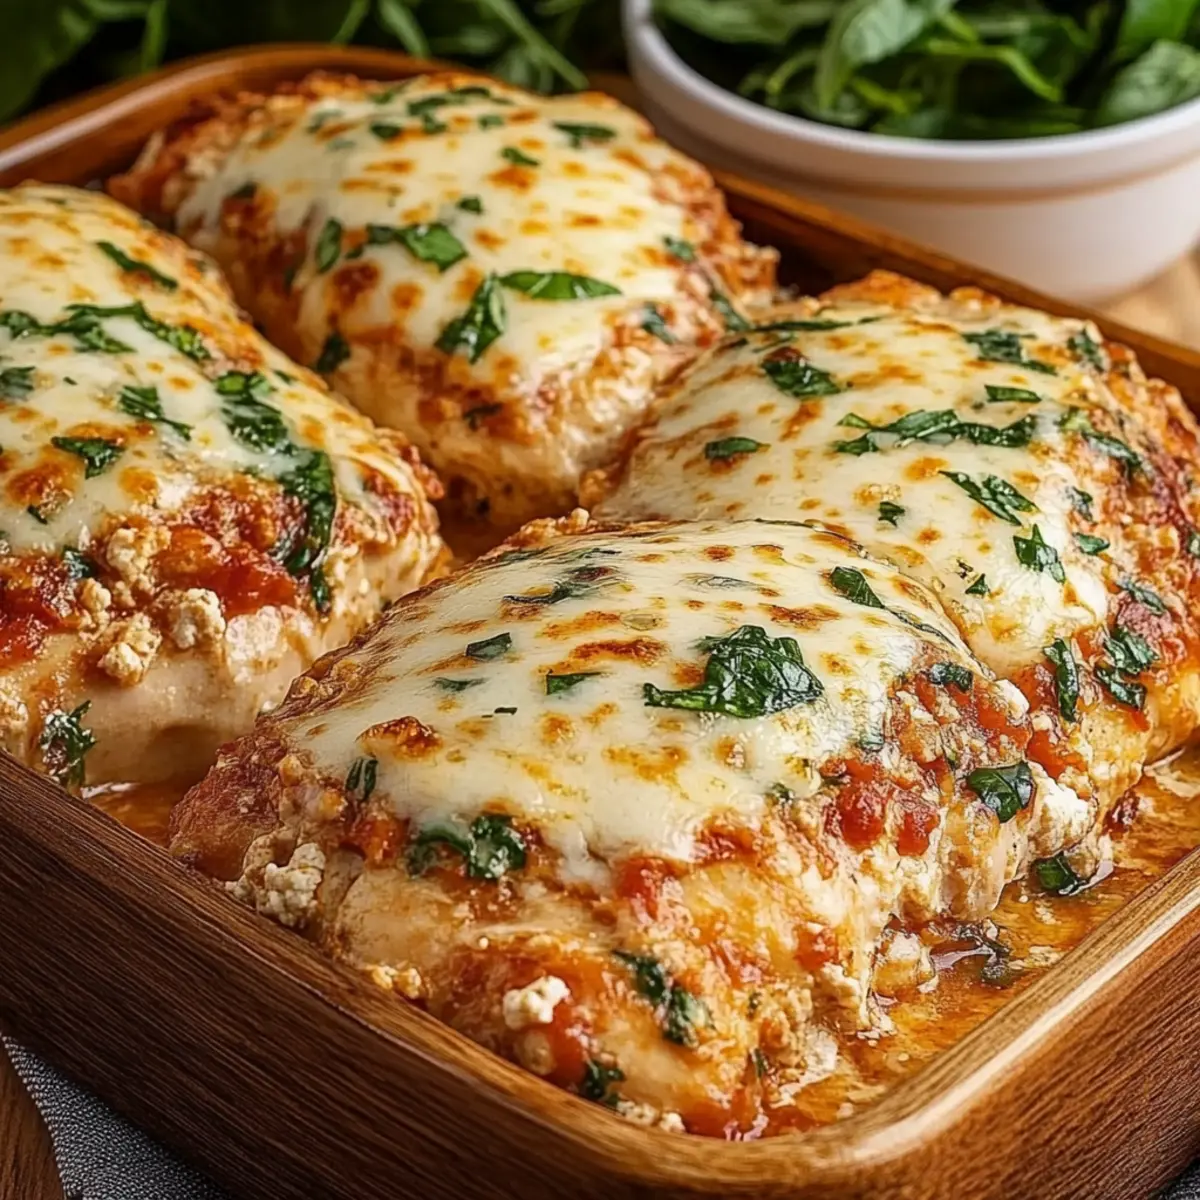
Versatile Serving Options: This dish shines alongside garlic bread or a crisp salad, offering countless delightful pairings.
Cheesy Goodness: The combination of ricotta and mozzarella creates layers of richness that are too tasty to resist.
Gluten-Free Delight: Perfectly safe for those with gluten sensitivities—everyone can enjoy this comforting dish!
A Taste of Italy: Experience authentic Italian flavors that bring your dinner table to life, transforming a regular night into a special occasion! Dive into this recipe and delight your senses with our Creamy Baked Ricotta Chicken.
Baked Ricotta Chicken Ingredients
For the Chicken
• Chicken Breasts – Essential lean protein that forms the dish’s base.
For the Ricotta Mixture
• Ricotta Cheese – Adds a creamy texture; use cottage cheese for a lighter option.
• Parmesan Cheese – Provides sharpness that balances the ricotta's richness.
• Egg – Binds the mixture, ensuring it sticks to the chicken during baking.
• Fresh Basil – Infuses an authentic herby flavor—fresh is best!
• Italian Seasoning – Brings a classic blend of herbs that complements the dish perfectly.
• Garlic Powder – Enhances the savory profile with delicious, aromatic depth.
• Onion Powder – Adds an extra layer of flavor to the ricotta mixture.
For the Topping
• Mozzarella Cheese – Key for that gooey, melty top; opt for whole milk mozzarella for the best texture.
For the Sauce
• Marinara Sauce – Moistens the chicken and provides a tangy tomato base that melds beautifully with the cheeses.
• Salt & Pepper – Essential seasonings to elevate all flavors.
Whether you're planning a family dinner or entertaining guests, this Baked Ricotta Chicken recipe promises to impress!
Step‑by‑Step Instructions for Baked Ricotta Chicken
Step 1: Preheat and Prepare
Begin by preheating your oven to 400°F (200°C). While the oven warms up, lightly grease a 9x13-inch baking dish to ensure the chicken doesn’t stick. This will help the Baked Ricotta Chicken bake evenly and come out beautifully without any tearing when you serve it.
Step 2: Season the Chicken
Next, season the chicken breasts generously with salt, pepper, and a pinch of garlic powder for added flavor. Once seasoned, place the chicken breasts flat in the greased baking dish, ensuring they are spaced out for even cooking. Their juicy goodness will form the foundation of this delightful dish.
Step 3: Mix the Ricotta Blend
In a mixing bowl, combine ricotta cheese, egg, freshly grated Parmesan, chopped basil, Italian seasoning, garlic powder, and onion powder. Blend these ingredients until you achieve a creamy and well-mixed consistency. This rich filling will create a luscious topping for your chicken, providing that comforting essence in your Baked Ricotta Chicken.
Step 4: Spread the Ricotta Mixture
Carefully spread the creamy ricotta mixture evenly over each chicken breast, ensuring a generous layer on top. This step is crucial as it will melt beautifully during baking, creating a delightful, rich coating that elevates your Baked Ricotta Chicken to a comforting dish that everyone will love.
Step 5: Add Marinara Sauce
Pour the marinara sauce around and slightly over the chicken, making sure the ricotta layer remains visible. This tangy tomato base will moisten the chicken and blend with the flavors of the ricotta as it bakes, contributing to the overall deliciousness of the Baked Ricotta Chicken.
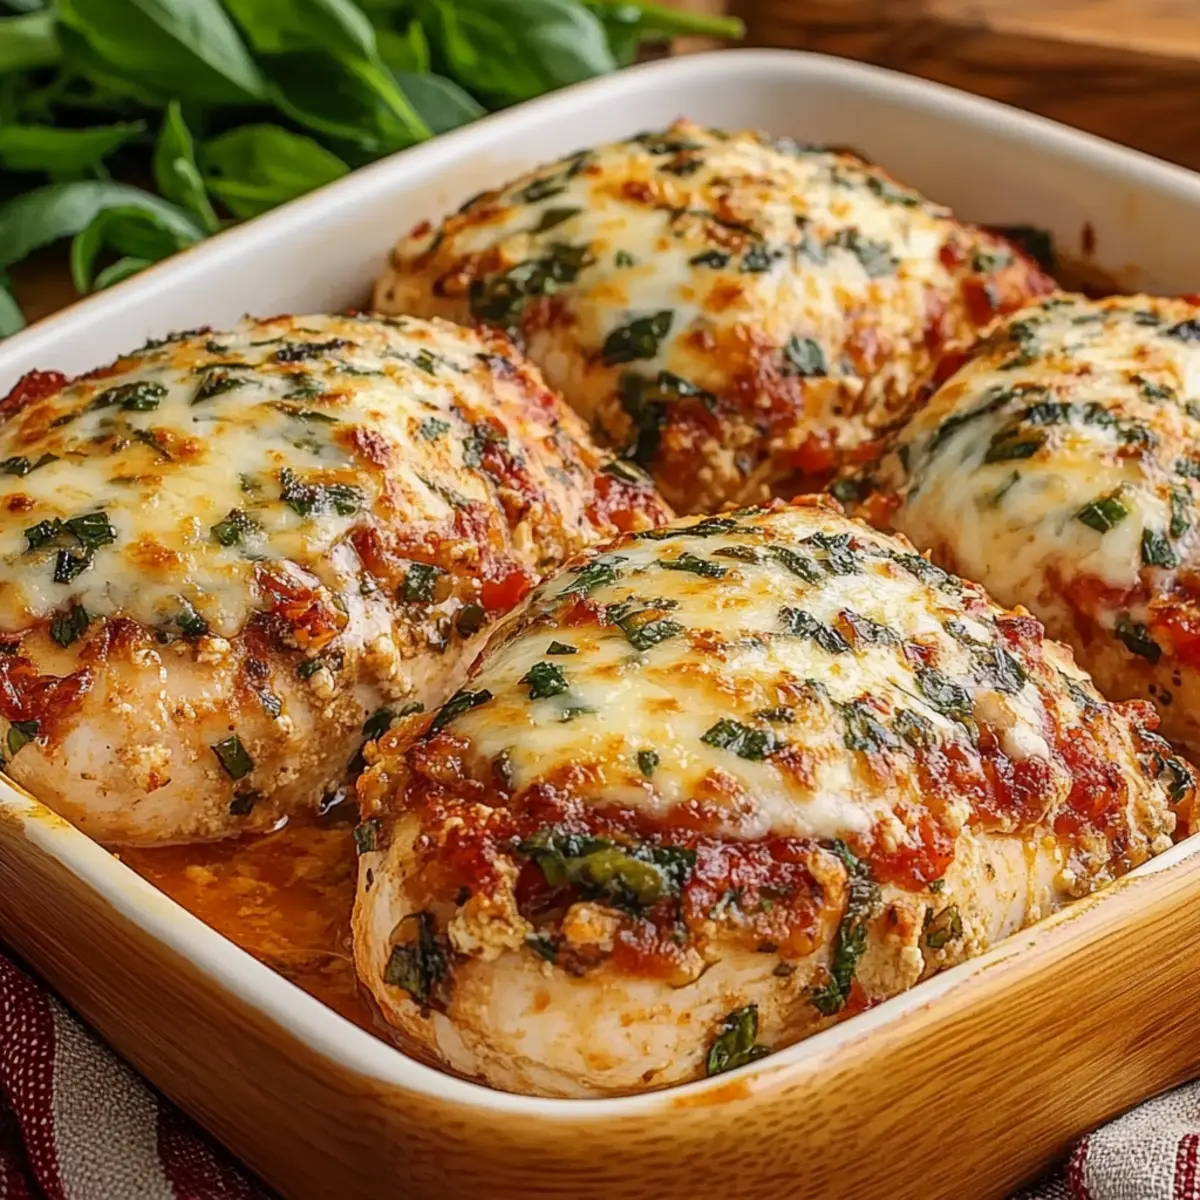
Step 6: Top with Cheese
Generously sprinkle shredded mozzarella cheese over the ricotta-coated chicken. If you’re a cheese lover, feel free to add a bit more Parmesan or fresh basil on top for extra flavor. This cheesy layer will melt to create a gooey, golden crust that is simply irresistible.
Step 7: Bake the Chicken
Cover the dish loosely with foil and place it in the oven to bake for 25 minutes. This initial baking step helps to lock in moisture, allowing the chicken to cook through gently while keeping that cheesy goodness intact as part of your delicious Baked Ricotta Chicken.
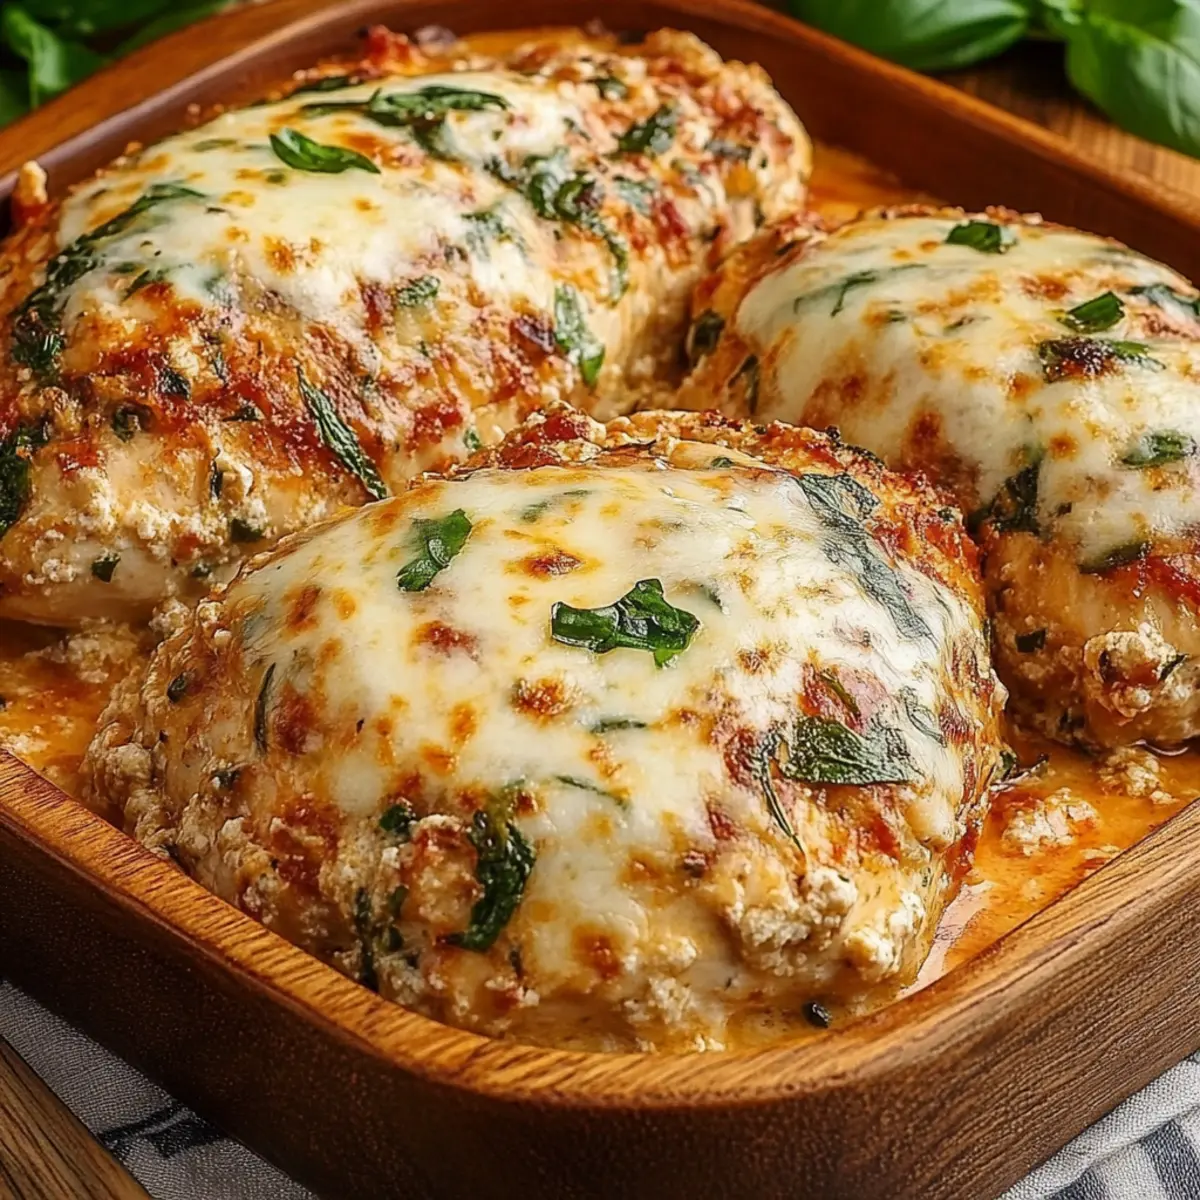
Step 8: Uncover and Finish Baking
After 25 minutes, carefully remove the foil and continue to bake for another 10-15 minutes. Keep an eye on the cheese until it is bubbly and golden, and the chicken reaches an internal temperature of 165°F (74°C). This step ensures your Baked Ricotta Chicken is perfectly cooked and ready to serve.
Step 9: Let it Rest and Serve
Once baked, let the dish sit for about 5 minutes before serving. This resting time allows juices to redistribute, enhancing flavor and texture. Garnish with a sprinkle of fresh basil, and your comforting Baked Ricotta Chicken is ready to impress!
Expert Tips for Baked Ricotta Chicken
- Perfect Cooking: Use a meat thermometer to check that the chicken reaches 165°F (74°C) for safe and delicious results.
- Don’t Skip the Egg: Including the egg in the ricotta mixture is crucial; it helps hold everything together during baking, preventing any mess.
- Rest Before Serving: Allow the Baked Ricotta Chicken to rest for 5 minutes after baking; this ensures a better texture and makes serving easier.
- Go Fresh with Herbs: Fresh basil enhances the dish's flavor significantly, so always opt for fresh over dried when possible.
- Cheese Choice Matters: Using whole milk mozzarella delivers the best gooey texture that everyone loves. Avoid pre-shredded varieties for peak results.
Storage Tips for Baked Ricotta Chicken
Fridge: Keep leftovers in an airtight container for up to 4 days. Make sure they’re cooled down before sealing to retain moisture without becoming soggy.
Freezer: Feel free to freeze cooked Baked Ricotta Chicken for up to 2 months. Wrap it tightly in plastic wrap and then in aluminum foil to prevent freezer burn.
Reheating: To reheat, thaw in the refrigerator overnight, then warm in the oven at 350°F (175°C) until heated through, about 20-25 minutes. Alternatively, microwave in intervals, covering with a lid to keep moisture.
Make-Ahead: Assemble your Baked Ricotta Chicken up to 24 hours in advance and store it in the fridge before baking. This is a great way to save time on busy weeknights!
What to Serve with Baked Ricotta Chicken
Transform your comforting meal into a complete feast with these delightful pairings that balance flavors and textures.
- Garlic Bread: Freshly baked garlic bread serves as the perfect vessel for sopping up marinara sauce, adding a delicious crunch.
- Crisp Green Salad: A light salad with mixed greens, cherry tomatoes, and a tangy vinaigrette refreshes the palate and complements the richness of the chicken.
- Roasted Vegetables: Seasonal roasted vegetables, like zucchini and bell peppers, bring a sweet caramelization that enhances the dish's overall flavor profile.
- Creamy Polenta: The creamy, buttery texture of polenta creates a luxurious bed for your cheesy chicken, melding beautifully with the flavors.
- Italian Risotto: A serving of risotto adds a creamy and comforting touch, bridging the flavors of Italy while providing a heartwarming experience.
- Zucchini Noodles: For a lighter option, serve your baked chicken over zucchini noodles; they absorb the marinara and add a satisfying crunch.
- Red Wine: A glass of rich red wine, such as Chianti, elevates the dining experience and pairs beautifully with the savory flavors of the chicken.
- Tiramisu: End your meal on a sweet note with a classic tiramisu, its coffee and cocoa notes perfectly contrasting the cheesy savoriness of the chicken.
- Lemonade: A chilled glass of lemonade balances out the richness with its refreshing tang, making it a delightful drink companion.
Make Ahead Options
This Baked Ricotta Chicken is a superb choice for meal prep, allowing you to save precious time during busy weeknights! You can assemble the entire dish up to 24 hours in advance by prepping the chicken, ricotta mixture, and sauce, then layering everything in the baking dish before refrigerating it. To maintain quality, cover the dish tightly with plastic wrap to prevent drying out. When you're ready to serve, simply bake it from the fridge; just add an extra 5-10 minutes to the baking time, ensuring the chicken reaches an internal temperature of 165°F (74°C). You'll enjoy the same comforting flavors without the last-minute fuss!
Baked Ricotta Chicken Variations
Feel free to get creative with your Baked Ricotta Chicken and customize it to your taste! It's all about enhancing those delightful flavors.
-
Dark Meat Delight: Swap chicken breasts for boneless thighs for a richer flavor. The juiciness of dark meat transforms this dish, making it even more indulgent.
-
Herb Infusion: Experiment with different fresh herbs like parsley or oregano for a unique twist. Adding fresh herbs can elevate the dish with layered complexities.
-
Lighter Option: Use cottage cheese blended until smooth instead of ricotta for a lighter rendition. This swap cuts calories but still delivers a creamy base that hugs the chicken perfectly.
-
Spicy Kick: Add crushed red pepper flakes to the marinara sauce for a bit of heat. Just a pinch will turn up the flavor without overwhelming the classic taste.
-
Savory Veggie Boost: Toss in some sautéed spinach or zucchini with the marinara sauce for color and extra nutrition. This easy addition provides texture and boosts the fresh flavors.
-
Zoodle Base: For a gluten-free, low-carb option, serve your chicken over zucchini noodles instead of traditional pasta. You'll keep the essence of an Italian dish while embracing a fresh twist.
-
Cheesy Overload: Layer extra mozzarella and a sprinkle of provolone for a gooey, decadent topping. Cheese lovers will rejoice with this delicious upgrade.
For more pairing ideas or variations, don't forget to check out our Creamy Baked Ricotta Chicken or explore ways to serve it with a flavorful salad. Your dinner just might become the talk of the table!
Baked Ricotta Chicken Recipe FAQs
How do I select ripe ingredients for my Baked Ricotta Chicken?
Absolutely! For the best Baked Ricotta Chicken experience, choose fresh and firm chicken breasts with a pale pink color and no dark spots. When selecting ricotta cheese, look for a creamy texture and avoid any container with excess liquid or a grainy texture. Fresh basil should be vibrant and fragrant, while your marinara sauce should be rich and bold in flavor—avoid those with added sugars for a more authentic taste.
What is the best way to store leftovers of Baked Ricotta Chicken?
Very! Once your Baked Ricotta Chicken has cooled, transfer any leftovers to an airtight container. They can be safely stored in the refrigerator for up to 4 days. Make sure to keep the chicken away from strong-smelling foods to avoid flavor transfer. I often place parchment paper between different ingredients to maintain their distinct flavors when storing.
Can I freeze my Baked Ricotta Chicken?
Absolutely! This dish freezes very well. Wrap the cooked Baked Ricotta Chicken tightly in plastic wrap, followed by aluminum foil, to prevent freezer burn, keeping it fresh for up to 2 months. When you're ready to enjoy it again, simply thaw it in the refrigerator overnight, then reheat in a 350°F (175°C) oven for about 20-25 minutes until heated through and bubbly—perfect for a quick, delicious meal!
What troubleshooting tips do you recommend if my Baked Ricotta Chicken isn't cooking properly?
If you find that the chicken isn’t cooking through, a meat thermometer is your best friend—ensure it reaches at least 165°F (74°C). If you notice the cheese browning too quickly, simply cover the dish loosely with foil to prevent burning while the chicken finishes cooking. This little tip can save the day, keeping everything perfectly balanced and delicious!
Are there any dietary considerations I should keep in mind for Baked Ricotta Chicken?
Certainly! This recipe is gluten-free, making it a safe choice for those with gluten sensitivities; however, always double-check your marinara sauce and any additional ingredients for hidden gluten. For allergy concerns, ensure that no one in your party has dairy allergies, as ricotta and mozzarella are key components. If you’re cooking for pets, avoid giving them the ricotta or mozzarella, as dairy can upset their stomachs.
Can I make Baked Ricotta Chicken in advance?
Of course! Assembling your Baked Ricotta Chicken up to 24 hours in advance is a fantastic time-saving trick. Simply follow the steps through to the point of baking, then cover and refrigerate until you're ready to pop it in the oven. This makes for a fabulous solution on busy nights, allowing the flavors to meld beautifully while you prepare to serve a comforting meal.
Cheesy Baked Ricotta Chicken That's Pure Dinner Bliss
Ingredients
Equipment
Method
- Preheat your oven to 400°F (200°C) and lightly grease a 9x13-inch baking dish.
- Season the chicken breasts generously with salt, pepper, and garlic powder.
- In a mixing bowl, combine ricotta cheese, egg, Parmesan, basil, Italian seasoning, garlic powder, and onion powder.
- Spread the ricotta mixture evenly over each chicken breast.
- Pour marinara sauce around and over the chicken, ensuring the ricotta layer remains visible.
- Sprinkle mozzarella cheese generously over the chicken.
- Cover loosely with foil and bake for 25 minutes.
- Uncover and continue baking for another 10-15 minutes until the cheese is bubbly and golden.
- Let the dish sit for 5 minutes before serving.

Leave a Reply