
The aroma of frying dough wafts through the kitchen as I roll my eyes at yet another uninspiring frozen snack. Enter my Crispy Cheesy Mac and Cheese Bites—these little wonders transform leftover macaroni and cheese into a crowd-pulling appetizer. Perfect for entertaining or a cozy night in, they boast that golden, crunchy exterior with a creamy, cheesy heart that melts in your mouth. The best part? They’re easily customizable to suit your taste buds or whatever cheeses you have on hand. Just imagine whipping these up in under an hour, delighting friends and family while saying goodbye to bland takeout! Have you ever thought of elevating a classic comfort food into delightful bites? Let’s dive in and get cooking!

Why are these Mac and Cheese Bites irresistible?
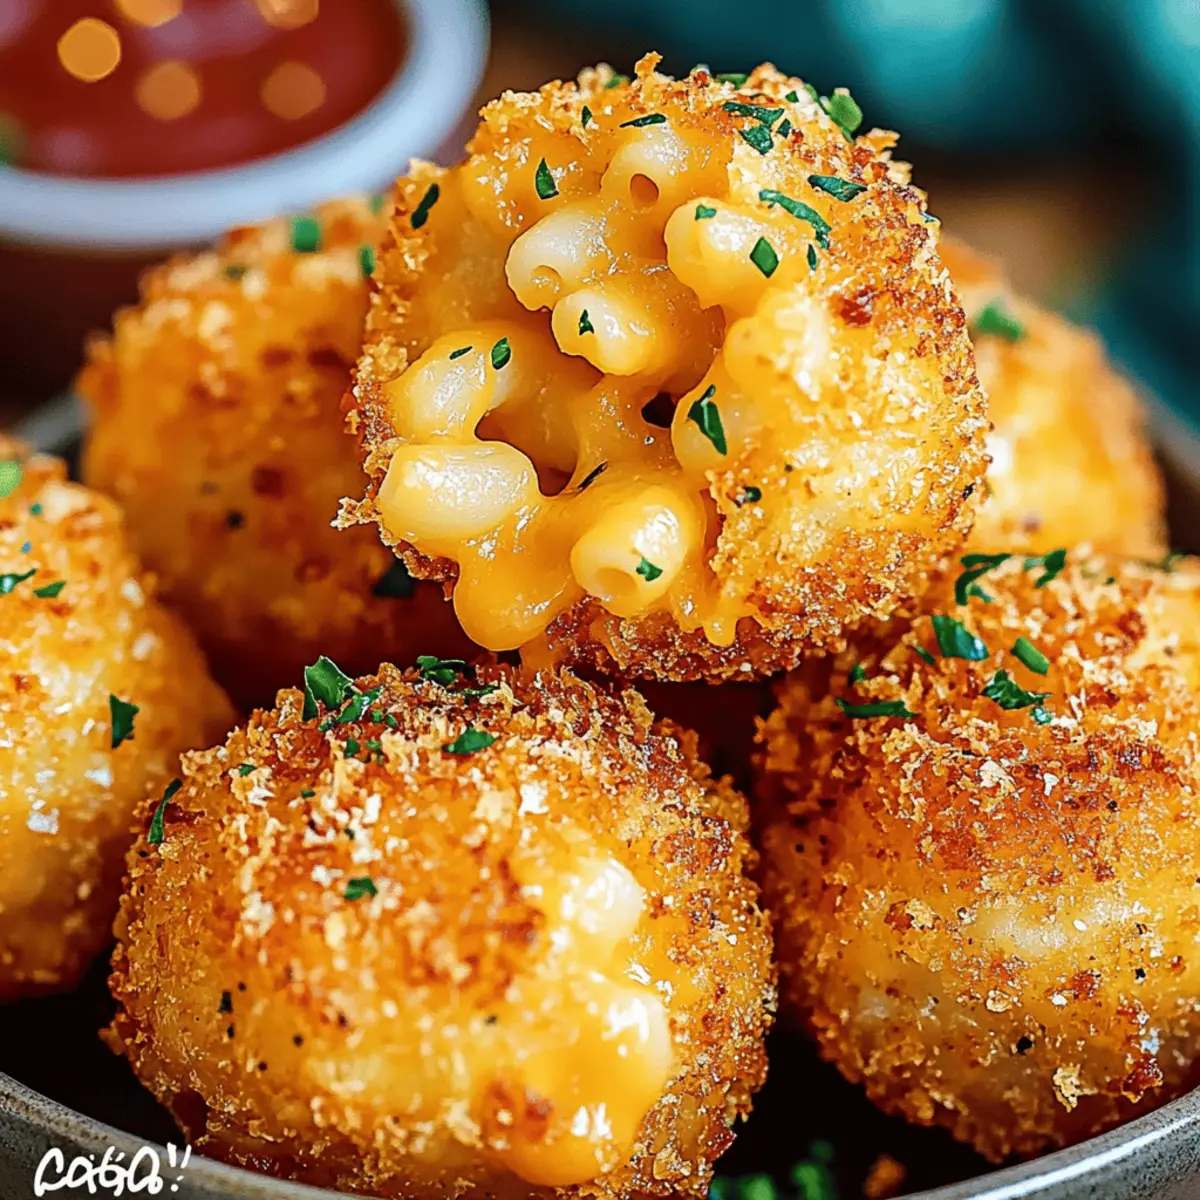
Crispy, golden exterior: Each bite boasts a crunchy coating that perfectly contrasts the gooey, melted cheese inside.
Customizable flavors: Whether you stick to classic cheddar or mix in gourmet cheeses, each variation packs a delightful punch!
Perfect as appetizers: They’re crowd-pleasers at parties and ideal for cozy nights in alike, impressing guests with minimal effort.
Time-saving goodness: Whip them up in just under an hour, allowing more time to enjoy with loved ones.
Repurpose leftovers: Creative and waste-conscious, use your leftover mac and cheese to whip up these tasty bites, leaving no dish behind!
Try serving them with a dipping sauce bar to take your gatherings up a notch!
Crispy Cheesy Mac and Cheese Bites Ingredients
For the Bites
• Elbow Macaroni – Provides the base structure; use any short pasta as a substitute.
• Butter – Adds richness and flavor to the cheese sauce; margarine can be used as a substitute.
• All-Purpose Flour – Thickens the cheese sauce; for a gluten-free version, use gluten-free flour.
• Milk – Creates a creamy texture; non-dairy milk works wonderfully as a replacement.
• Salt – Enhances all flavors; adjust according to your preference.
• Black Pepper – Adds mild heat; feel free to increase quantities if you enjoy a bolder flavor.
• Nutmeg – Provides warmth and depth to the sauce but can be omitted if desired.
• Shredded Cheddar Cheese – Main flavor contributor; feel free to mix with other cheeses for a unique twist.
• Shredded Gruyere Cheese – Adds creaminess and flavor complexity; may substitute with mozzarella.
For the Coating
• Panko Breadcrumbs – Coating for ultimate crunchiness; regular breadcrumbs can be substituted if preferred.
• Garlic Powder – Adds savory allure; fresh garlic can also be incorporated for more flavor.
• Paprika – Provides lovely color and mild sweetness; smoked paprika can enhance the overall flavor.
• Cayenne Pepper (optional) – Adds a touch of heat; adjust according to your taste.
For Frying
• Vegetable Oil – Used for frying; can substitute with canola or peanut oil for frying your crispy cheesy mac and cheese bites.
Ready to indulge in your own Crispy Cheesy Mac and Cheese Bites? Let’s set the stage for a delicious masterpiece!
Step‑by‑Step Instructions for Crispy Cheesy Mac and Cheese Bites
Step 1: Cook Macaroni
Begin by boiling a large pot of salted water over medium-high heat. Add the elbow macaroni and cook according to the package instructions until al dente, typically around 7-8 minutes. Once done, drain the pasta and set it aside, allowing it to cool slightly while you prepare the cheese sauce.
Step 2: Make Roux
In a medium saucepan, melt 4 tablespoons of butter over medium heat, stirring occasionally. Once the butter is completely melted, whisk in 4 tablespoons of all-purpose flour, cooking this mixture for about 1-2 minutes until it's golden. This roux will serve as the base for your rich cheese sauce in the Crispy Cheesy Mac and Cheese Bites.
Step 3: Add Milk
Gradually pour in 2 cups of milk while continuously whisking to avoid lumps. Keep cooking this mixture for about 5-7 minutes, stirring frequently, until it thickens to a creamy consistency. You want it to coat the back of a spoon; this will ensure a luscious filling for your bites.
Step 4: Season Sauce
Once the sauce has thickened, season it with salt, black pepper, and a pinch of nutmeg to enhance the flavor. Stir these seasonings in gently until evenly distributed. The aroma will start to fill your kitchen, making your Crispy Cheesy Mac and Cheese Bites all the more irresistible!
Step 5: Add Cheese
Lower the heat to medium-low, and begin whisking in 2 cups of shredded cheddar cheese and 1 cup of shredded Gruyere cheese. Continue to stir until all the cheese has melted and the sauce is smooth. Reserve 1 cup of cheddar for later; this will serve as a topping for your bites to guarantee that golden finish.
Step 6: Combine
Now, add the cooked macaroni to the cheese sauce, folding it in gently to ensure every piece is well-coated. This mixture should be creamy and cheese-filled, ready to be transformed into delightful bites. Once combined, transfer this mixture to a greased baking dish for cooling.
Step 7: Cool Mixture
Spread the macaroni and cheese mixture evenly in the baking dish. Let it cool to room temperature, then cover it with plastic wrap and place it in the refrigerator for at least 2-3 hours, or overnight if time allows. This chilling step is crucial for holding the bites together during frying.
Step 8: Set Breading Station
Prepare your coating station by arranging three shallow dishes: one with flour, another with beaten eggs, and the last with 2 cups of panko breadcrumbs mixed with garlic powder, paprika, and cayenne pepper. This setup will streamline the breading process, helping create that perfect crispy exterior for your bites.
Step 9: Shape Bites
After the mixture has fully chilled, remove it from the refrigerator and cut it into your desired shapes—squares, rectangles, or even fun rounds! Each piece should be about the size of a small bite to ensure perfect frying and eating when making your Crispy Cheesy Mac and Cheese Bites.
Step 10: Coat Bites
Dredge each piece in the flour first, shaking off any excess. Next, dip it in the beaten eggs, allowing any extra to drip off before coating it with the panko mixture. Make sure each piece is fully covered; this step will help create a deliciously crunchy crust when fried.
Step 11: Heat Oil
In a deep pot or fryer, heat vegetable oil to 350°F (175°C). Use a thermometer to maintain the right temperature. Heating the oil properly is essential; it ensures that your bites fry up golden brown and crispy without absorbing too much oil during cooking.
Step 12: Fry
Carefully add the coated bites to the hot oil in batches, making sure not to overcrowd the pot. Fry for about 2-3 minutes on each side until they turn a beautiful golden brown and are crispy all over. Use a slotted spoon to remove them from the oil, allowing any excess oil to drain off.
Step 13: Drain & Serve
Once fried, place the bites on a paper towel-lined plate to absorb any excess oil. Serve warm, perhaps with your favorite dipping sauce on the side. These Crispy Cheesy Mac and Cheese Bites are sure to be a hit with family and friends, captivating everyone with their delicious flavor and texture!
Expert Tips for Crispy Cheesy Mac and Cheese Bites
-
Quality Ingredients: Use high-quality cheeses for the filling to elevate flavor and ensure a smooth, creamy texture in your Crispy Cheesy Mac and Cheese Bites.
-
Chill Time Matters: Allow the mac and cheese mixture to chill for at least 2-3 hours or overnight. This crucial step prevents the bites from falling apart during frying.
-
Monitor Oil Temperature: Keep an eye on the oil temperature using a thermometer. If it’s too low, bites will absorb excess oil; too high, and they will burn quickly.
-
Fry in Batches: Avoid overcrowding the pot during frying. Frying in batches allows for even cooking, resulting in perfectly crispy and golden bites every time.
-
Experiment with Flavors: Don’t hesitate to mix up the cheeses or add spices! These customizable Crispy Cheesy Mac and Cheese Bites can adapt to suit any flavor profile your taste buds crave.
Variations & Substitutions for Crispy Cheesy Mac and Cheese Bites
Feel free to put your personal spin on these delightful bites! Each variation offers a delicious twist that will excite your taste buds.
-
Vegetarian Delight:
Use a blend of cheeses like mozzarella and provolone, and add sautéed mushrooms for an earthy flavor. -
Smoky Addition:
Stir in cooked bacon or smoked gouda for a rich, smoky undertone that elevates the classic taste. -
Herb Infusion:
Add fresh herbs like basil or thyme to the cheese mixture for a fragrant flavor. This adds a beautiful freshness to each bite. -
Spicy Kick:
Incorporate diced jalapeños or a dash of hot sauce into the cheese sauce for a delightful heat that’ll keep everyone guessing. -
Gluten-Free Twist:
Swap the all-purpose flour and crumbs for gluten-free alternatives. Your bites will remain just as scrumptious! -
Mediterranean Flavor:
Mix in sun-dried tomatoes and feta cheese for a burst of flavor that transports your taste buds to warmer climates. -
Dipping Sauce Bar:
Pair with a variety of sauces, from zesty marinara to creamy ranch, to add excitement with every bite. Have fun experimenting! -
Nutty Crunch:
For an extra surprise, mix crushed nuts like almonds into the breadcrumb coating for added texture and taste.
Creating unforgettable crispy bites doesn’t have to stop here—let your imagination run wild!
How to Store and Freeze Crispy Cheesy Mac and Cheese Bites
Fridge: Store leftover bites in an airtight container in the fridge for up to 3 days. This keeps them fresh and ready for a quick snack or meal!
Freezer: For longer storage, freeze the uncooked, breaded bites in a single layer on a baking sheet. Once frozen, transfer them to a freezer bag for up to 2 months.
Reheating: To retain their crispiness, reheat the bites in an oven at 375°F (190°C) for about 10-15 minutes. Avoid soggy microwave reheating for best results!
Make-Ahead: Prepare the bites through the shaping step, then refrigerate them overnight before frying. This way, you can enjoy fresh, crispy bites with less last-minute prep!
What to Serve with Crispy Cheesy Mac and Cheese Bites
These delightful bites can create a well-rounded meal with a few scrumptious accompaniments that perfectly balance their richness.
-
Fresh Garden Salad: A crisp salad featuring mixed greens, cherry tomatoes, and a tangy vinaigrette offers a refreshing contrast to the cheesy bites. The crunch and acidity help cleanse the palate between each bite for an enjoyable eating experience.
-
Roasted Vegetables: Colorful roasted veggies like bell peppers, zucchini, and carrots add a delightful sweetness and earthy flavor. Their natural char complements the smooth, creamy texture of the bites, making each mouthful a celebration of taste!
-
Creamy Ranch Dip: Bold and creamy, ranch dipping sauce enhances flavor and adds a cooling element. The zesty notes of the ranch perfectly balance the savory richness of the mac and cheese bites.
-
Spicy Sriracha Mayo: Looking for a kick? This creamy sauce adds spice and flavor, elevating the bites to a new level. Perfect for those who enjoy a bit of heat with their cheesy goodness!
-
Garlic Bread: The buttery, garlicky goodness of these slices harmonizes with the mac and cheese bites. The crunchy texture creates a satisfying contrast, making for a comforting and indulgent pairing.
-
Sparkling Lemonade: Refreshing and tart, this drink provides a bright counterpoint to the richness of the bites. The effervescence of the lemonade lifts your spirits, perfectly cleansing your palate!
Make Ahead Options
These Crispy Cheesy Mac and Cheese Bites are perfect for meal prep enthusiasts! You can prepare the macaroni and cheese mixture up to 24 hours in advance by following all steps until the cooling phase. Once you’ve cooled the mixture, simply cover it with plastic wrap and refrigerate it; this ensures the bites hold together beautifully while frying. You can also shape and coat the bites ahead of time, allowing them to chill again for an additional 2 hours before frying. Just remember to store them in an airtight container to maintain their quality. When you’re ready to serve, fry the bites directly from the refrigerator, and enjoy the same delicious, crispy results with minimal effort on busy weeknights!

Crispy Cheesy Mac and Cheese Bites Recipe FAQs
How do I choose the right cheese for my Mac and Cheese Bites?
Absolutely! The beauty of these Crispy Cheesy Mac and Cheese Bites lies in their versatility. I recommend using a combination of sharp cheddar for that classic flavor and Gruyere for added creaminess. If you’re feeling adventurous, consider mixing in Fontina, mozzarella, or even cream cheese for a richer taste. Just ensure they're high-quality cheeses to maximize flavor!
What should I do if my Mac and Cheese mixture is too runny?
Very! If your mixture seems too runny before chilling, you can thicken it by cooking it down a bit longer. Simply return it to low heat and whisk continuously until it reaches your desired consistency. Alternatively, you could add a bit more flour to the roux at the beginning or include a handful of extra cheese to thicken the mix without sacrificing flavor.
How should I store leftover Crispy Cheesy Mac and Cheese Bites?
For sure! Leftover bites can be stored in an airtight container in the refrigerator for up to 3 days. Just give them a chance to cool completely before sealing them up. If you're looking for an extra crispy reheat, place them in the oven instead of the microwave!
Can I freeze my Mac and Cheese Bites?
Absolutely! For freezing, arrange your uncooked, breaded bites on a baking sheet in a single layer and freeze until solid. Once frozen, transfer them to a freezer-safe bag or container. They’ll hold up well in the freezer for up to 2 months. Just remember to fry them directly from frozen; do not thaw first, as this could result in a soggy texture!
How do I ensure my bites come out crispy and not soggy?
Great question! To keep your Crispy Cheesy Mac and Cheese Bites perfectly crispy, pay close attention to your oil temperature while frying. Aim for 350°F (175°C), and avoid overcrowding the pot. Frying in batches allows each bite to get that golden, crunchy exterior without absorbing excess oil.
Is this recipe suitable for vegetarians?
Yes, indeed! These Crispy Cheesy Mac and Cheese Bites are entirely vegetarian-friendly. Just be sure to check the labels on your cheeses and any additional spices, like cayenne pepper, to ensure they meet your dietary preferences. Enjoy these bites guilt-free!

Indulgent Crispy Cheesy Mac and Cheese Bites You’ll Love
Ingredients
Equipment
Method
- Begin by boiling a large pot of salted water over medium-high heat. Add the elbow macaroni and cook until al dente, typically around 7-8 minutes. Drain and set aside.
- In a medium saucepan, melt 4 tablespoons of butter over medium heat, stirring occasionally. Whisk in 4 tablespoons of all-purpose flour, cooking for about 1-2 minutes until golden.
- Gradually pour in 2 cups of milk while whisking to avoid lumps. Cook for 5-7 minutes until it thickens to a creamy consistency.
- Season the sauce with salt, black pepper, and nutmeg. Stir gently until evenly distributed.
- Lower the heat to medium-low, whisk in 2 cups of shredded cheddar cheese and 1 cup of shredded Gruyere cheese until melted and smooth.
- Add the cooked macaroni to the cheese sauce, folding gently. Transfer to a greased baking dish for cooling.
- Let the macaroni and cheese mixture cool to room temperature, then refrigerate for at least 2-3 hours, or overnight.
- Prepare your coating station with three shallow dishes: one with flour, another with beaten eggs, and the last with panko breadcrumbs mixed with garlic powder, paprika, and cayenne pepper.
- After chilling, cut the mixture into desired shapes—squares, rectangles, or rounds.
- Dredge each piece in flour, then dip in beaten eggs, and finally coat with the panko mixture.
- Heat vegetable oil to 350°F (175°C). Fry the coated bites in batches for about 2-3 minutes on each side until golden brown.
- Remove the fried bites and place them on a paper towel-lined plate to absorb excess oil. Serve warm with a dipping sauce.


Leave a Reply