
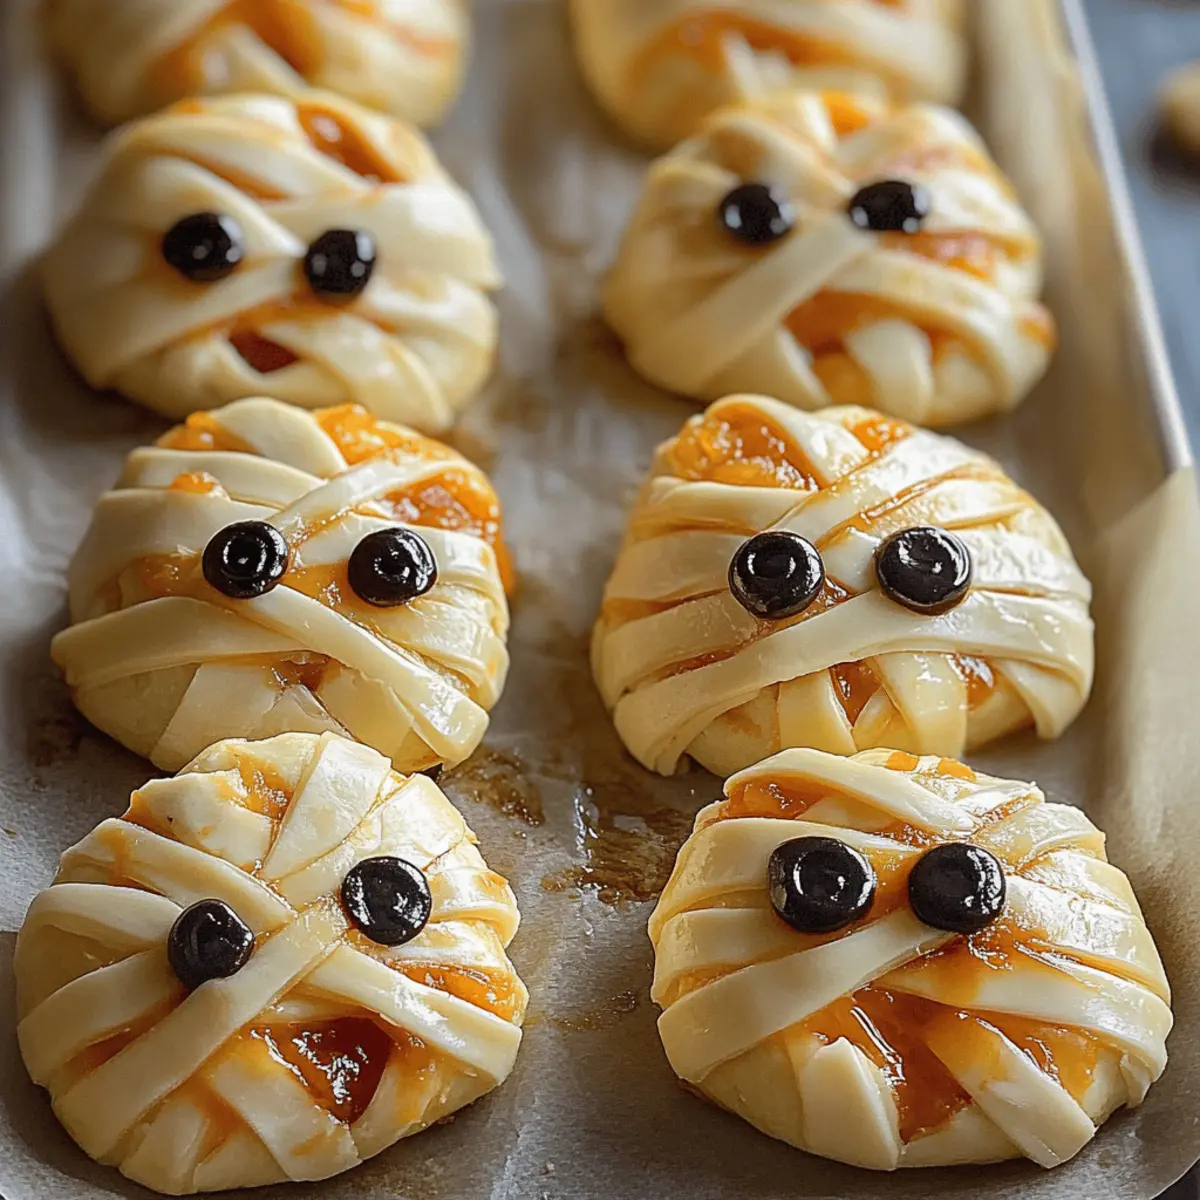
As the Jack-o’-lanterns flicker and costumes come alive, nothing captures the spirit of Halloween quite like a plate of Baked Cheese Mummies. These delightful snacks combine golden, flaky puff pastry with gooey, melted cheese, bringing a warm, savory comfort that everyone craves. What’s even better? They’re incredibly easy to whip up, making them a perfect choice for busy hosts looking to impress their guests with minimal effort. With playful mummy faces crafted from black olives, they not only treat your taste buds but also bring an adorable, festive vibe to any gathering. So, are you ready to discover how to bring a bit of spooky fun to your snack table?
Why are Baked Cheese Mummies a must-try?
Ease of Preparation: These mummies come together quickly, making them ideal for those busy Halloween gatherings.
Customizable Delights: With various cheese options like mozzarella or sharp cheddar, you can cater to different tastes, ensuring everyone's happy.
Festive Presentation: Their playful mummy design, complete with olive eyes, makes them visually appealing and a hit with both kids and adults alike.
Savory Perfection: Each bite delivers a rich, gooey cheese experience wrapped in flaky puff pastry, giving you that comforting, savory indulgence.
Crowd-Pleasing: Perfect for parties, they’re a surefire way to impress guests and keep them coming back for more. If you’re looking for more Halloween fun, check out my spooky Halloween snacks section!
Baked Cheese Mummies Ingredients
For the Pastry
• Puff Pastry – Use store-bought frozen for convenience, ensuring it’s thawed properly to maintain its flakiness.
For the Cheese Filling
• Block Cheese (8 ounces) – Choose sharp cheddar, mozzarella, or Monterey Jack for a gooey, delightful center that perfectly complements the baked cheese mummies.
For the Egg Wash
• Egg (1 large) – This gives the mummies a beautiful golden finish; mix with a tablespoon of water or milk for added richness.
For the Eyes
• Black Olives (5-6 large) – These add a fun touch to your mummies; you can substitute with capers or mini chocolate chips for a unique twist.
For Dusting
• All-Purpose Flour (1-2 tablespoons) – Dust your work surface to prevent sticking while rolling and cutting the pastry.
Step‑by‑Step Instructions for Baked Cheese Mummies
Step 1: Preheat the Oven
Begin by preheating your oven to 400°F (200°C). While the oven heats up, line two large baking sheets with parchment paper to prevent sticking and ensure easy cleanup later. This will prepare a cozy environment for your Baked Cheese Mummies to achieve a perfectly golden exterior.
Step 2: Prepare the Puff Pastry
Take your thawed puff pastry and lay it on a lightly floured surface. Roll out the pastry gently if needed, smoothing out any creases to achieve a uniform thickness. This step is crucial for creating a flaky texture in your mummies, so take your time and ensure it feels pliable and ready for shaping.
Step 3: Cut into Rectangles
Using a sharp knife or pizza cutter, divide the pastry into 12 equal rectangles, cutting from your prepared sheets. Aim for a size that allows for sufficient cheese filling while still being easy to handle. Place these rectangles on the parchment-lined baking sheets, leaving space between each to allow for puffing during baking.
Step 4: Add the Cheese Filling
Spoon 2-3 tablespoons of your choice of cheese into the center of each pastry rectangle, avoiding the edges to prevent overflow. Feel free to mix and match cheeses like cheddar and mozzarella for a gourmet touch. The goal is to have a generous filling, ensuring that each Baked Cheese Mummy has a gooey, delicious center once baked.
Step 5: Create the Bandages
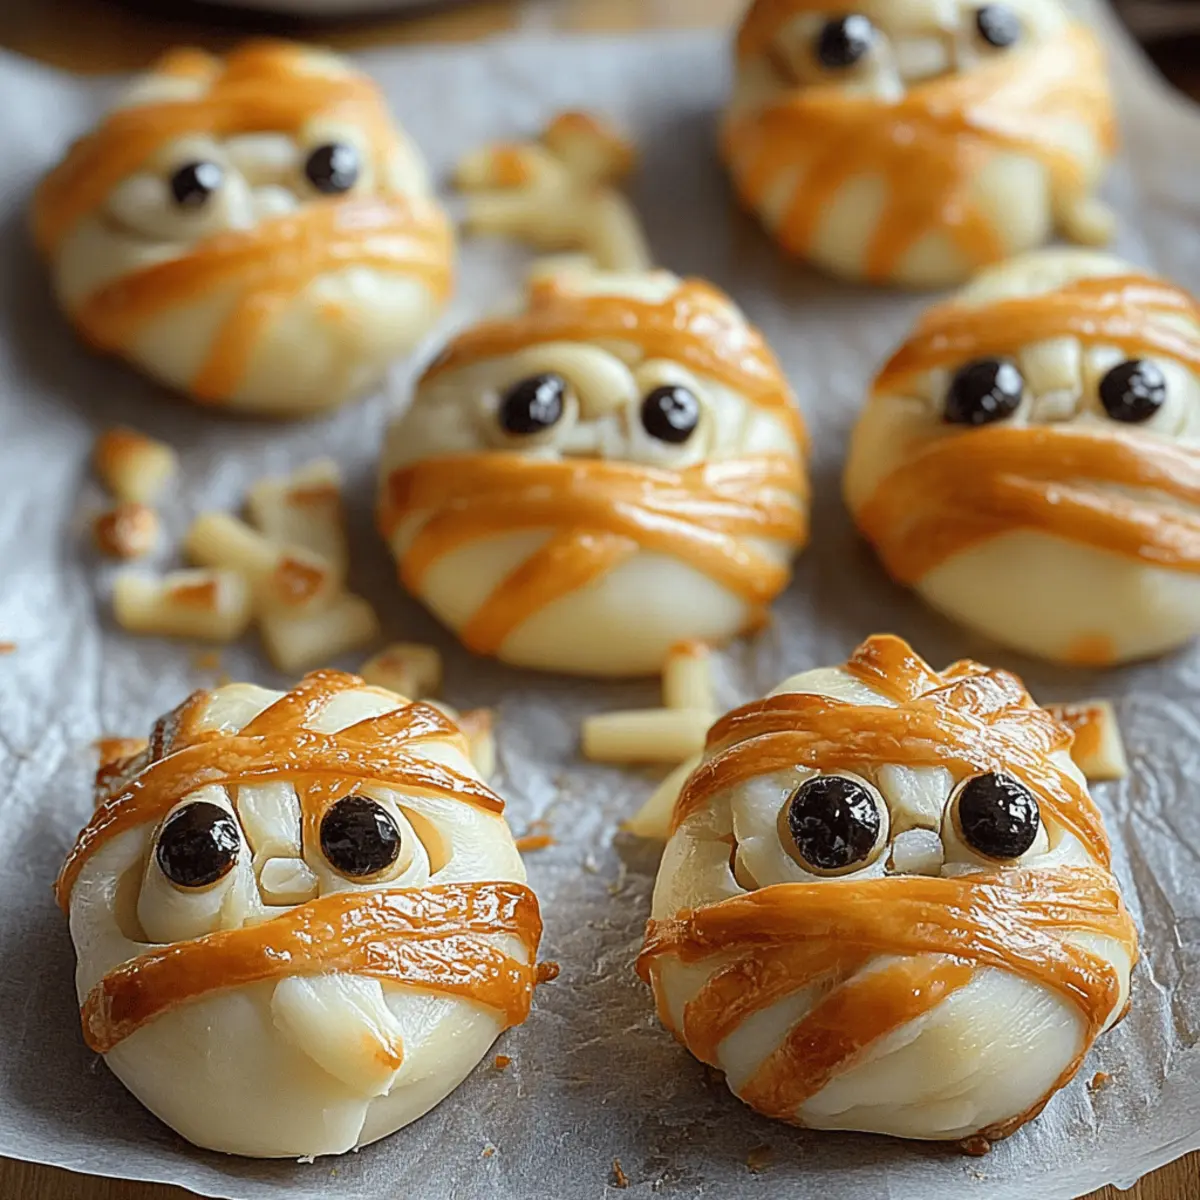
Next, take any remaining pieces of puff pastry and cut them into thin strips, about ¼ to ½ inch wide. Carefully wrap these strips around the cheese-filled rectangles, mimicking the look of mummy bandages. Leave a little space at the top for adding the "eyes" later, ensuring the cheese is still peeking through.
Step 6: Chill for Firmness
Place the wrapped Baked Cheese Mummies in the refrigerator for about 10-15 minutes. Chilling the mummies helps solidify the pastry and filling, making them easier to handle before baking. This step is crucial for achieving the perfect flaky texture, so don’t skip it.
Step 7: Apply Egg Wash
While the mummies chill, beat an egg in a small bowl with a splash of water or milk. After chilling, brush the tops of each mummy generously with this egg wash using a pastry brush. This will create a shiny, golden finish that enhances their appeal once out of the oven.
Step 8: Bake Until Golden
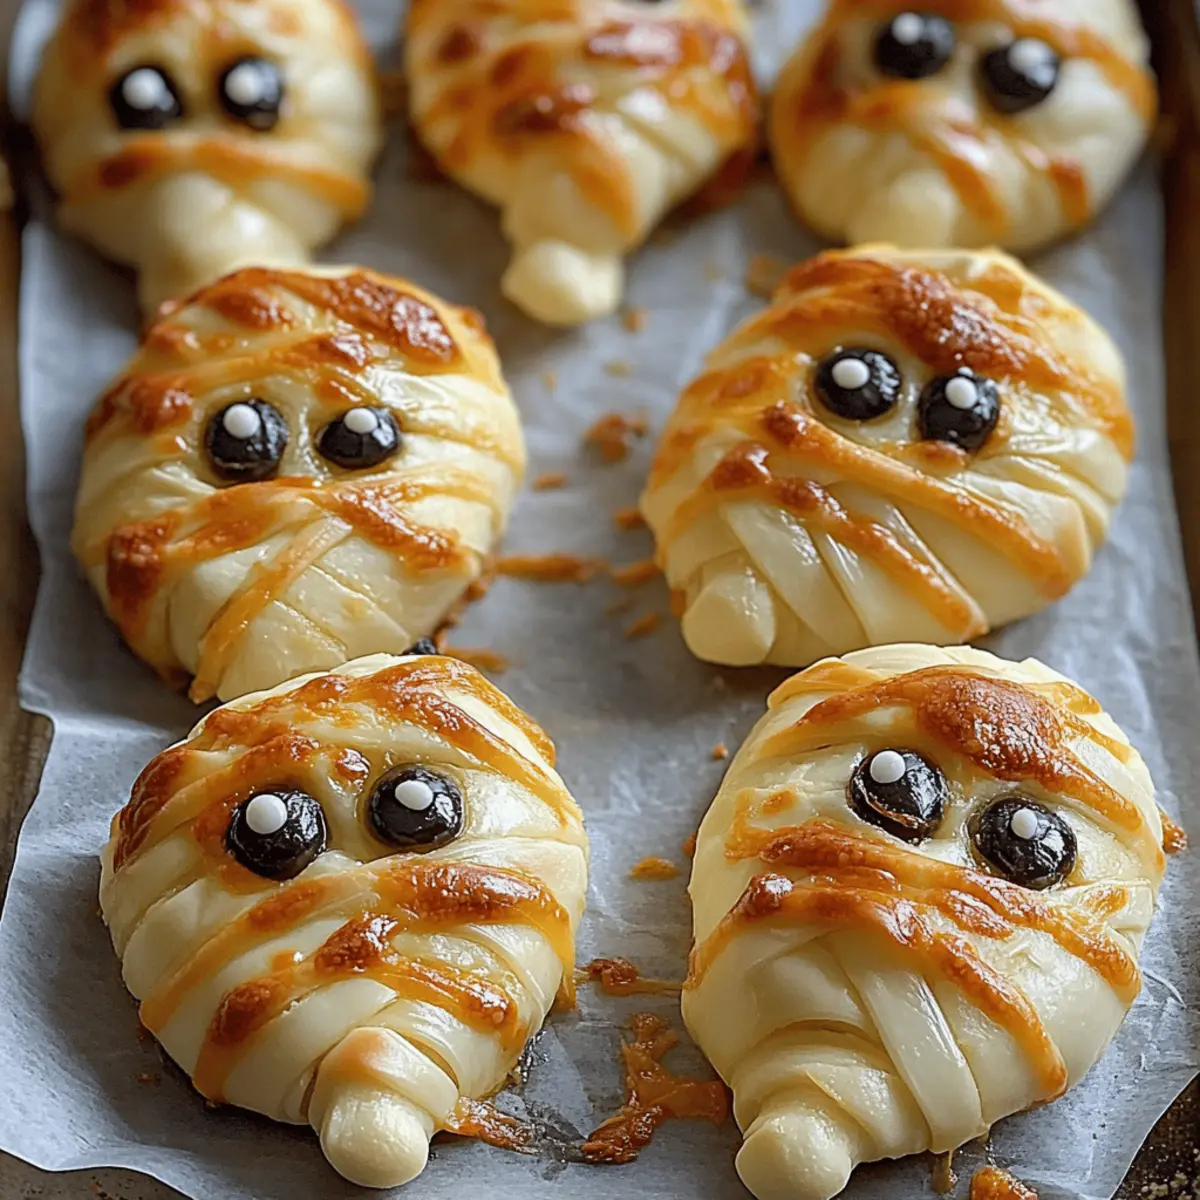
Carefully place the baking sheets in your preheated oven and bake the Baked Cheese Mummies for 15-20 minutes. Keep an eye on them, and halfway through, rotate the sheets to ensure even baking. You’ll know they’re ready when they’re puffed and a beautiful golden brown color, with melted cheese bubbling out.
Step 9: Cool and Decorate
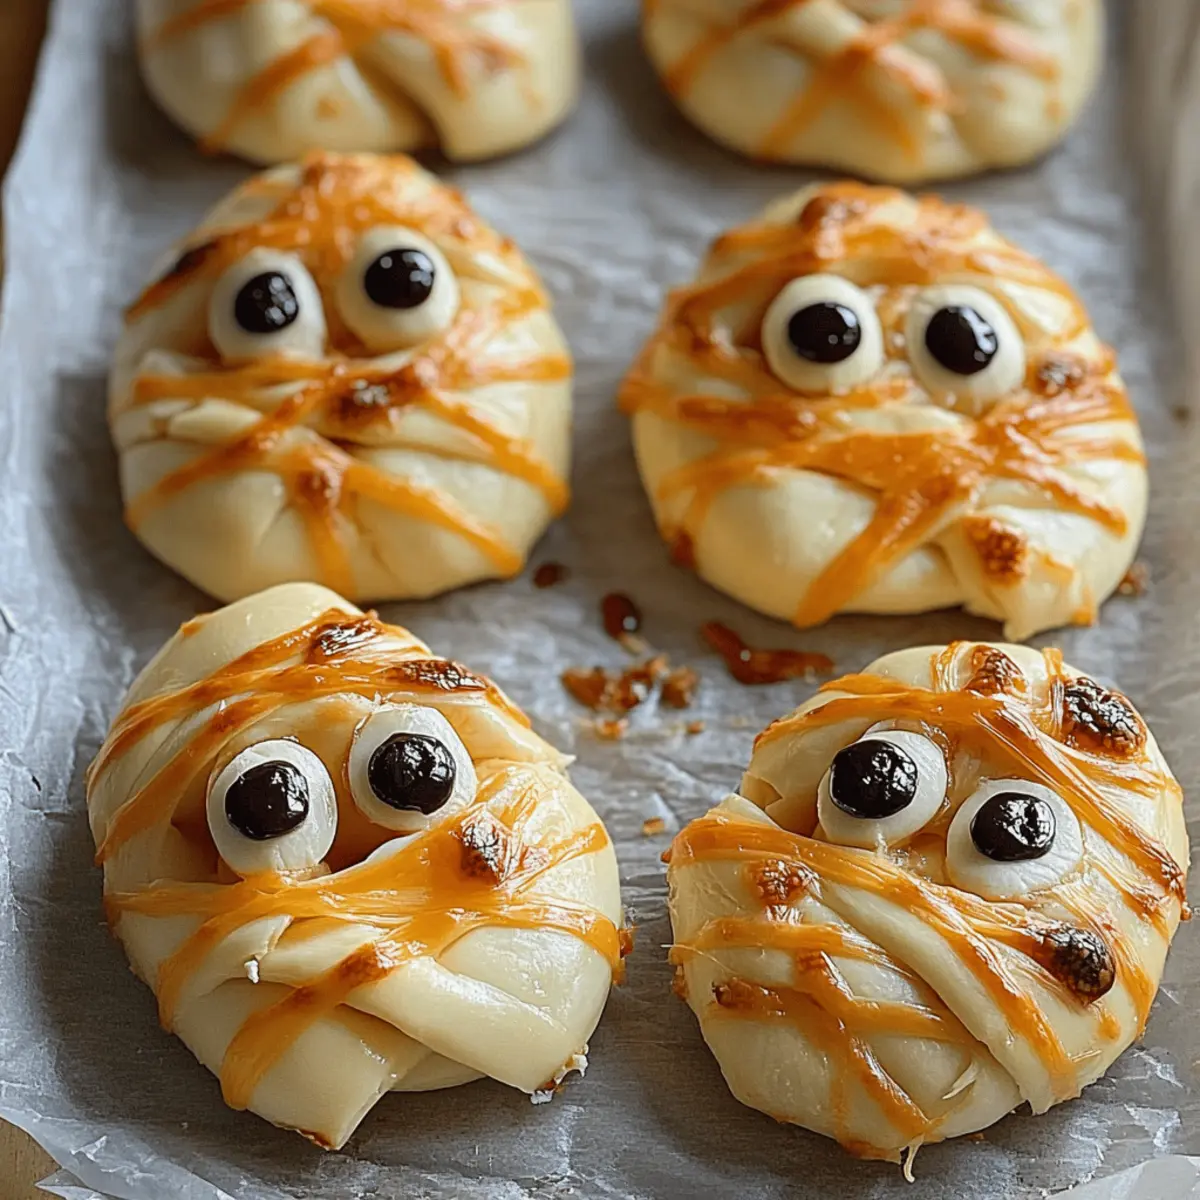
Once baked, allow the mummies to cool for a few minutes on the baking sheet. Then, using slices of black olives, create adorable little eyes on each mummy. These fun faces will bring your Baked Cheese Mummies to life, turning them into a delightful Halloween treat that’s sure to impress your guests.
Baked Cheese Mummies Variations
Make your Baked Cheese Mummies even more exciting with these fun and flavorful twists!
-
Cheese Blend: Mix cheeses like pepper jack for a spicy kick or smoked gouda for a rich, deep flavor. This variation adds a unique twist that can cater to both traditional and adventurous palates.
-
Sweet Surprise: Swap black olives for mini chocolate chips to create a sweet version for dessert. Your guests will love the playful surprise of sweet and savory combined!
-
Herb-Infused: Sprinkle dried herbs like oregano or basil over the cheese before wrapping for a fresh, aromatic twist. This simple addition elevates the flavor and adds a delightful aroma as they bake.
-
Zesty Kick: Add a sprinkle of cayenne pepper or crushed red pepper flakes for extra heat. This fiery boost in flavor will awaken your senses and impress those who love a bit of spice.
-
Vegetable Goodness: Incorporate finely chopped spinach or sautéed mushrooms into the cheese filling for added nutrition and flavor. This variation brings in a delightful earthy tone that compliments the cheese nicely.
-
Gluten-Free Option: Use gluten-free puff pastry for a gluten-sensitive-friendly treat. It's an easy substitute that lets everyone indulge in the festive fun without missing out.
-
Pesto Swirl: Spread a thin layer of pesto on the pastry before adding cheese for a burst of herbal flavor. The bright, fragrant notes from the pesto will make these mummies stand out at any gathering.
For more delightful ideas, don’t miss my collection of spooky Halloween snacks to ensure your celebration is nothing short of magical!
What to Serve with Baked Cheese Mummies
As you prepare these playful treats, consider pairing them with delightful accompaniments that enhance their cheesy goodness.
-
Marinara Sauce: A warm, tangy dip that complements the rich flavors of the mummies and adds an Italian flair to your Halloween gathering.
-
Garlic Breadsticks: Soft and buttery breadsticks provide a satisfying contrast to the flaky pastry, creating a comforting and indulgent snack experience.
-
Crispy Salad: A fresh, crunchy salad with mixed greens and a light vinaigrette balances the savory mummies, adding freshness and a burst of color to your spread.
-
Pumpkin Soup: A creamy, spiced pumpkin soup brings autumnal flavors to the table, providing a warm hug that pairs beautifully with the cheesy bites.
-
Spicy Mayo: Elevate the flavor with a spicy mayo dip. Its zesty kick complements the cheesy center, keeping taste buds intrigued.
-
Sparkling Apple Cider: A refreshing, non-alcoholic option that adds a festive touch to your gathering, making it a delightful drink pairing for all ages.
-
Mini Chocolate Treats: Offer a sweet contrast with mini chocolate bars or Halloween-themed candies, rounding out your spread with a touch of indulgence and fun.
Make Ahead Options
These Baked Cheese Mummies are perfect for meal prep, allowing you to enjoy their deliciousness without the last-minute rush! You can prepare the mummies up to 24 hours in advance by completing all steps up to the egg wash. Just wrap them tightly in plastic wrap and refrigerate to maintain their flakiness and prevent moisture buildup. When you're ready to serve, simply apply the egg wash and bake as directed. For an even easier option, the assembled mummies can also be frozen for up to 3 months; just ensure they are well-wrapped. Thaw overnight in the refrigerator, and bake fresh for a warm, cheesy treat that’s just as delightful as if made the same day.
Expert Tips for Baked Cheese Mummies
-
Keep Pastry Cold: Make sure to work quickly and keep your puff pastry chilled. This helps achieve that perfect flakiness in your Baked Cheese Mummies.
-
Avoid Overfilling: Be careful not to use too much cheese; overfilling can lead to oozing during baking. Stick to 2-3 tablespoons for a great result.
-
Chill Before Baking: Refrigerate the wrapped mummies for 10-15 minutes. This step is key to helping them maintain shape and puff beautifully in the oven.
-
Perfect Egg Wash: Brush generously with the egg wash for a shiny, golden finish. Mix in a bit of water or milk for an even richer color.
-
Rotate for Even Baking: Halfway through baking, swap the positions of the baking sheets. This ensures each Baked Cheese Mummy bakes evenly, achieving that beautiful golden glow.
Storage Tips for Baked Cheese Mummies
-
Room Temperature: Enjoy your Baked Cheese Mummies warm, ideally served right after baking. If left out, they can stay at room temperature for up to 2 hours before refrigeration.
-
Fridge: Store any leftovers in an airtight container in the refrigerator for up to 2-3 days. This helps maintain the cheesy goodness and flaky texture.
-
Freezer: For longer storage, freeze the cooled mummies in a single layer on a baking sheet before transferring to a freezer-safe bag. They can last up to 2 months frozen.
-
Reheating: To enjoy your mummies again, reheat from the fridge or freezer in a preheated oven at 350°F (175°C) for 5-8 minutes to restore their delightful crispiness and gooey center.
Baked Cheese Mummies Recipe FAQs
What type of cheese is best for Baked Cheese Mummies?
I recommend using sharp cheddar, mozzarella, or Monterey Jack for the best melting quality. If you're feeling adventurous, try combinations like pepper jack for a spicy kick or smoked gouda for depth of flavor!
How should I store leftover Baked Cheese Mummies?
Store any leftovers in an airtight container in the refrigerator for up to 2-3 days. If you want to enjoy them later, make sure to reheat them in a preheated oven at 350°F (175°C) for about 5-8 minutes to bring back their crispy texture.
Can I freeze Baked Cheese Mummies?
Absolutely! To freeze, first let them cool completely. Then, place them in a single layer on a baking sheet until frozen solid. Once frozen, transfer them to a freezer-safe bag or container. They’ll keep well for up to 2 months. When you're ready to enjoy them, just reheat straight from the freezer as instructed!
What should I do if my cheese is oozing out during baking?
Don't fret—this happens occasionally! To prevent it, make sure not to overfill the pastry; 2-3 tablespoons of cheese is ideal. Also, ensure the edges are properly sealed and chill the mummies in the fridge for 10-15 minutes before baking to help them hold their shape.
Can I make Baked Cheese Mummies ahead of time?
Yes, you can! Prepare the mummies up to the point of applying the egg wash. After wrapping, refrigerate them until you’re ready to bake. This way, you can save time when entertaining. Just take them out of the fridge, brush with egg wash, and pop them in the oven!
Are Baked Cheese Mummies suitable for kids with allergies?
The basic recipe primarily includes puff pastry and cheese, but check for any allergens in the specific brands you use, especially for those with dairy allergies. For a dairy-free variant, consider using dairy-free cheese substitutes. Always consult with an allergist before serving to ensure they’re safe for those with food allergies.
Delicious Baked Cheese Mummies for a Spooky Halloween Snack
Ingredients
Equipment
Method
- Preheat your oven to 400°F (200°C) and line two large baking sheets with parchment paper.
- Take your thawed puff pastry and lay it on a lightly floured surface. Roll out if needed to achieve uniform thickness.
- Cut the pastry into 12 equal rectangles and place them on the parchment-lined baking sheets, leaving space between each.
- Spoon 2-3 tablespoons of cheese into the center of each pastry rectangle, avoiding the edges.
- Cut remaining pieces of puff pastry into thin strips and wrap around cheese-filled rectangles, leaving space for the 'eyes'.
- Chill the wrapped mummies in the refrigerator for about 10-15 minutes.
- Beat an egg with a splash of water or milk, then brush the tops of each mummy with the egg wash.
- Bake the mummies for 15-20 minutes until puffed and golden brown, rotating halfway through.
- Allow to cool for a few minutes and add olive slices as eyes before serving.


Leave a Reply