
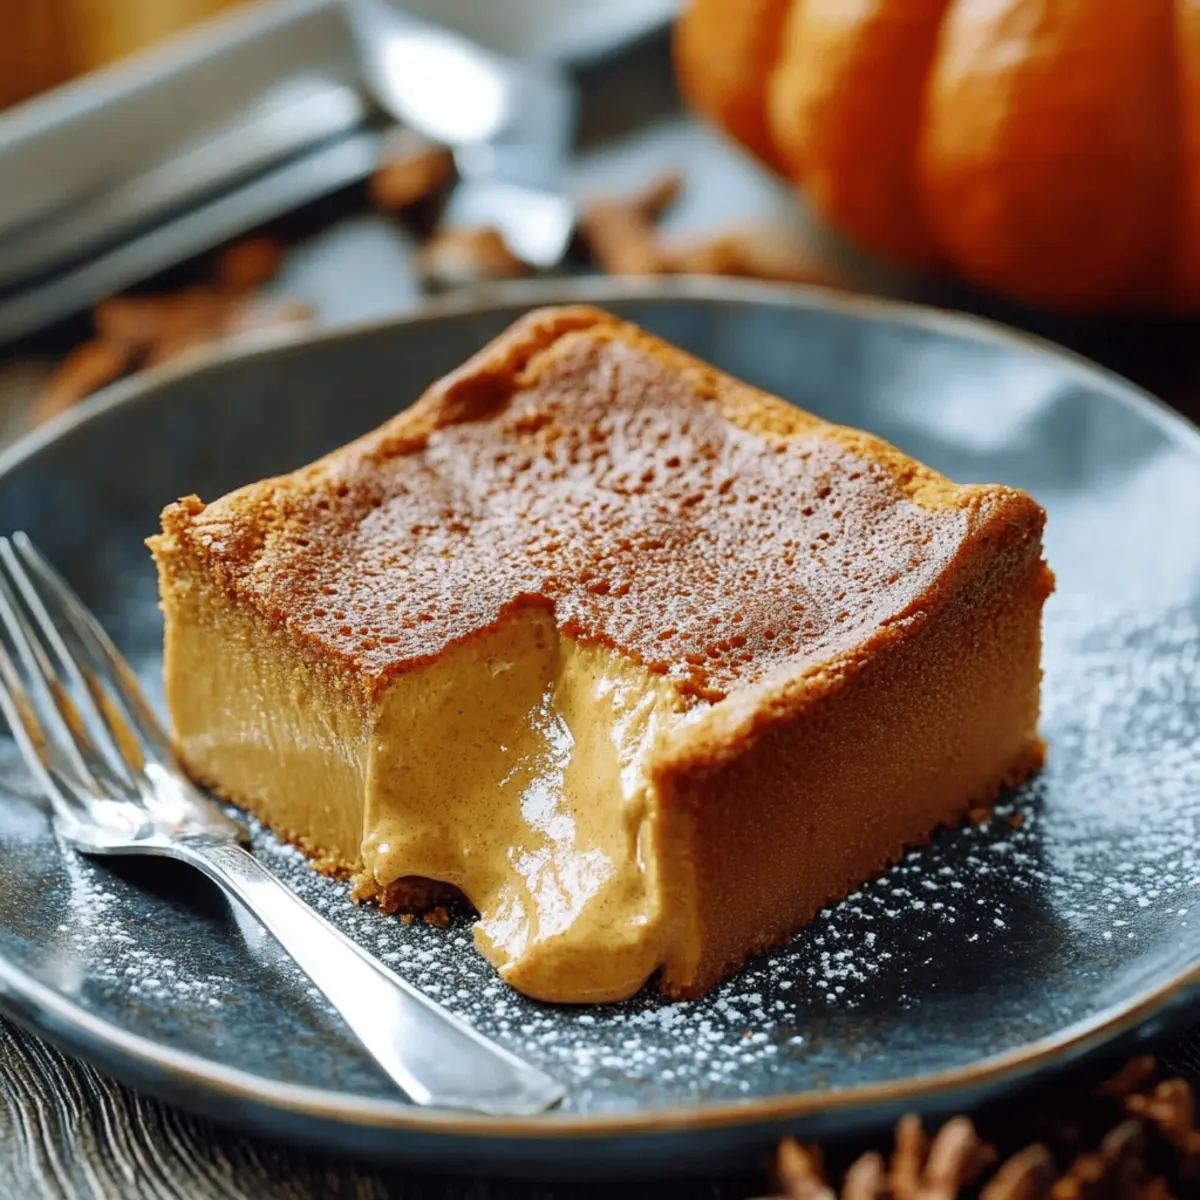
As I stood in my kitchen, the aroma of warm spices swirling around me, it hit me—this Pumpkin Magic Custard Cake is not just a dessert; it's an experience that captures the essence of fall. This delightful creation transforms a simple batter into a remarkable layered treat, showcasing a fudgy base, creamy custard, and a light, airy top. Perfect for chilly evenings, this easy baking gem is also vegetarian-friendly and a definite crowd-pleaser for those craving comfort over fast food. And while it may look impressive, the steps are surprisingly simple, making it perfect for both seasoned bakers and novices alike. What delightful twist will you add to your version of this magical cake?
Why is this cake a fall favorite?
Unforgettable Flavors: The blend of pumpkin spices—cinnamon, ginger, and cloves—creates an irresistible aroma that captures the spirit of autumn.
Simple Preparation: With just one batter, you can create three layers—a dense base, creamy custard, and fluffy top—making it a straightforward bake.
Versatile Variations: You can easily customize it by adding chocolate, nuts, or even a hint of espresso for a unique twist.
Crowd-Pleasing Delight: Perfect for gatherings, this cake will impress your guests without requiring hours in the kitchen—ideal for any fall gathering!
Perfect for Any Occasion: Whether it's a cozy dinner or festive celebration, this cake promises to be a hit, bringing warmth and comfort to your table.
Pumpkin Magic Custard Cake Ingredients
Get ready to create your own dreamy Pumpkin Magic Custard Cake!
For the Cake Batter
- Pumpkin Puree – Adds moisture and flavor; substitute with sweet potato puree for a different taste profile.
- Granulated Sugar – Provides sweetness; use brown sugar for a richer flavor.
- Evaporated Milk – Contributes creaminess and richness; swap with coconut milk for a dairy-free option.
- Unsalted Butter – Adds moisture and flavor; replace with vegetable oil for a dairy-free version.
- Large Eggs – Helps with structure and leavening; consider flax eggs for a vegan alternative.
- Vanilla Extract – Enhances overall flavor; try almond extract for a unique twist.
- All-Purpose Flour – Provides structure; substitute with gluten-free flour blend if desired.
- Baking Powder – Acts as a leavening agent; ensure it’s fresh for optimal rising.
- Ground Cinnamon – Adds warmth and spice; use a pumpkin spice blend for extra flavor.
- Ground Ginger – Provides warmth and depth; freshly grated ginger can intensify the flavor.
- Ground Cloves – Adds spiciness; omit if not preferred, or replace with nutmeg.
- Salt – Balances sweetness and enhances flavors.
For the Custard Layer
- Sweetened Condensed Milk – Adds sweetness and creaminess; evaporated milk can be used in a pinch, but expect slight variations in taste.
- Additional Evaporated Milk – Enhances the custard layer's richness and texture; ensure it's incorporated smoothly.
- Extra Large Eggs – Essential for the custard's creamy consistency; consider using flax eggs if vegan.
For the Caramel Topping
- Heavy Cream – Provides richness to the caramel; half-and-half can be a lighter alternative.
- Water – Assists in making the caramel; this ingredient is non-substitutable.
- Pinch of Salt – Enhances the caramel flavor; it’s essential for balanced sweetness.
Whip up this delicious Pumpkin Magic Custard Cake and watch everyone fall in love with this easy baking treat!
Step‑by‑Step Instructions for Pumpkin Magic Custard Cake
Step 1: Preheat and Prepare Baking Pan
Start by preheating your oven to 350°F (175°C). As the oven warms, grease a 9x13 inch baking pan thoroughly to ensure the cake releases easily after baking. This will help create that delightful sliceable texture of the Pumpkin Magic Custard Cake, allowing for the definition between its layers.
Step 2: Mix Wet Ingredients
In a large mixing bowl, combine pumpkin puree, granulated sugar, and evaporated milk, whisking until the mixture is smooth and creamy. This should take about 2-3 minutes, ensuring all ingredients are fully integrated. You’ll want a lovely orange hue, which signifies the warmth and flavor of pumpkin that forms the base of your cake.
Step 3: Add Butter and Eggs
Melt the unsalted butter and incorporate it into the pumpkin mixture. Next, add the eggs one at a time, whisking vigorously after each addition until well-blended. Finally, stir in the vanilla extract. This process creates a rich and velvety base that forms the foundation of the Pumpkin Magic Custard Cake, ensuring richness in every bite.
Step 4: Combine Dry Ingredients
In a separate bowl, mix the all-purpose flour, baking powder, ground cinnamon, ground ginger, ground cloves, and salt. Stir these dry ingredients together thoroughly for about a minute to combine. This ensures even distribution of the leavening agents and spices, which will enhance the flavor profile of your cake.
Step 5: Blend Wet and Dry Ingredients
Gradually fold the dry mixture into the wet ingredients until just blended. Be careful not to overmix, as this could affect the lightness of your Pumpkin Magic Custard Cake. You should aim for a cohesive batter with a few small lumps remaining, signaling it’s ready for the next step.
Step 6: Create the Custard Mixture
In another bowl, whisk together the sweetened condensed milk, additional evaporated milk, two extra large eggs, and a splash of vanilla extract. Beat this mixture until it is smooth and well-combined, which will form the luscious custard layer that makes this cake truly magical.
Step 7: Layer the Batter and Custard
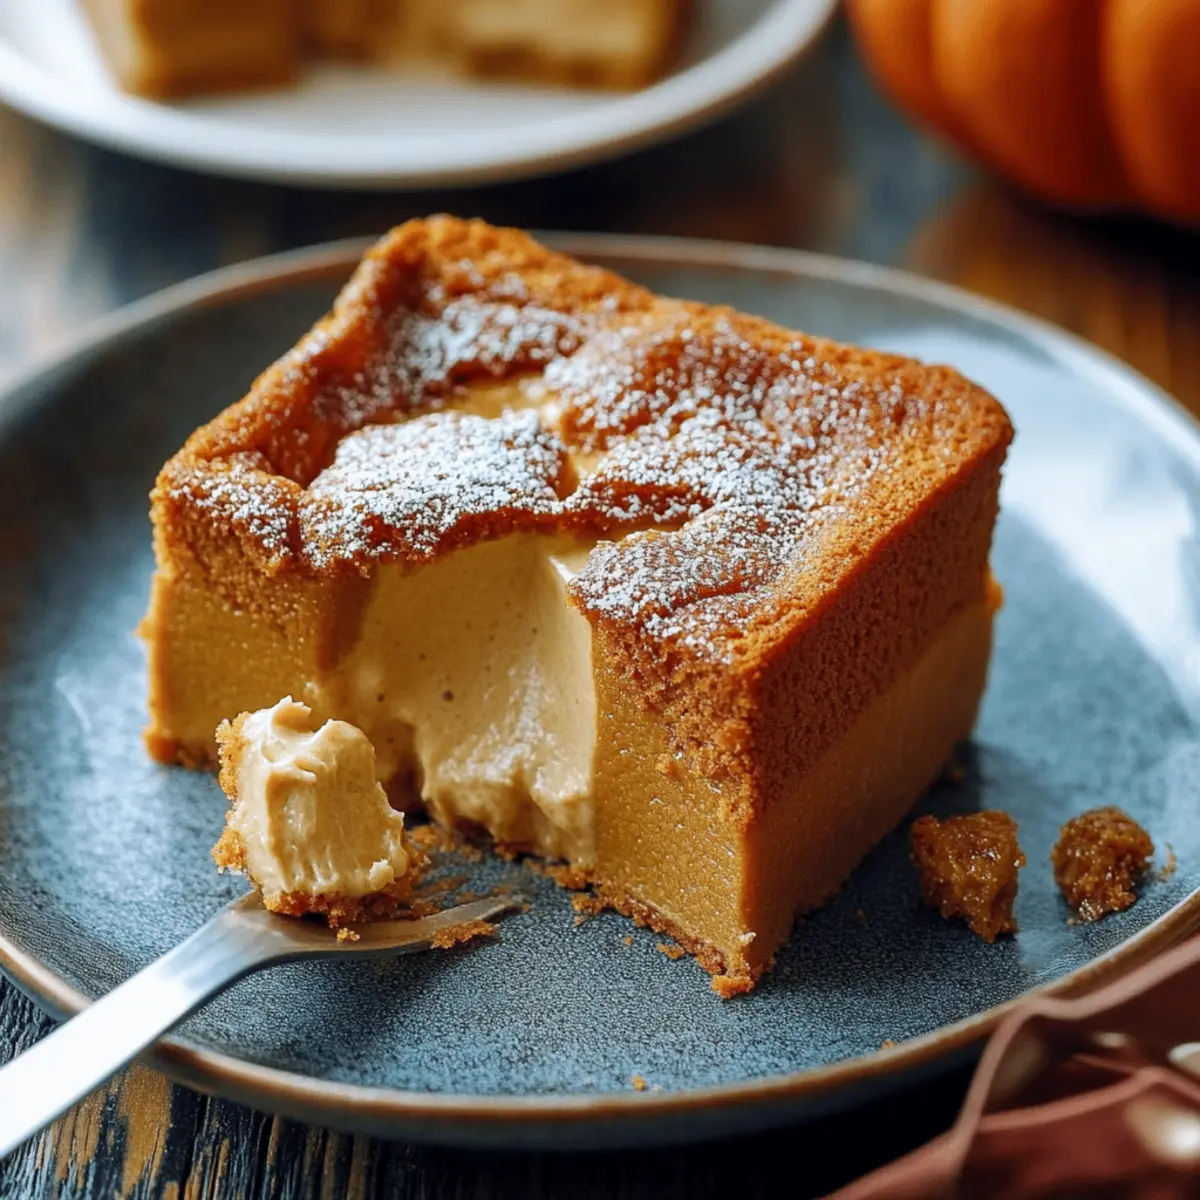
Pour the prepared cake batter into the greased baking pan, smoothing it out evenly. Carefully pour the custard mixture on top, doing this gently to preserve the layering. The beauty of the Pumpkin Magic Custard Cake is in its three distinct layers, so take your time with this step for optimal result.
Step 8: Bake the Cake
Place your layered Pumpkin Magic Custard Cake in the preheated oven and bake for 50-60 minutes. Keep an eye on it, and if the top starts browning too quickly, tent it with aluminum foil. You’ll know it’s done when a toothpick inserted in the center comes out clean, signaling a perfectly baked cake.
Step 9: Cool and Chill
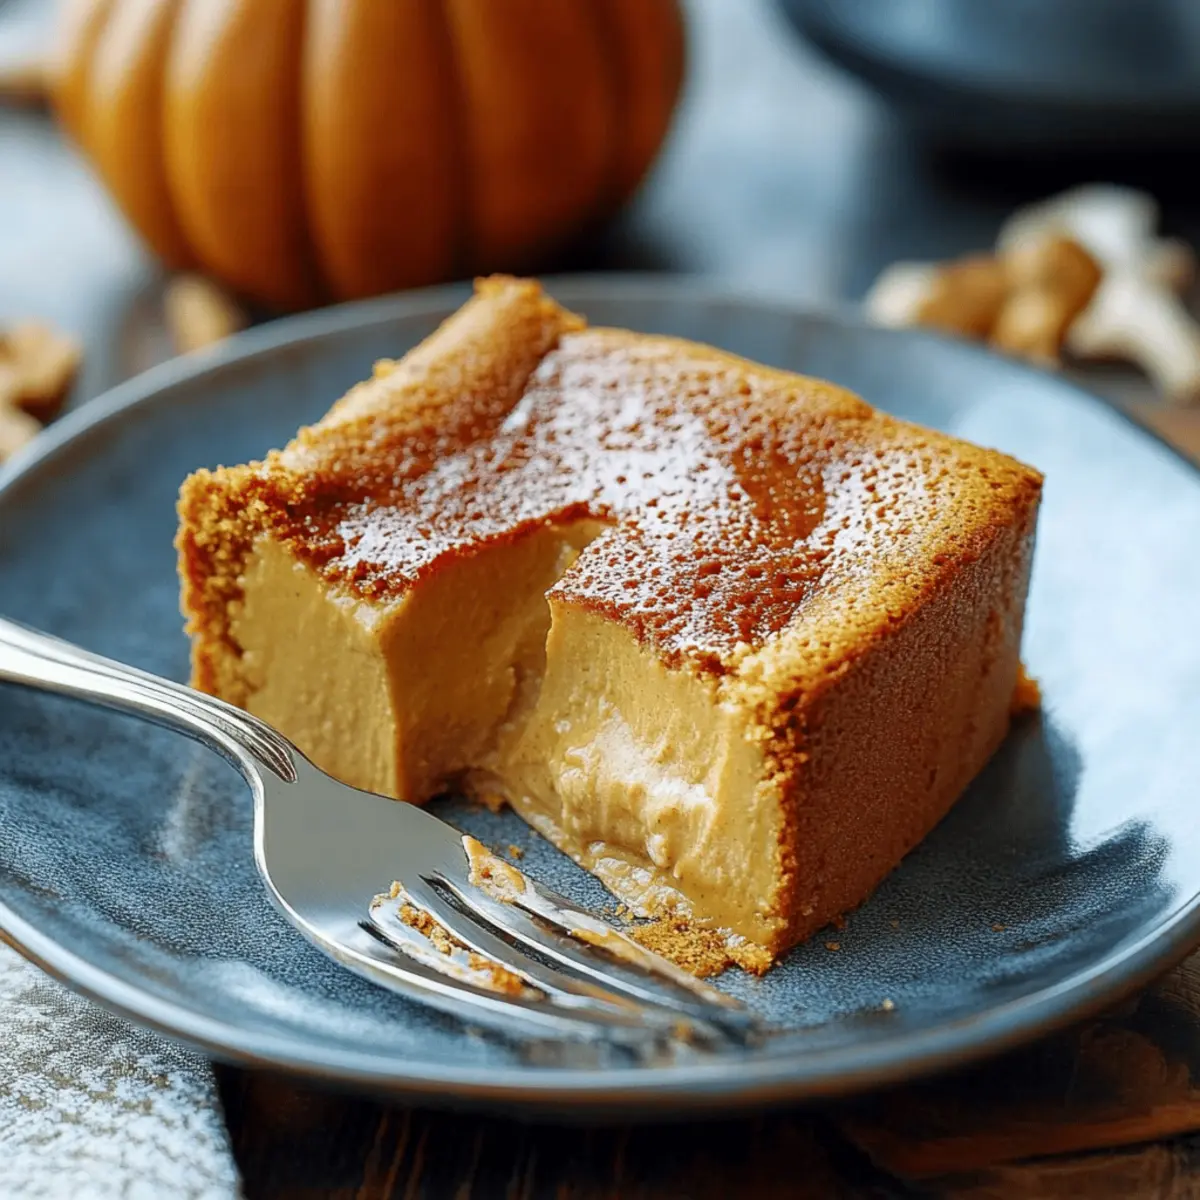
Remove the cake from the oven and let it cool completely in the pan on a wire rack for about 30 minutes. Once cooled, cover and refrigerate for at least 2 hours or overnight. Chilling is crucial, allowing the layers to firm up and the flavors to meld, resulting in the best texture for your Pumpkin Magic Custard Cake.
Step 10: Prepare the Caramel Topping
For the caramel, combine sugar and water in a medium saucepan over medium heat. Stir until the sugar dissolves, then stop stirring and allow the mixture to cook until it turns a rich amber color—this should take about 8-10 minutes. Remove from heat and whisk in the butter and heavy cream until smooth and luscious.
Step 11: Drizzle and Serve
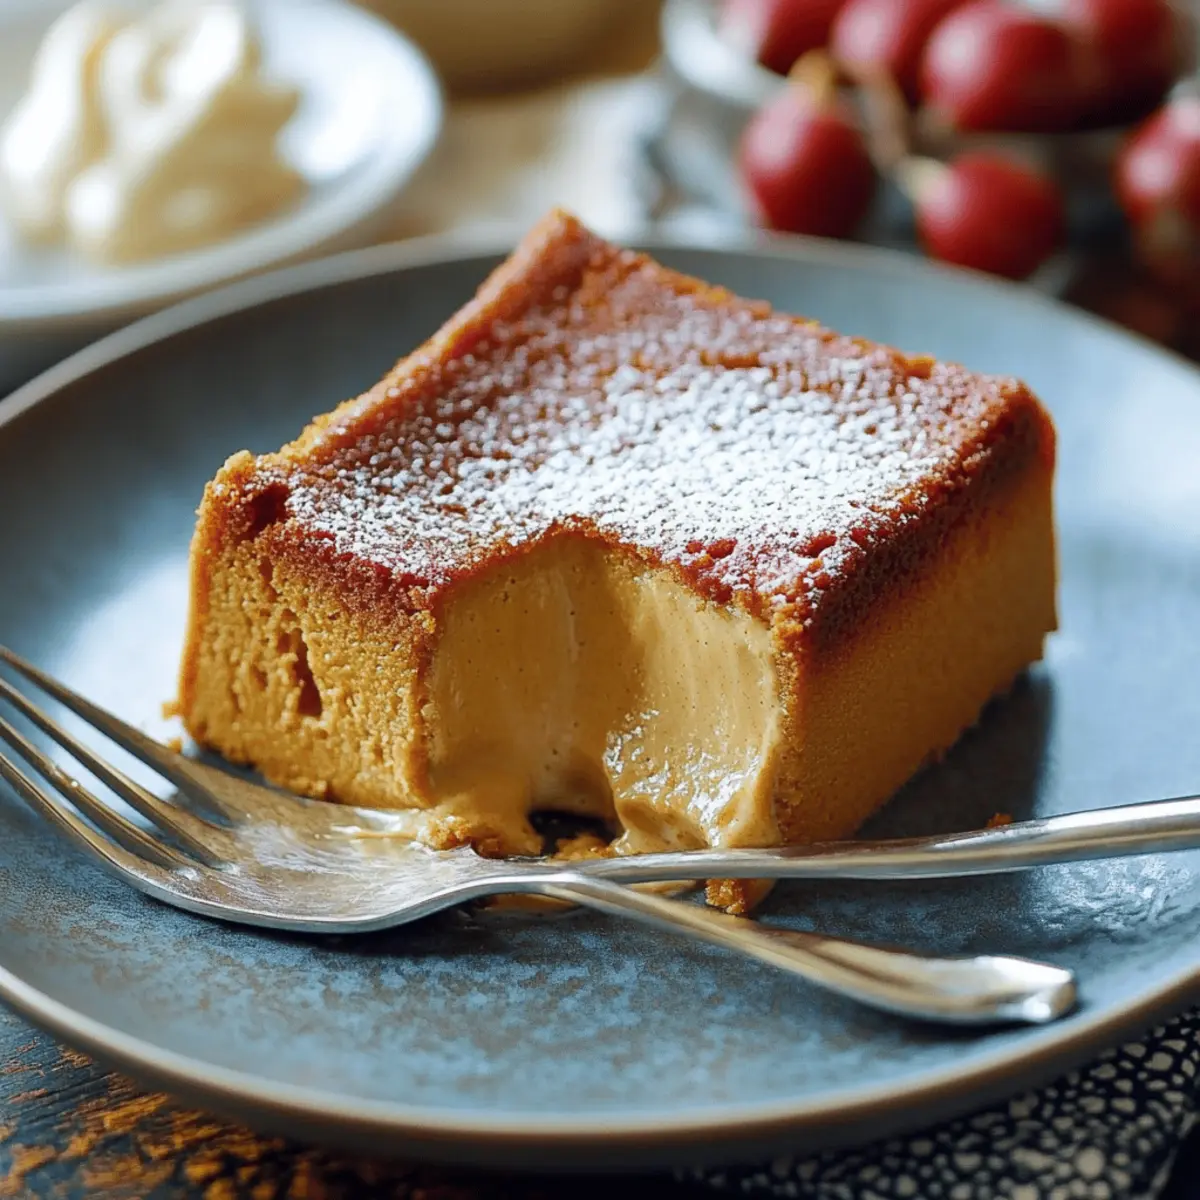
Allow the caramel to cool slightly before drizzling it generously over your chilled cake. Cut the Pumpkin Magic Custard Cake into squares and serve with a sprinkle of cinnamon, whipped cream, or chopped pecans for added flair. Each slice promises a festival of textures and flavors, sure to delight everyone at the table.
Step 12: Enjoy Your Cake
With all the steps completed, serve your Pumpkin Magic Custard Cake with great pride and watch your friends and family enjoy this heavenly fall dessert. The combination of creamy custard atop a fudgy base creates a memorable finale to any autumn gathering!
How to Store and Freeze Pumpkin Magic Custard Cake
Airtight Container: Store leftover cake in an airtight container in the refrigerator for up to 3 days to maintain its freshness and ideal texture.
Caramel Storage: Keep the caramel topping at room temperature in a covered container for up to 1 week. This prevents it from solidifying and makes it easy to drizzle later.
Freezing: For longer storage, freeze the cake (without caramel) in a plastic wrap and foil combo for up to 2 months. Thaw overnight in the fridge before serving.
Reheating Tips: To enjoy leftovers, reheat individual slices in the microwave for 15-20 seconds, ensuring the pumpkin magic custard cake retains its delightful creamy texture.
What to Serve with Pumpkin Magic Custard Cake
Indulging in this luscious dessert invites the imagination to create a full meal experience, warm and inviting for any autumn gathering.
- Whipped Cream: A dollop adds a lightness that complements the rich layers of custard perfectly, enhancing the cake’s comfort factor.
- Vanilla Ice Cream: The creaminess adds a delightful contrast against the warm spices of the cake, making each bite a heavenly treat.
- Crispy Cinnamon Sugar Cookies: These offer a crunchy texture that plays beautifully against the soft layers of the custard cake, adding an enjoyable crunch.
- Pecan Pie Bars: These bring a nutty richness that pairs excellently with pumpkin flavors, creating a cozy, shared dessert vibe for guests.
- Apple Cider: Serve warm for a fruity drink choice that balances the cake's sweetness while enhancing the fall experience with every sip.
- Espresso or Coffee: The deep flavors in coffee resonate with the pumpkin spices, elevating the dessert experience while providing a nice caffeine boost.
Add a flourish by pairing with anything from holiday gatherings to cozy nights in, turning a simple dessert into a heartwarming feast!
Pumpkin Magic Custard Cake Variations
Feel free to personalize your Pumpkin Magic Custard Cake with these delightful twists that will spark joy at your table!
-
Dairy-Free: Substitute evaporated milk with coconut milk for a luscious, dairy-free version that still promises rich flavor.
Coconut milk brings a tropical touch, blending beautifully with warm pumpkin spices. -
Chocolate Lovers: Swirl in melted dark chocolate into the batter before baking for an added layer of richness.
This indulgent twist elevates it to a chocolate-pumpkin fusion that’s hard to resist! -
Crunch Factor: Top your cake with chopped pecans or walnuts for a satisfying crunch that complements the creamy custard.
The nutty flavor adds depth and pairs perfectly with the silky texture of the cake. -
Espresso Kick: Add a teaspoon of instant espresso powder to the batter for a delightful coffee-flavored cake.
This unexpected twist adds complexity, balancing the sweetness with a touch of bitterness. -
Powdered Sugar Finish: Dust the top of the cake with powdered sugar before serving for an elegant presentation.
It not only enhances aesthetics but also adds a sweet touch that contrasts beautifully with the rich custard. -
Fruit Medley: Serve with caramelized seasonal fruits, such as apples or pears, to enhance the autumn vibe.
The warm fruit contrasts with the cold custard, adding both texture and a burst of natural sweetness. -
Mini Portions: Use muffin tins for mini Pumpkin Magic Custard Cakes perfect for individual servings at gatherings.
These adorable bites are not only easier to serve but also allow guests to try more than one dessert! -
Gluten-Free Option: Substitute all-purpose flour with a gluten-free flour blend to modify the recipe for dietary needs.
This ensures everyone can enjoy this fall favorite without missing out on the classic flavors!
Don’t hesitate to explore endless possibilities; every tweak makes it uniquely yours! If you're looking for even more ways to impress your guests, don’t forget to check out my tips on how to store and freeze Pumpkin Magic Custard Cake or explore some delectable serving suggestions. Happy baking!
Make Ahead Options
These tempting Pumpkin Magic Custard Cakes are perfect for meal prep enthusiasts! You can prepare the cake batter and custard mixture up to 24 hours in advance, storing them in separate airtight containers in the refrigerator. For optimal flavor and texture, mix them just before baking. Additionally, you can bake the cake up to 3 days ahead, keeping it covered in the refrigerator. When it's time to serve, simply drizzle with the caramel topping right before presenting—this ensures freshness and prevents sogginess. You’ll have a delightful dessert ready to impress, making your busy weeknights a breeze!
Expert Tips for Perfect Pumpkin Magic Custard Cake
-
Room Temperature Ingredients: Ensure all ingredients, especially the eggs and butter, are at room temperature for smoother mixing and better texture.
-
Avoid Overmixing: Gently fold the dry ingredients into the wet mix to avoid developing too much gluten; you want a fluffy Pumpkin Magic Custard Cake, not a dense one.
-
Monitor Baking: Check the cake regularly during baking, and if the top darkens too quickly, cover it loosely with aluminum foil to prevent burning.
-
Cool Time is Key: Don’t rush the cooling process. Allowing the cake to chill for at least two hours ensures the layers set properly and enhances the flavors.
-
Drizzle with Care: When adding your caramel topping, let it cool slightly first to prevent it from melting into the cake too quickly. This keeps your layers distinct and beautiful.
Pumpkin Magic Custard Cake Recipe FAQs
What type of pumpkin puree should I use?
Absolutely! You can use canned pumpkin puree or fresh pumpkin. If you opt for fresh, choose a small sugar pumpkin for the best results. Avoid using pumpkin pie filling, as it contains added sugars and spices that can alter the flavor of your cake.
How should I store the leftover Pumpkin Magic Custard Cake?
Store any leftover cake in an airtight container in the refrigerator for up to 3 days to keep it fresh. If you have caramel topping, keep it at room temperature in a separate container for up to 1 week; that way, it won't solidify and can be easily drizzled when serving.
Can I freeze Pumpkin Magic Custard Cake?
Absolutely! To freeze, wrap the cake (without caramel) tightly in plastic wrap and then in aluminum foil, storing it for up to 2 months. Thaw overnight in the fridge before serving. Just ensure you heat individual slices gently in the microwave for 15-20 seconds to regain its creamy texture.
What should I do if my custard layer doesn’t set?
If your custard layer doesn't set properly, it could be due to underbaking or too much moisture. Make sure to bake until a toothpick comes out clean, and if it seems too wet, let it cool completely before refrigerating. For next time, consider incorporating less evaporated milk if you find the consistency too runny.
Can I make this cake gluten-free?
Yes, you can absolutely make Pumpkin Magic Custard Cake gluten-free by substituting all-purpose flour with a gluten-free flour blend. I recommend checking your blend for xanthan gum as it helps mimic the structure normally provided by gluten.
Are there any dietary considerations for pets?
While this cake is delicious for humans, it's important to avoid sharing with pets, especially due to the sugar and potentially harmful spices like cloves. Always keep in mind that certain ingredients in baked goods can be harmful to animals; fresh pumpkin is safe, but proceed with caution for everything else!
Indulge in Pumpkin Magic Custard Cake: Easy Fall Delight
Ingredients
Equipment
Method
- Preheat your oven to 350°F (175°C). Grease a 9x13 inch baking pan thoroughly.
- In a large mixing bowl, combine pumpkin puree, granulated sugar, and evaporated milk, whisking until smooth.
- Melt the unsalted butter and incorporate it into the pumpkin mixture. Add the eggs one at a time, whisking after each addition.
- In a separate bowl, mix together the all-purpose flour, baking powder, ground cinnamon, ground ginger, ground cloves, and salt.
- Gradually fold the dry mixture into the wet ingredients until just blended.
- In another bowl, whisk together the sweetened condensed milk, additional evaporated milk, extra large eggs, and vanilla extract.
- Pour the prepared cake batter into the greased baking pan, smoothing it out evenly. Carefully pour the custard mixture on top.
- Bake for 50-60 minutes, tenting with foil if the top browns too quickly.
- Let the cake cool completely in the pan for about 30 minutes, then refrigerate for at least 2 hours.
- For the caramel, combine sugar and water in a medium saucepan over medium heat. Stir until sugar dissolves and cook until amber.
- Whisk in the butter and heavy cream until smooth.
- Drizzle the caramel over your chilled cake, cut into squares and serve.
- Serve your Pumpkin Magic Custard Cake with pride.


Leave a Reply