
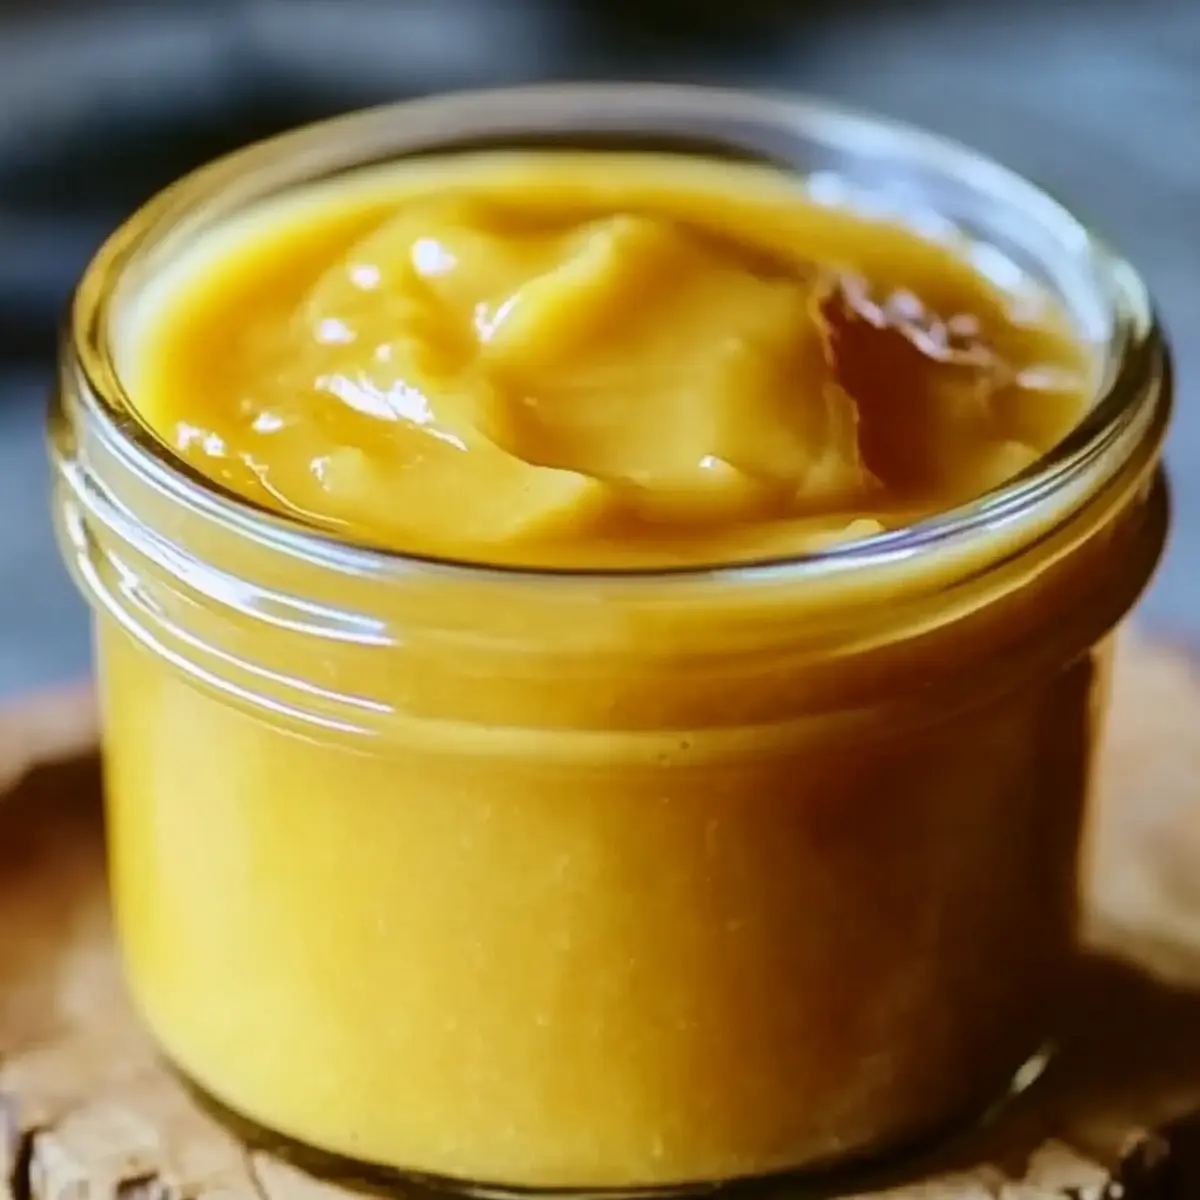
The scent of fresh lemons always transports me to sun-drenched afternoons, where a lively batch of homemade Lemon Curd sits waiting to brighten my day. This delightful recipe is not just an easy citrus spread; it’s a culinary gem that transforms everything from scones to pancakes into something truly special. What I love most about this Lemon Curd is its incredible versatility—you can whip up variations using other citrus fruits like limes or oranges, and you have the option to make it vegan or dairy-free. With just a handful of simple ingredients, you'll create a luxurious addition to your breakfast table or dessert spread that feels indulgent yet effortless. Ready to bring a taste of sunshine into your kitchen? Let's get started on this delightful journey!

Why is Homemade Lemon Curd a Must-Try?
Versatility: This Lemon Curd is a canvas for creativity! Substitute lemons with limes or oranges to explore exciting flavors.
Easy to Make: With just a few simple ingredients, you’ll have this delightful treat on your table in no time!
Luxurious Texture: The creamy, velvety richness elevates any dish, whether it's spread on toast or drizzled over desserts.
Diet-Friendly Options: Easily adjust to meet your dietary preferences by opting for aquafaba for a vegan take!
Crowd-Pleasing Goodness: Serve it with scones or yogurt, and watch it disappear—perfect for gatherings or that cozy breakfast moment!
Looking to elevate your baking? This Lemon Curd pairs perfectly with many delicious treats like scones or as a vibrant filling for pastries.
Lemon Curd Ingredients
For the Curd
- Fresh Lemon Juice – This is what gives your lemon curd its signature zing; choose juicy lemons for the best flavor!
- Lemon Zest – Enhances the lemon aroma, bringing that bright freshness; be careful not to include the bitter pith.
- Granulated Sugar – Balances the tartness with sweetness; feel free to use alternatives like coconut sugar for a healthier twist.
- Large Eggs – Adds richness and helps to thicken your curd; swap with aquafaba for a vegan option.
- Unsalted Butter – Contributes a smooth and luscious texture; use dairy-free butter if you're keeping it dairy-free.
Optional Variations
- Fresh Lime Juice – Try replacing lemon juice for a vibrant lime curd twist!
- Fresh Orange Juice – Substitute with orange juice for a sweeter, more citrusy flavor burst.
- Floral Additions – A hint of lavender or raspberry can add a unique floral note to your lemon curd!
Step‑by‑Step Instructions for Irresistible Lemon Curd
Step 1: Prepare Ingredients
Start by gathering all your ingredients for the Lemon Curd. Zest the fresh lemons using a microplane grater, ensuring not to include any bitter white pith. Then, juice the lemons until you have the required amount, straining out any seeds. This zest and juice will provide that signature zesty flavor you’re aiming for.
Step 2: Whisk Together
In a medium saucepan, combine the lemon juice, zest, granulated sugar, and large eggs. Using a whisk, mix the ingredients thoroughly until they are fully blended and the sugar begins to dissolve. This step ensures a smoother texture in your Lemon Curd, setting you up for a creamy delight as you proceed.
Step 3: Cook the Mixture
Place the saucepan over medium heat and continuously stir the mixture with a wooden spoon or heat-resistant spatula. Keep cooking for about 10-15 minutes, or until the mixture thickens enough to coat the back of the spoon. You'll notice a change in consistency as it bubbles gently; this is your cue to maintain focus to prevent curdling.
Step 4: Incorporate Butter
Once the Lemon Curd has thickened, remove the saucepan from heat and stir in the unsalted butter until completely melted and incorporated. This addition not only enriches the curd but also gives it that luscious, velvety texture that makes it irresistible. Make sure there are no visible lumps from the butter.
Step 5: Strain for Smoothness
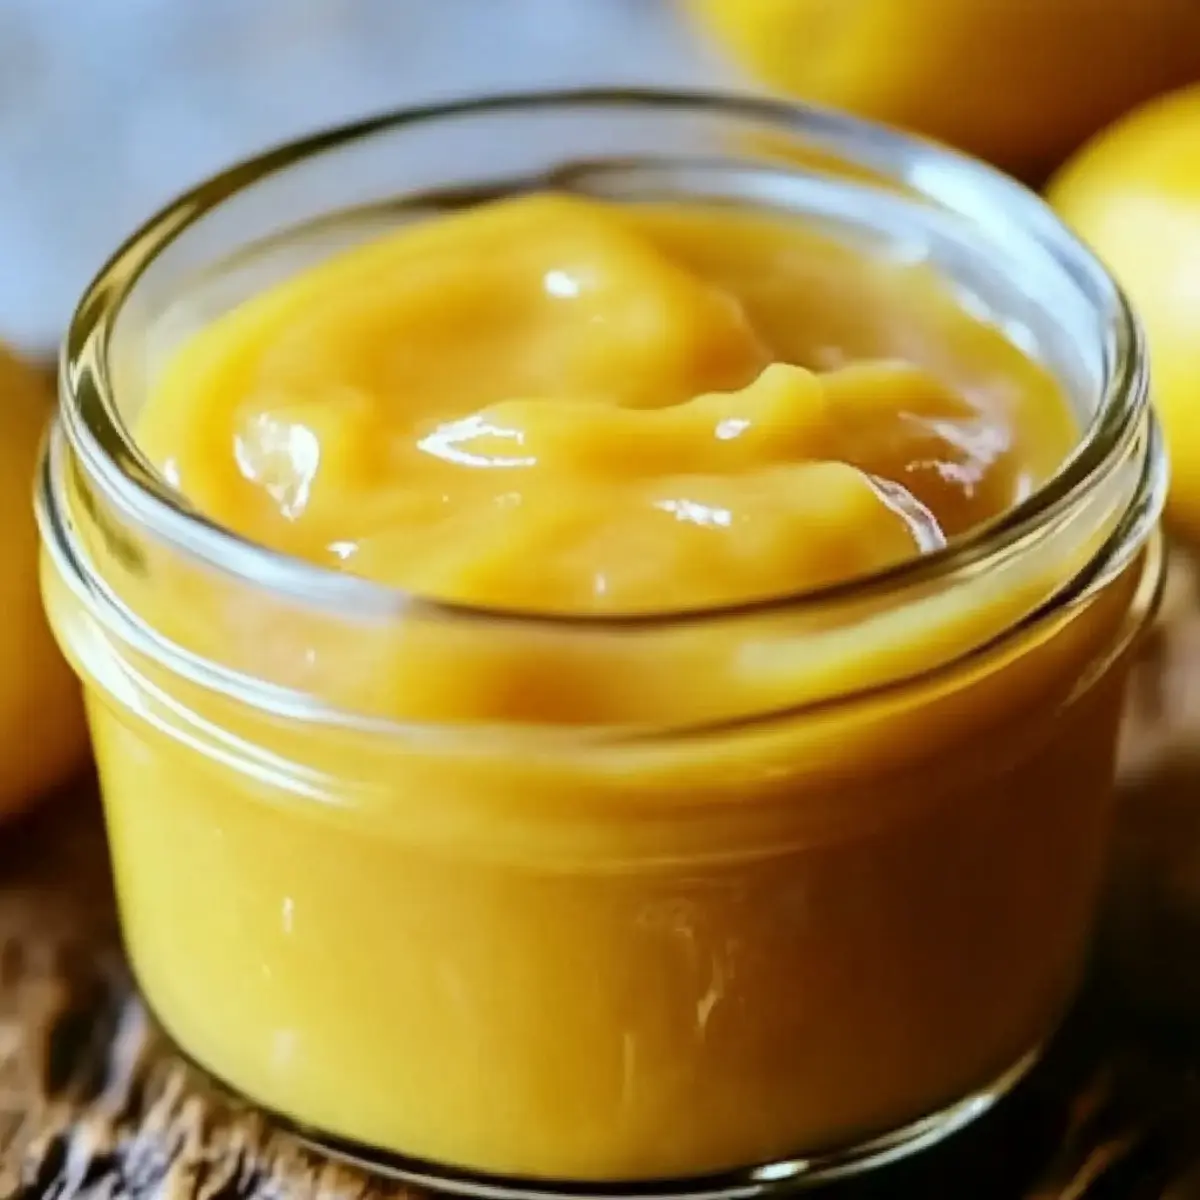
To ensure your Lemon Curd is silky and smooth, pass the mixture through a fine-mesh sieve into a clean bowl. This step will catch any small bits of cooked egg, leaving you with a perfect, creamy curd. Use a spatula to press the mixture through, maximizing yield while achieving that luxurious texture.
Step 6: Cool and Store
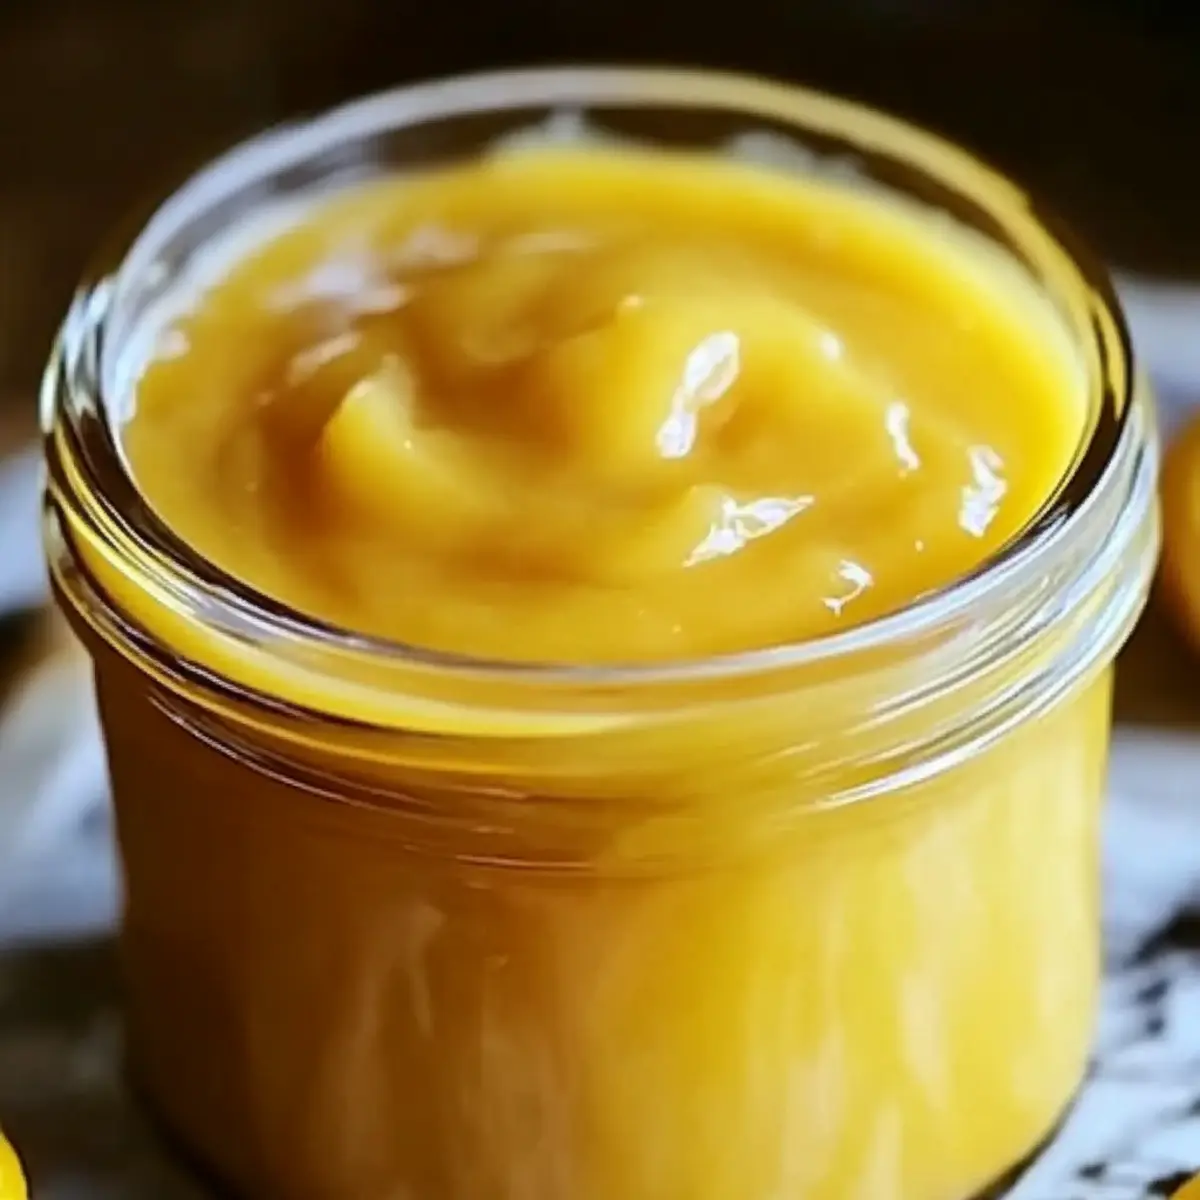
Let your Lemon Curd cool at room temperature for about 30 minutes before transferring it to an airtight container. Once cooled, refrigerate it, where it will thicken further and develop its flavors. Your homemade Lemon Curd can last up to a week in the fridge, ready to bring its delightful zest to your favorite dishes whenever you crave it.
Make Ahead Options
These Irresistible Lemon Curd recipes are perfect for busy home cooks looking to save time! You can prepare the Lemon Curd up to 3 days in advance. Simply follow the initial steps to cook and strain the curd, then let it cool and transfer it to an airtight container. To maintain its fresh flavor and creamy texture, refrigerate it and try to consume it within that timeframe. When you're ready to serve, just give it a gentle stir to ensure it's nice and smooth, and enjoy the luxurious burst of citrus bliss that will elevate any dish with minimal effort!
What to Serve with Irresistible Lemon Curd
Nothing brings your dishes to life like a zesty lemon curd to brighten up your meal!
- Fluffy Scones: The buttery softness of freshly baked scones pairs beautifully with the tangy sweetness of lemon curd, creating a delightful afternoon tea moment.
- Pancakes: Drizzling lemon curd over warm pancakes transforms your breakfast, adding a fresh, citrus kick that balances the fluffy texture perfectly.
For a refreshing twist, try serving lemon curd alongside homemade yogurt. The creamy tang of yogurt complements the curd’s brightness, making for a light and satisfying treat.
- Cheesecake: Lemon curd serves as a vibrant topping for rich cheesecake, enhancing its creamy richness with a burst of citrus flavor.
- Cupcakes: Use lemon curd as a filling for light, airy cupcakes to elevate them into a decadent dessert, providing each bite with a pleasing contrast of flavors.
- Sparkling Wine: A glass of chilled sparkling wine or prosecco pairs beautifully, its bubbly texture complementing the richness of the lemon curd.
- Fruit Tart: Spread lemon curd at the base of a fruit tart for an added layer of flavor, harmonizing perfectly with fresh seasonal fruits.
- Shortbread Cookies: Dip or spread lemon curd on buttery shortbread cookies for a sweet and tangy treat that melts in your mouth.
- Berry Compote: A drizzle of mixed berry compote alongside lemon curd brings together a delightful blend of tart and sweet, enhancing your dessert experience.
Expert Tips for Lemon Curd
- Use Fresh Ingredients: Fresh lemons yield the best flavor; avoid bottled juice for an authentic, vibrant taste.
- Constant Whisking: To prevent curdling, whisk continuously while cooking. This ensures a smooth Lemon Curd without any lumps.
- Perfect Cooling: Allow the curd to cool completely before storing it; this helps it set properly and enhances the texture.
- Strain for Smoothness: Always strain your curd after cooking to eliminate any cooked egg bits and achieve that silky finish.
- Experiment with Flavors: Don’t hesitate to mix citrus! Lime and orange can create exciting variations of Lemon Curd that are equally delicious.
How to Store and Freeze Lemon Curd
Fridge: Keep your Lemon Curd in an airtight container, where it will stay fresh for up to one week. This makes it easy to enjoy anytime you desire that zesty flavor!
Freezer: For longer-lasting Lemon Curd, freeze it in a freezer-safe container for up to three months. Be sure to leave some space at the top as it may expand.
Thawing: When you’re ready to use frozen Lemon Curd, simply thaw it in the refrigerator overnight. Give it a good whisk to restore its smooth consistency before serving.
Make-Ahead: Preparing Lemon Curd ahead of time is perfect for busy days! Make a batch and keep it on hand for last-minute dessert enhancements or breakfast spreads.
Lemon Curd: Creative Variations
Feel free to let your creativity shine as you customize this delightful Lemon Curd recipe to suit your taste!
- Lime Twist: Substitute fresh lemon juice with lime juice for a tropical twist that brightens up your palate.
- Orange Delight: For a sweeter experience, replace lemon juice with fresh orange juice. It’s an incredibly refreshing change!
- Dairy-Free Alternative: Swap unsalted butter with dairy-free butter to satisfy your dairy-free wishes without sacrificing flavor or texture.
- Aquafaba Magic: Use aquafaba instead of eggs for a vegan Lemon Curd that’s just as rich and delicious, ensuring everyone can enjoy it.
Imagine a vibrant, tangy ingredient that stirs up memories of summer picnics. This version offers a palate-pleasing alternative for those looking to keep things plant-based.
- Floral Essence: Introduce a dash of lavender extract or a handful of fresh raspberries towards the end of cooking for an unexpectedly enchanting flavor.
The delicate notes of floral and fruity can transform the traditional Lemon Curd into a gourmet experience, perfect for impressing guests at tea parties.
- Spicy Zing: For those who enjoy a kick, add a pinch of cayenne pepper or finely minced ginger for a surprising layer of heat that elevates your curd.
This bold twist pairs beautifully with savory dishes, offering a delightful contrast in your favorite brunch spreads.
- Chai Infusion: Steep chai tea leaves in the lemon juice before using it to incorporate warm, spiced flavors into your curd. It’s like a cozy hug in a jar!
Looking for the perfect pairing for your Lemon Curd? Serve it alongside decadent pancakes or as a luxurious filling for your favorite pastries. The options are endless!
Irresistible Homemade Lemon Curd Recipe FAQs
How do I select ripe lemons for the best Lemon Curd?
Absolutely! Look for lemons that are bright yellow, firm, and slightly heavy for their size. Avoid those with dark spots or wrinkles, as these signs indicate overripeness. Fresh, juicy lemons will yield the sweetest, most flavorful juice necessary for a delicious Lemon Curd.
What's the best way to store Lemon Curd?
Lemon Curd can be stored in an airtight container in the refrigerator for up to one week. Just ensure it cools to room temperature before sealing to prevent condensation. For longer storage, you can freeze it for up to three months! When freezing, use a freezer-safe container and leave some space at the top to allow for expansion.
How do I freeze Lemon Curd properly?
To freeze Lemon Curd, first pour it into a freezer-safe container, leaving about an inch of space at the top. This prevents any mess from expansion. Seal the container tightly and label it with the date. When you're ready to enjoy it, simply thaw it overnight in the refrigerator. Whisk it gently afterward to restore its creamy texture.
What if my Lemon Curd turns out grainy?
Oh no! If you notice a grainy texture, it might be due to cooked egg bits. To mitigate this, always strain the curd through a fine-mesh sieve after cooking—this step is crucial for smoothness. Additionally, ensure you're whisking constantly while cooking to prevent curdling, which often causes the grainy texture.
Can I make Lemon Curd vegan or dairy-free?
Very much so! For a vegan version, simply replace the large eggs with aquafaba (the liquid from canned chickpeas) at a ratio of 3 tablespoons of aquafaba per egg. You can also swap the unsalted butter for a dairy-free option. Just follow the same method, and you'll have a luscious Lemon Curd that everyone can enjoy.
Is Lemon Curd safe for pets or allergies?
It's best to avoid giving Lemon Curd to pets, particularly dogs, as the high sugar and citrus can upset their stomachs. Additionally, it's important to note that anyone with egg or dairy allergies should use the vegan substitutions mentioned above to enjoy this delightful treat safely. Always check ingredient labels if you're purchasing pre-made versions!
Indulgent Lemon Curd: Easy Recipe for Zesty Bliss!
Ingredients
Equipment
Method
- Prepare Ingredients: Gather, zest, and juice lemons, straining out seeds.
- Whisk Together: Combine lemon juice, zest, sugar, and eggs in a saucepan, mixing thoroughly.
- Cook the Mixture: Cook on medium heat, stirring until thick, about 10-15 minutes.
- Incorporate Butter: Remove from heat and mix in butter until melted.
- Strain for Smoothness: Pass the mixture through a fine-mesh sieve to ensure smooth texture.
- Cool and Store: Cool for 30 minutes, then refrigerate in an airtight container.


Leave a Reply