
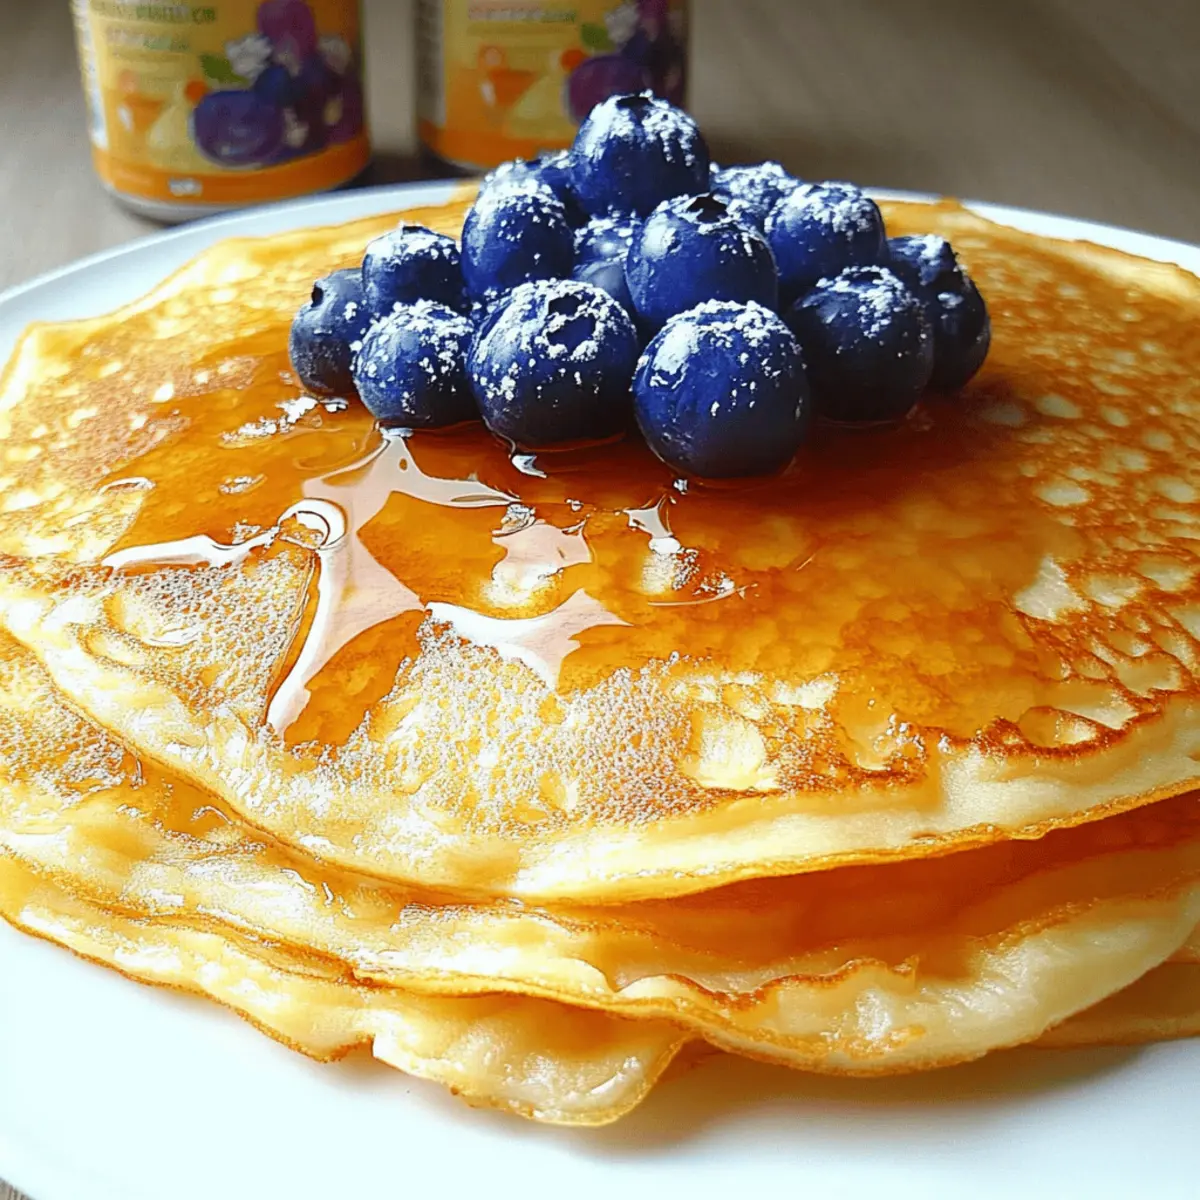
As I flipped my first Pannenkoeken and watched it transform into a golden disk of pure joy, I couldn't help but smile. These delightful Dutch pancakes have a crisp edge and a soft center, perfect for embracing flavors that range from sweet to savory. What I love most about this easy recipe for Pannenkoeken is how effortlessly it transforms a simple breakfast into a customizable feast that’s sure to impress. Whether you’re indulging in luscious berries and whipped cream for brunch or diving into a savory realm with sautéed mushrooms and cheese, each bite offers a little adventure. Plus, they’re vegetarian-friendly and easy to whip up, making them a no-fuss solution for busy mornings or leisurely gatherings. Are you ready to discover how versatile and delicious these pancakes can be? Let’s dive in!
Why are Dutch pancakes so special?
Irresistible Texture: Pannenkoeken are uniquely fluffy yet crispy, making each bite an adventure for your taste buds.
Customizable Goodness: The recipe easily adapts to your favorite flavors with a variety of toppings, ensuring everyone at the table can enjoy their ideal pancake experience.
Quick & Simple: With just a handful of ingredients and straightforward instructions, you'll be able to whip up these delicious pancakes in no time, making them an ideal choice for busy mornings.
Crowd-Pleasing Delight: Whether you're hosting a brunch or a casual family dinner, these pancakes will impress guests of all ages, promising smiles and satisfaction.
Vegetarian-Friendly: This recipe accommodates vegetarian diets and can be further customized for various dietary needs by swapping ingredients, like opting for gluten-free flour or vegan substitutes.
Soon enough, you'll be flipping Pannenkoeken and savoring every moment! If you're looking for more tips on how to enhance your pancake pursuits, check out our guide on creative pancake toppings.
Pannenkoeken Ingredients
• For making those irresistible Dutch pancakes, ensure you have these essentials ready!
For the Batter
- All-purpose flour – Forms the foundation of your Pannenkoeken; feel free to swap with whole wheat or gluten-free flour if desired.
- Granulated sugar – Adds a touch of sweetness to the batter; adjust to your taste or substitute with a sugar alternative for less sweetness.
- Baking powder – This is your secret for fluffy pancakes; always check for freshness to ensure the best rise.
- Baking soda – Works harmoniously with buttermilk to create that beloved fluffiness; if using regular milk, you can skip this.
- Salt – A key element for flavor enhancement; don't skip it, as it balances the sweetness beautifully.
- Large egg – Binds everything together while adding richness; can be replaced with a flax egg for a vegan option.
- Buttermilk – Provides critical moisture and acidity for tenderness; substitute with a milk and lemon juice blend if needed.
- Melted butter – Infuses richness and flavor; for a dairy-free version, consider using vegetable oil instead.
- Vanilla extract – Enhances the overall taste; opt for pure vanilla for a deeper flavor profile.
These Pannenkoeken ingredients will lead you to a delightful pancake experience, perfect for those custom toppings you can dream up!
Step‑by‑Step Instructions for Pannenkoeken
Step 1: Mix Dry Ingredients
In a medium bowl, whisk together 1 cup of all-purpose flour, 2 tablespoons of granulated sugar, 1 teaspoon of baking powder, ½ teaspoon of baking soda, and a pinch of salt. Ensure the mixture is well-combined to avoid clumps which could affect the texture of your Pannenkoeken. Set this dry mixture aside while you prepare the wet ingredients.
Step 2: Whisk Wet Ingredients
In a separate bowl, combine 1 large egg with 1 cup of buttermilk (or your milk-lemon blend), 2 tablespoons of melted butter, and 1 teaspoon of vanilla extract. Whisk vigorously until the mixture is smooth and homogenous. Your wet ingredients should be slightly frothy, which ensures a fluffy texture in your final pancakes.
Step 3: Combine Mixtures
Gently fold the wet ingredients into the dry mixture using a spatula. Stir just until combined, being mindful not to overmix; a few lumps are perfectly fine. This step is crucial for maintaining the light and airy nature of your Pannenkoeken. Let the batter rest for 5-10 minutes to allow the flavors to meld and bubbles to form.
Step 4: Heat Pan
While the batter rests, preheat a non-stick frying pan or griddle over medium heat. Lightly grease it with additional melted butter for added flavor. To check if the pan is ready, sprinkle a drop of water on the surface; if it dances and evaporates quickly, you’re set to start cooking your pancakes.
Step 5: Pour Batter
Using a ladle or ¼ measuring cup, spoon the batter onto the hot griddle, leaving space between each for even cooking. Aim for about ¼ cup of batter per pancake; this size is optimal for the perfect golden-brown finish. Watch closely as the batter starts to spread and bubble.
Step 6: Cook
Cook the Pannenkoeken for 2-3 minutes, or until you see bubbles forming on the surface and the edges looking set. These visual cues indicate that it’s time to flip, ensuring your pancakes are cooked through but still fluffy.
Step 7: Flip
Gently slide a spatula underneath each pancake and flip it over, cooking for an additional 2-3 minutes or until the other side is golden brown. The ideal texture will be fluffy on the inside with a nice crisp on the edges, showcasing the distinct characteristics of delicious Pannenkoeken.
Step 8: Serve
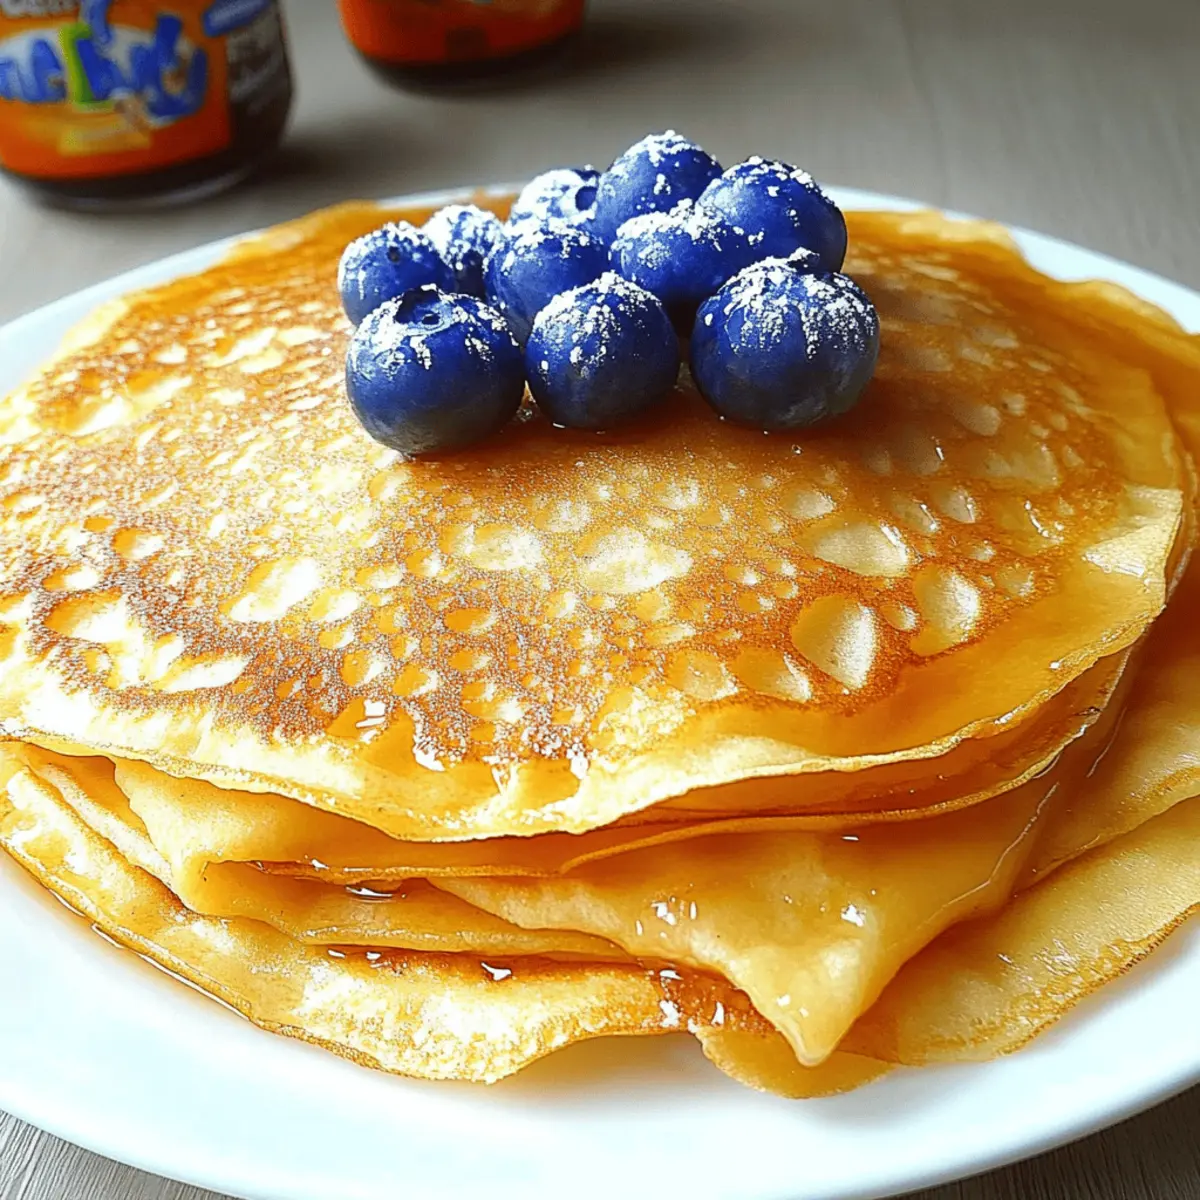
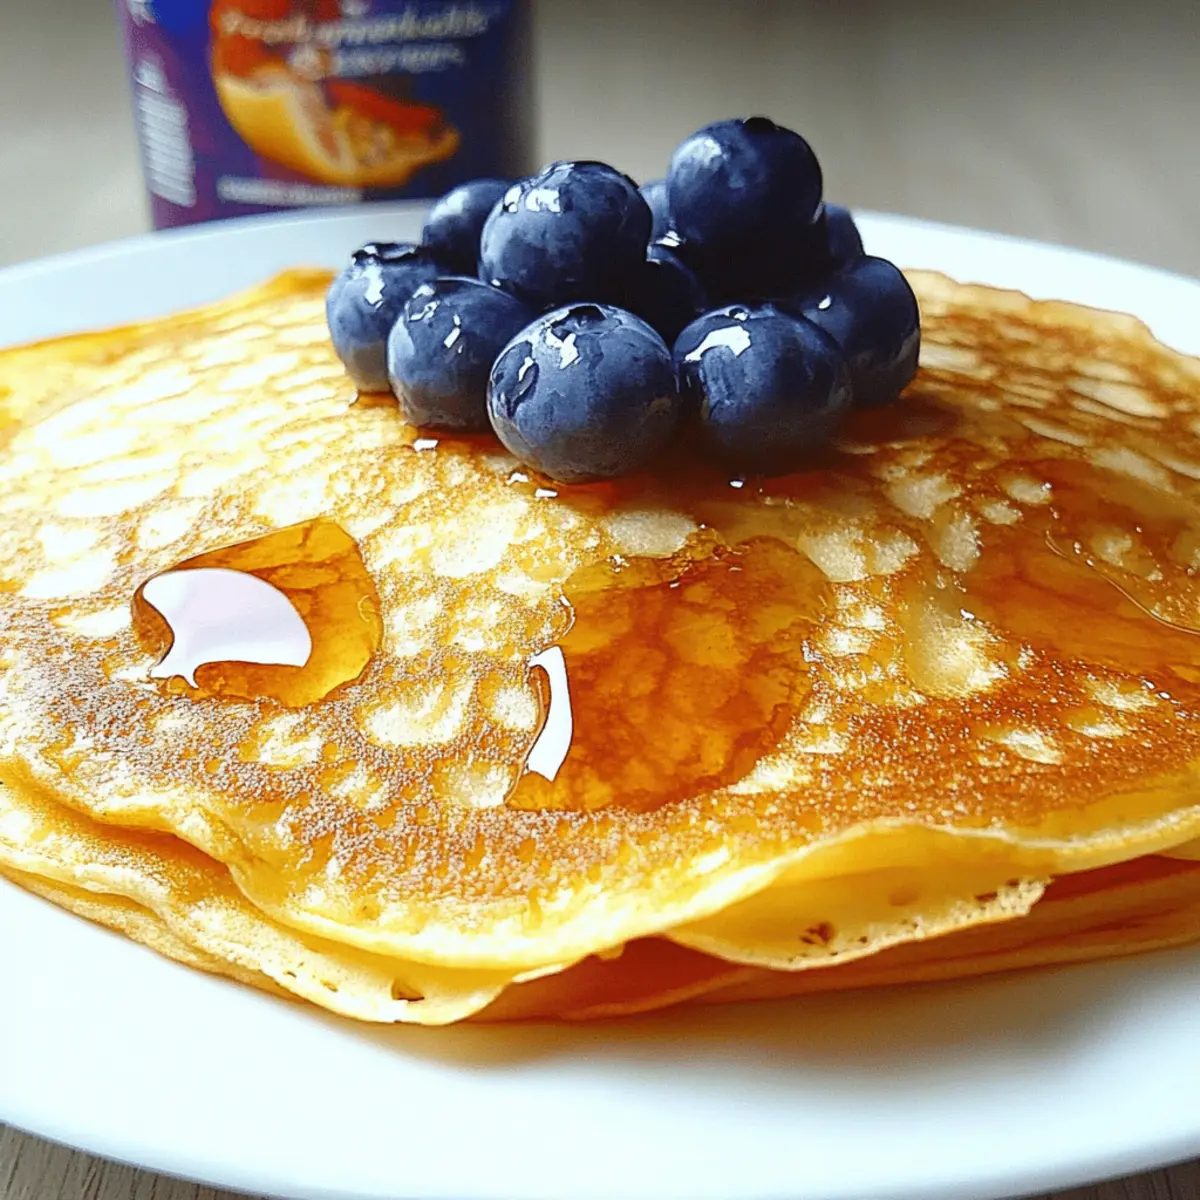
Stack your finished Pannenkoeken on a warm plate and dust with powdered sugar if desired. Feel free to serve with your choice of toppings, such as fresh fruits, whipped cream, or even savory options like sautéed mushrooms. Enjoy the comforting, customizable flavors that make Pannenkoeken a delightful meal, any time of day.
Make Ahead Options
These Pannenkoeken are perfect for meal prep enthusiasts! You can mix the batter up to 24 hours in advance and refrigerate it in an airtight container to enhance the flavors. Simply whisk together the dry and wet ingredients, combine them, and let the batter rest before sealing it tight. If you want to save time, consider pre-measuring the dry ingredients and storing them separately. When you're ready to serve, just give the batter a quick stir, pour it onto the skillet, and you'll have delightful pancakes ready to enjoy without the morning rush. This way, you can savor homemade goodness while keeping busy schedules in check!
What to Serve with Authentic Dutch Pancakes
Warm, fluffy pancakes invite a world of delightful pairings to enhance your meal experience. From sweet to savory, each option can help create a memorable dining moment.
-
Fresh Fruit Medley: Top your pancakes with a vibrant mix of berries, bananas, and citrus for a burst of freshness that elevates the flavor profile.
-
Whipped Cream: Light and airy, a dollop of freshly whipped cream adds a touch of indulgence that perfectly complements sweet toppings or even savory ones.
-
Maple Syrup: The classic choice, rich maple syrup enhances the natural sweetness of the pancakes, adding depth and warmth to each bite.
-
Savory Sautéed Vegetables: Try caramelized onions and spinach or sautéed mushrooms to create an unexpected savory twist that balances the pancakes’ sweetness.
-
Chocolate Sauce: Drizzle warm chocolate sauce over your Pannenkoeken for a decadent dessert twist. Perfect for chocolate lovers!
-
Cinnamon Sugar: A sprinkle of cinnamon sugar creates a delightful contrast, transforming your pancake into a warm hug of flavor.
-
Greek Yogurt: The creamy texture of Greek yogurt lends a satisfying richness. It pairs beautifully with fruit for a well-rounded topping option.
-
Nutella & Hazelnuts: Spread warm Nutella across your pancakes and sprinkle with crushed hazelnuts for a gourmet experience that feels ultra-luxe.
-
Refreshing Iced Tea or Coffee: A chilled glass of iced tea or a rich coffee can perfectly balance the warmth of Pannenkoeken while making for a delightful breakfast or brunch spread.
These delightful accompaniments will elevate your authentic Dutch pancakes into a meal that offers myriad flavors and textures, ensuring satisfaction for everyone at the table.
Helpful Tricks for Pannenkoeken
-
Don’t Overmix: Keep your batter slightly lumpy for light and fluffy Pannenkoeken; overmixing can lead to tough pancakes that are dense and chewy.
-
Right Temperature: Preheat your pan properly; a drop of water should dance and evaporate. This ensures an even cook and perfect golden edges.
-
Adjust Thickness: Vary the amount of batter you pour for thicker or thinner pancakes based on your personal preference; it's all about customization!
-
Use Greased Spatula: Lightly grease your spatula with butter before flipping; it prevents sticking and ensures smooth pancake transitions.
-
Experiment with Toppings: Don't shy away from bold combinations; trying savory toppings like cheese or herbs can elevate your Pannenkoeken into a gourmet dish.
These handy tips will help you master the art of making Pannenkoeken, ensuring delicious results every time!
Storage Tips for Pannenkoeken
-
Room Temperature: Serve your Pannenkoeken warm for the best experience. If there are leftovers, they can stay at room temperature for up to 2 hours before needing to be refrigerated.
-
Fridge: Store any leftover Pannenkoeken in an airtight container in the fridge for up to 3 days. This helps retain their moisture and avoids drying out.
-
Freezer: Freeze Pannenkoeken by placing layers between parchment paper in an airtight container or freezer bag. They can last up to 2 months; just make sure to label the bag for easy access.
-
Reheating: To enjoy your Pannenkoeken again, reheat them in a toaster or microwave. For the toaster, set it on a medium setting; for the microwave, cover with a damp paper towel to keep them moist, heating in 15-second intervals.
Pannenkoeken Variations & Substitutions
Feel free to unleash your culinary creativity by customizing these delightful pancakes with various flavors and textures!
-
Dairy-Free: Use almond or oat milk in place of buttermilk and vegetable oil instead of melted butter for a creamy texture without dairy.
-
Gluten-Free: Swap the all-purpose flour with gluten-free flour blend for a pancake that everyone can enjoy without worry.
-
Add Zest: Create a citrus twist by adding the zest of one lemon or orange to the batter for a refreshing flavor boost.
-
Sweet Spice: Sprinkle some cinnamon or nutmeg into the batter for a warm and cozy flavor that’s perfect for chilly mornings.
-
Savory Surprise: For a heartier option, incorporate cooked spinach and feta cheese into the batter; the saltiness of feta elevates the taste.
-
Chocolate Chip Dream: Mix in mini chocolate chips directly to the batter before cooking for a gooey, indulgent twist that chocolate lovers will adore.
-
Nutty Crunch: Add crushed nuts such as walnuts or pecans to the batter for an added crunch and toasted flavor that enhances each bite.
-
Savory Veggie Medley: Experiment with finely chopped bell peppers, onions, or zucchini in the batter for a nourishing, savory Pannenkoeken.
These variations not only make your Pannenkoeken unique but also cater to different dietary preferences and taste preferences! And don’t forget to explore more ideas on creative pancake toppings to make your meal even more exciting. Every twist adds a special touch, keeping breakfast fresh and delightful.

Pannenkoeken Recipe FAQs
What type of flour should I use for Pannenkoeken?
You can use all-purpose flour for the classic texture of Pannenkoeken. If you prefer a healthier option, whole wheat flour works great, too! For gluten-free needs, a gluten-free flour blend will also do the trick. Just be sure to check the label for the right proportions.
How do I store leftovers of my Pannenkoeken?
Store any leftover Pannenkoeken in an airtight container in the fridge for up to 3 days. This method keeps them from drying out and helps retain moisture. When you're ready to enjoy them, you can reheat in a toaster or microwave to keep their fluffy texture intact.
Can I freeze Pannenkoeken?
Absolutely! To freeze your Pannenkoeken, place pieces of parchment paper in between each pancake and store them in an airtight container or freezer bag. They can be safely frozen for up to 2 months. Don’t forget to label the container to keep track of when you made them!
What do I do if my Pannenkoeken are too dense?
If your Pannenkoeken turn out dense, it may be due to overmixing the batter. Make sure you mix just until combined and keep some lumps. Another tip is to ensure your baking powder is fresh, as expired powder won’t give the lift needed for light and fluffy pancakes.
Can I make Pannenkoeken vegan?
Yes, you can! Substitute the large egg with a flax egg by mixing 1 tablespoon of ground flaxseed with 2.5 tablespoons of water and letting it sit for a few minutes to thicken. Additionally, replace buttermilk with a plant-based milk combined with a tablespoon of lemon juice. These swaps will allow you to enjoy delicious vegan Pannenkoeken.
How can I enhance the flavor of my Pannenkoeken?
For a flavor boost, try adding a teaspoon of vanilla extract to the batter or even a pinch of cinnamon for a warm spice. Toppings also elevate the experience; consider fresh fruit, syrup, or even savory ingredients like cheese and herbs for an exciting twist!
Easy Pannenkoeken: Fluffy Dutch Pancakes to Savor!
Ingredients
Equipment
Method
- In a medium bowl, whisk together all-purpose flour, granulated sugar, baking powder, baking soda, and a pinch of salt. Set aside.
- In a separate bowl, combine egg, buttermilk, melted butter, and vanilla extract. Whisk until smooth.
- Gently fold the wet ingredients into the dry mixture. Let the batter rest for 5-10 minutes.
- Preheat a non-stick pan or griddle over medium heat and lightly grease with butter.
- Pour about ¼ cup of batter onto the hot griddle, leaving space between each pancake.
- Cook for 2-3 minutes until bubbles form, then flip and cook for another 2-3 minutes until golden brown.
- Stack the pancakes on a warm plate and dust with powdered sugar. Add your choice of toppings.

Leave a Reply