
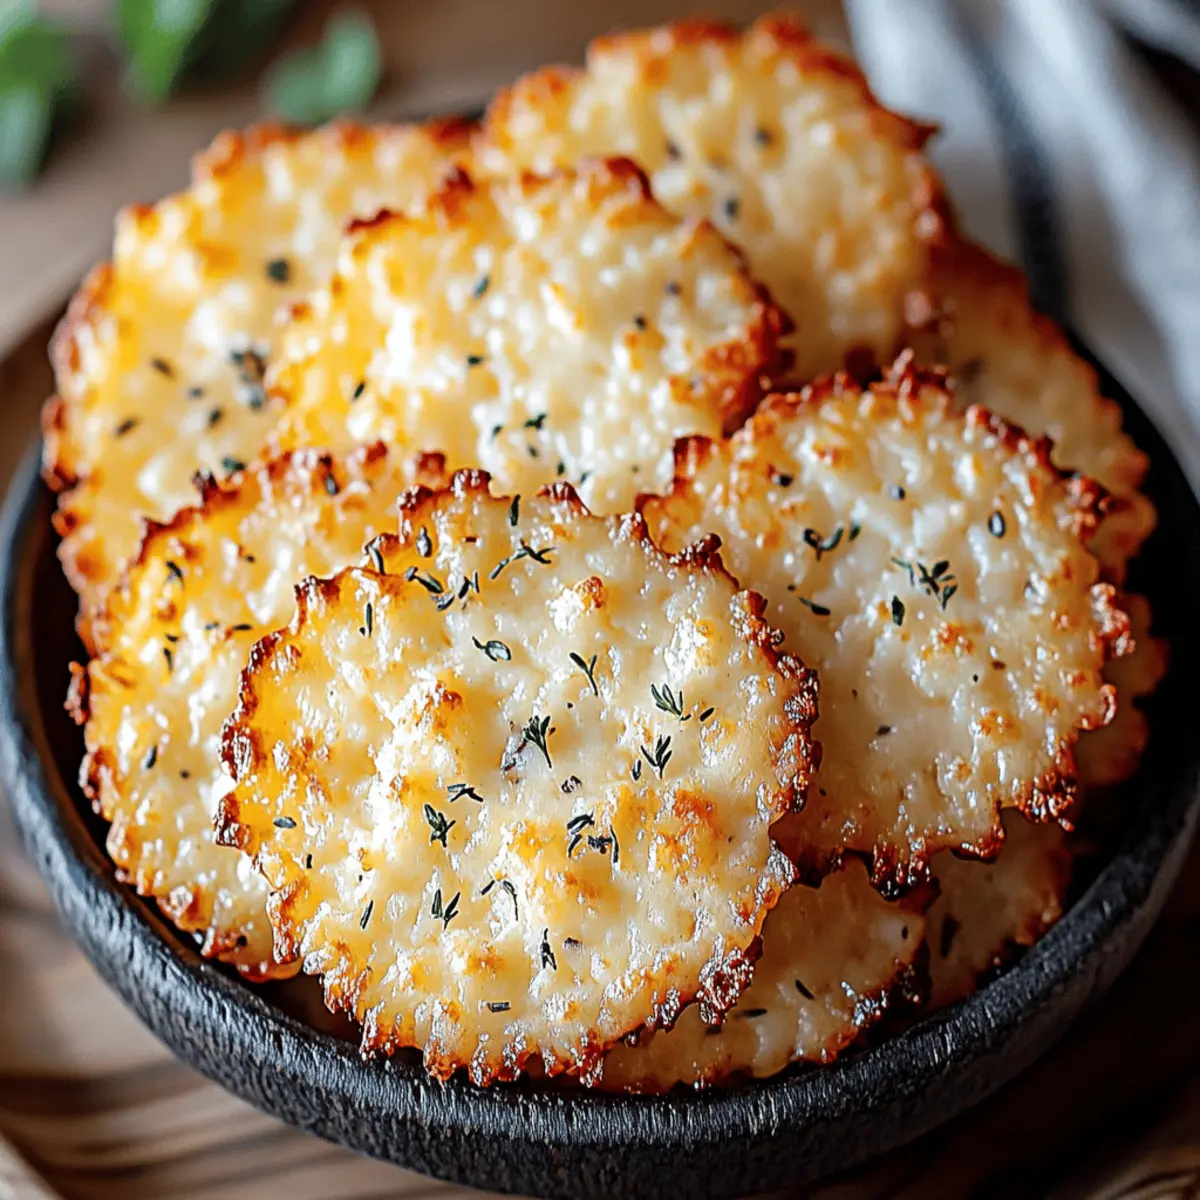
As I stood in my kitchen, a sudden craving struck for something crispy and savory. That’s when it hit me—why not whip up a batch of Cottage Cheese Chips? These delightful snacks not only satisfy my crunch cravings but are also a healthy, high-protein treat perfect for any time of the day. The beauty of this recipe lies in its simplicity: just a handful of ingredients and minimal prep time give you the freedom to infuse your own favorite flavors. Whether you opt for the crispy fried version or the lighter baked alternative, these chips are sure to impress friends and family alike. Wouldn't it be fun to discover just how customizable they can be? Let's dive into this addictive recipe together!
Why Are Cottage Cheese Chips So Addictive?
Crispy Delight: These Cottage Cheese Chips are incredibly crunchy, providing a satisfying bite that enhances any snack time.
High-Protein: Packed with protein, they keep you full much longer than traditional chips, making them the perfect guilt-free snack.
Customizable Flavors: Whether you love spicy, cheesy, or herb-infused, the flavor possibilities are endless, allowing you to personalize each batch to your taste.
Easy Preparation: With minimal ingredients and simple steps, you can whip these up in no time—ideal for busy weeknights or unexpected guests!
Healthy Alternative: Swap out those greasy commercial snacks for a homemade option that's not only delicious but also nutritious. Try pairing your chips with fresh salsa or guacamole for an irresistible appetizer combo!
Cottage Cheese Chips Ingredients
• Discover the perfect blend of flavors!
For the Base
- Cottage Cheese (2 cups/450g) – Ensure it's well-drained for the best texture and to achieve that satisfying crunch.
- Egg (1 large) – Acts as a binder, holding everything together for a perfectly shaped chip.
- All-Purpose Flour (½ cup/60g) – Adds the structure needed; substitute with almond flour for a gluten-free option.
For the Flavor
- Grated Parmesan Cheese (¼ cup/30g) – Adds a savory note and crispiness; try nutritional yeast for a vegan twist!
- Garlic Powder (1 tsp) – Provides depth of flavor; fresh minced garlic can also be used for added zing.
- Onion Powder (1 tsp) – Enhances savoriness; skip fresh onions to avoid excess moisture.
- Dried Oregano (½ tsp) – Infuses an aromatic touch; Italian seasoning works if you’re out of oregano.
- Salt (¼ tsp) – Balances the flavors; feel free to adjust according to taste.
- Black Pepper (¼ tsp) – Adds subtle heat; for a kick, consider using cayenne pepper.
For Frying or Baking
- Olive Oil (¼ cup/60ml) – Essential for crisping the chips; avocado oil is a great substitute if desired.
- Optional Fresh Herbs (¼ cup, e.g., parsley, chives) – Add freshness and color; omit if you're looking for simplicity.
- Optional Red Pepper Flakes – It’s a great addition for heat; sprinkle according to your preference.
Enjoy your homemade Cottage Cheese Chips, a healthy snack bursting with flavor!
Step‑by‑Step Instructions for Cottage Cheese Chips
Step 1: Drain the Cottage Cheese
Begin by placing the cottage cheese in a fine-mesh sieve over a bowl. Let it drain for 15-20 minutes; gently press down with a spatula to remove excess moisture. This crucial step ensures that your Cottage Cheese Chips achieve the perfect crispy texture when cooked.
Step 2: Mix the Ingredients
In a large mixing bowl, combine the well-drained cottage cheese, egg, all-purpose flour, grated Parmesan, garlic powder, onion powder, dried oregano, salt, and black pepper. Use a spoon or spatula to blend thoroughly until a sticky dough forms. This mixture is the heart of your Cottage Cheese Chips, bursting with flavor and nutrition.
Step 3: Rest the Mixture
Allow the mixture to rest for 10-15 minutes. This resting period is essential as it hydrates the flour, helping to create a better texture for your chips. While you wait, preheat your skillet for frying—your kitchen is about to fill with delicious aromas!
Step 4: Heat the Oil
Pour olive oil into a skillet until it reaches about ½ inch deep, then heat over medium heat. You’ll want the oil to reach about 350°F (175°C) for ideal frying conditions. To test, drop a small amount of the mixture into the oil; if it sizzles immediately, you're ready to go!
Step 5: Fry the Chips
Using a spoon, drop spoonfuls (1-2 tablespoons) of the mixture into the hot oil. Flatten each scoop slightly with the back of the spoon, taking care not to overcrowd the skillet. Fry for 2-3 minutes on each side, or until they turn golden brown and crispy. Keep an eye on them to avoid burning.
Step 6: Drain the Chips
Once crispy and golden, carefully remove the chips from the skillet using tongs. Transfer them to a wire rack or a plate lined with paper towels to drain any excess oil. This step helps ensure your Cottage Cheese Chips remain wonderfully crunchy.
Step 7: Repeat Cooking
Continue frying the remaining mixture in batches, making sure to adjust the oil temperature as needed. Repeat the process until all the mixture is transformed into delightful, golden Cottage Cheese Chips. Each batch will bring you closer to snack perfection!
Cottage Cheese Chips Customizations
Feel free to unleash your culinary creativity and personalize your Cottage Cheese Chips with these delightful variations!
- Spicy Twist: Add cayenne pepper or hot sauce to the mix for a fiery kick, perfect for those who love heat in their snacks.
- Sweet Surprise: After frying, sprinkle with cinnamon sugar for a surprising sweet treat that complements the savory base.
- Cheesy Upgrade: Experiment with cheese varieties like feta or Romano for unique, bold flavors that elevate your chips.
- Baked Variation: Spread the mixture thinly on a baking sheet and bake at 375°F (190°C) for 15-20 minutes, flipping halfway for crispiness. This method gives a lighter option without sacrificing flavor!
- Herb Infusion: Mix in fresh herbs like parsley, chives, or thyme to create a vibrant, fragrant chip that’s bursting with flavor.
- Nutty Crunch: Add a tablespoon of ground flax or chia seeds to the batter for added texture and nutritional benefits.
- Veggie Power: Incorporate finely chopped spinach or kale into your mixture for an extra veggie boost. These greens add color and nutrients while complementing the flavor.
- Layered Dipping Fun: Serve your Cottage Cheese Chips alongside a mixture of dips, such as zesty salsa, creamy guacamole, or herbed yogurt dip for an interactive snack experience.
Explore these options and create your version of Cottage Cheese Chips, making each bite a fun and flavorful adventure!
What to Serve with Cottage Cheese Chips?
Transform your Cottage Cheese Chips into a memorable meal by pairing them with delightful accompaniments.
- Fresh Guacamole: This creamy dip adds a rich, buttery taste that contrasts beautifully with the chips' crunch. The zesty lime will brighten your palate with every bite.
- Tangy Salsa: A vibrant, chunky salsa brings a burst of flavor and freshness, making each chip a satisfying celebration of taste. Try a mango salsa for a sweet twist!
- Spicy Hummus: Smooth and spicy, hummus complements the chips’ savory profile, making for a protein-packed snack perfect for dipping.
- Cheesy Spinach Dip: A warm, gooey spinach dip elevates your snack game, and its lush creaminess will make your Cottage Cheese Chips irresistible.
- Creamy Ranch Dressing: Perfect for those who enjoy a cool, herbaceous dip, ranch dressing offers a comforting combination that keeps you coming back for more.
- Roasted Vegetable Salad: Serve alongside a refreshing salad filled with colorful roasted veggies. The crunch of the vegetables provides a delightful contrast. Here, flavors mingle beautifully with your chips!
- Chocolate-Dipped Chips: For a funky dessert twist, try sprinkling chips with cinnamon sugar after frying, or serve with melted dark chocolate for an unexpected treat.
- Sparkling Water with Lime: To wash down the savory bites, sip on refreshing sparkling water with a splash of lime—perfectly hydrating and uplifting!
- Chilled White Wine: Pair with a glass of crisp white wine, as it enhances the savory flavors while keeping the experience light and satisfying.
- Fruit Skewers: For a sweet and nutritious dessert, serve fresh fruit skewers on the side. Their natural sweetness beautifully complements the savory flavors of the chips.
Make Ahead Options
These Cottage Cheese Chips are perfect for meal prep enthusiasts! You can prepare the mixture (cottage cheese, egg, flour, and seasonings) up to 24 hours in advance. Simply mix all the ingredients as directed, then cover and refrigerate the dough. This not only saves time but also allows the flavors to meld beautifully. When you're ready to enjoy the chips, let the mixture sit at room temperature for about 15 minutes before frying—this helps maintain that delightful texture. For extra crunch, fry them fresh after resting. If you have leftovers, store them in an airtight container for up to 3 days, and simply re-crisp them in the oven before serving!
How to Store and Freeze Cottage Cheese Chips
Room Temperature: Store leftover chips in an airtight container for up to 3 days to keep them fresh and crispy.
Fridge: If you prefer, you can refrigerate the chips, but they may lose some crunch. Use within 3 days for the best flavor.
Freezer: For longer storage, freeze the chips in a single layer on a baking sheet, then transfer to an airtight container or freezer bag. They can be frozen for up to 2 months.
Reheating: To regain their crispiness, reheat frozen or refrigerated chips in an oven at 350°F (175°C) for about 5-10 minutes before serving. Enjoy your Cottage Cheese Chips at their best!
Expert Tips for Cottage Cheese Chips
- Proper Drainage: Ensure your cottage cheese is thoroughly drained to avoid moisture, which can lead to soggy chips. Aim for 15-20 minutes in a sieve.
- Batter Thickness: Keep the chip mixture slightly thick; this helps maintain their shape while frying or baking. A wet batter won't hold up well.
- Avoid Overcrowding: When frying, don’t overcrowd the skillet. This causes temperature fluctuations, resulting in uneven cooking and less crispy chips.
- Monitor Temperature: Keep an eye on the oil temperature; too hot causes burning, while too cool leads to greasy chips. Test with a small dollop of batter!
- Customize Wisely: Feel free to experiment with spices and herbs, but remember to start with small amounts—it's easier to add than to subtract!
- Storage Tips: Store leftover Cottage Cheese Chips in an airtight container at room temperature; they’ll stay crunchy for up to 3 days. Recrisp in the oven if needed.
Cottage Cheese Chips Recipe FAQs
What type of cottage cheese should I use?
Absolutely! For the best texture in your Cottage Cheese Chips, opt for full-fat or 2% cottage cheese. Ensure it's well-drained, as excess moisture can lead to soggy chips. Whole milk varieties provide richness while light options work too but might yield less crispy results.
How should I store leftovers?
To keep your Cottage Cheese Chips crispy, store them in an airtight container at room temperature for up to 3 days. If they lose their crunch, simply reheat them in an oven at 350°F (175°C) for 5-10 minutes. If you prefer refrigerating, use within 3 days to maintain flavor and quality!
Can I freeze Cottage Cheese Chips?
Yes, you can! Freeze your cooled Cottage Cheese Chips in a single layer on a baking sheet until firm, then transfer them to an airtight container or freezer bag. They can be stored for up to 2 months. When you're ready to enjoy them, just reheat in the oven to bring back their crunch!
What should I do if my chips turn soggy?
If your Cottage Cheese Chips end up soggy, it may be due to excess moisture in the cottage cheese or overcrowing when frying. To troubleshoot, ensure the cottage cheese is well-drained and try frying in smaller batches. If they're already soggy, re-baking them in a hot oven can help re-crisp them!
Are Cottage Cheese Chips safe for pets?
While the ingredients in Cottage Cheese Chips (like flour and cheese) are typically safe for pets in small amounts, it's best to avoid sharing these chips with them. The added seasonings, such as salt and spices, can be harmful. Always check with your vet if you're unsure about specific ingredients!
Any dietary alternatives for allergies?
Very! If you're dealing with gluten allergies, simply substitute the all-purpose flour with almond flour or a gluten-free flour blend. For dairy-free versions, swap the Parmesan cheese with nutritional yeast for flavor without the cheese. Always ensure you're using ingredients that comply with any additional dietary restrictions!
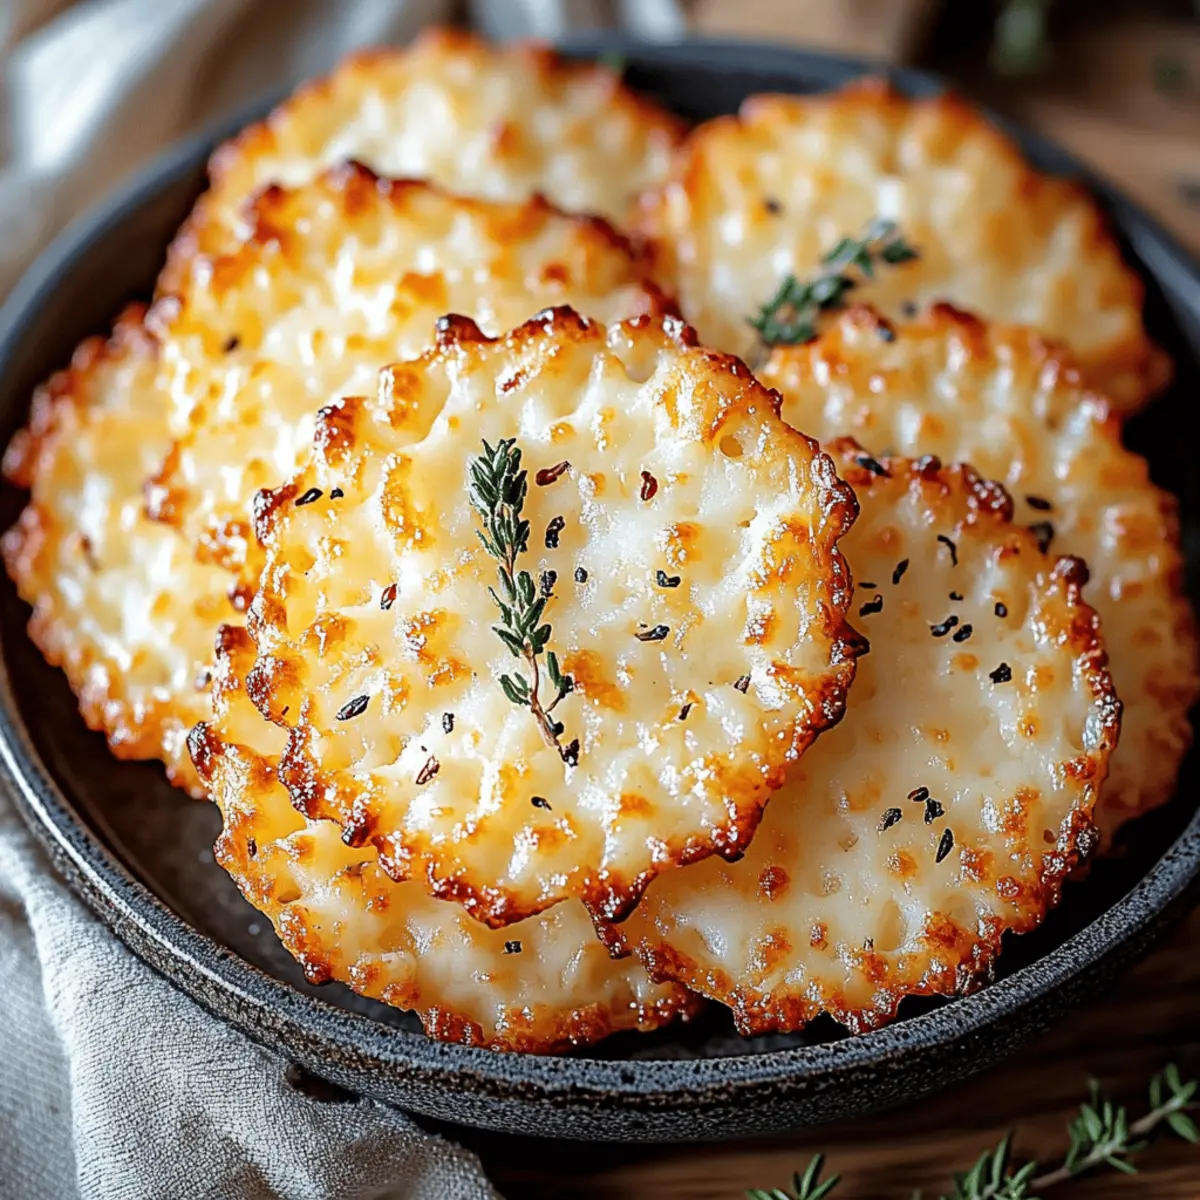
Cottage Cheese Chips: The Best Crispy Snack You'll Crave
Ingredients
Equipment
Method
- Drain the Cottage Cheese: Place in a fine-mesh sieve over a bowl. Let it drain for 15-20 minutes.
- Mix the Ingredients: Combine cottage cheese, egg, all-purpose flour, Parmesan, garlic powder, onion powder, oregano, salt, and black pepper in a bowl.
- Rest the Mixture: Allow to rest for 10-15 minutes.
- Heat the Oil: Pour olive oil into a skillet and heat over medium until it reaches about 350°F (175°C).
- Fry the Chips: Drop spoonfuls of the mixture into the oil, flattening slightly. Fry for 2-3 minutes on each side until golden brown.
- Drain the Chips: Remove from skillet and place on a wire rack or plate lined with paper towels.
- Repeat Cooking: Continue frying remaining mixture in batches until all chips are cooked.


Leave a Reply