
As I opened my freezer, a smile crept across my face—there they were, my irresistible Frozen Yogurt Pops, just waiting to cool me down on another scorching summer day. These delightful homemade treats not only promise a creamy, tangy refreshment but also stand as a guilt-free alternative to those sugary store-bought options. With a quick prep time and endless opportunities for customization, you can tailor these pops to your unique tastes using fresh fruit, nut butters, or even a drizzle of chocolate. Whether it’s for a sunny afternoon or a sweet treat after dinner, you can enjoy a refreshing burst of flavor while keeping things light and healthy. Curious about the simple steps to create these delightful frozen wonders? Let’s dive in!
Why Make Frozen Yogurt Pops?
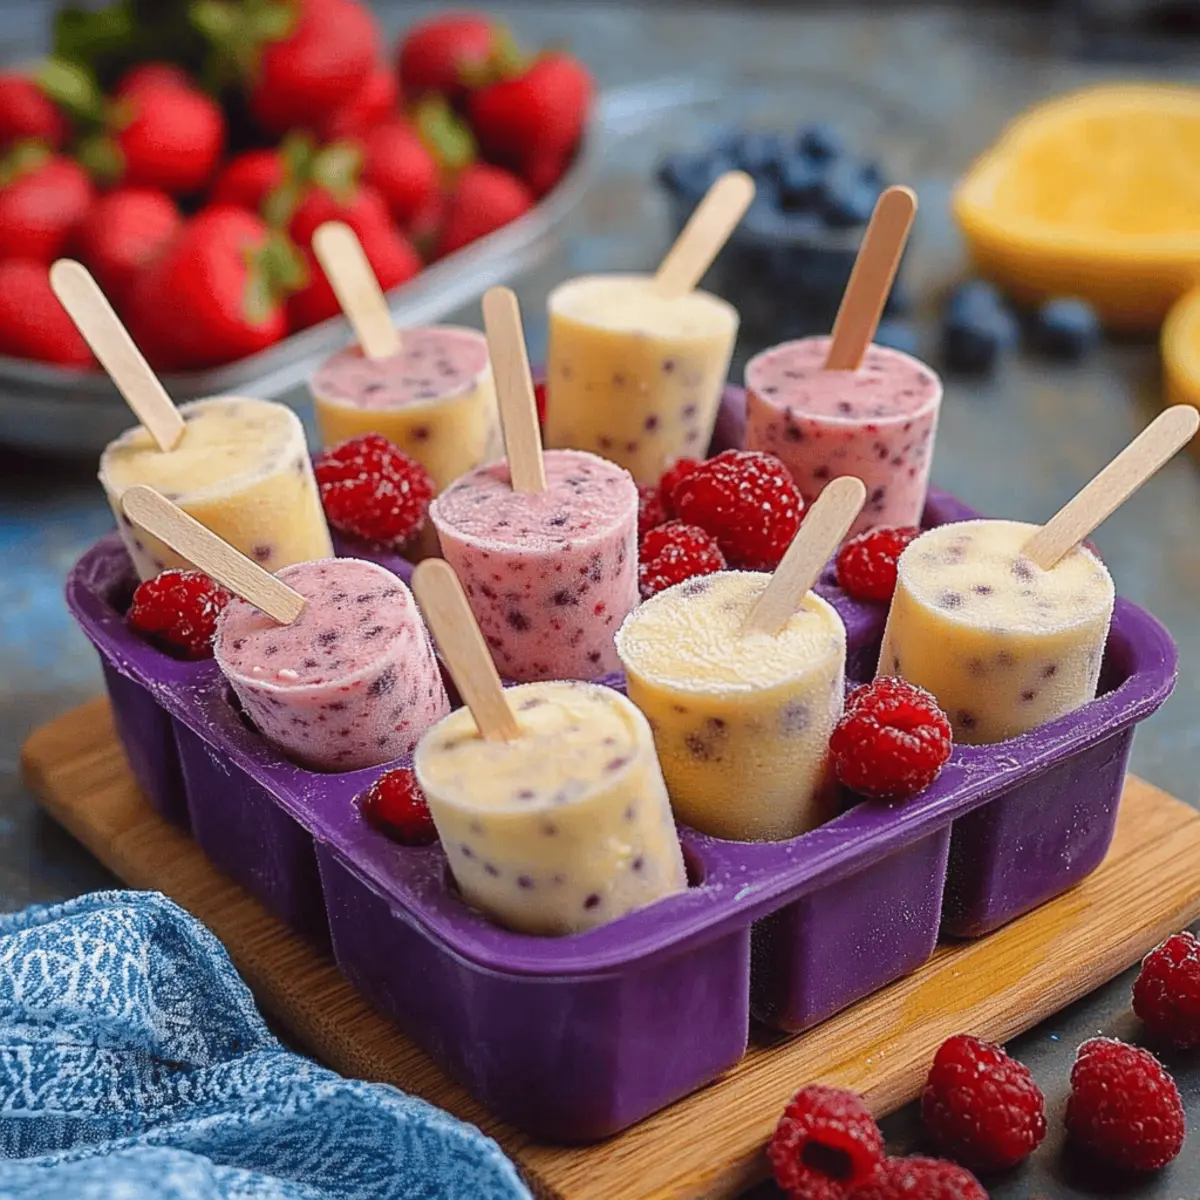
Delicious and healthy, these Frozen Yogurt Pops are the perfect summer treat! Customizable flavor options allow you to play with your favorite fruits and mix-ins, making every batch uniquely yours. Easy to prepare, you can whip them up in under 30 minutes, and they freeze overnight for a quick grab-and-go snack. Guilt-free indulgence! Rich in protein and probiotics, they provide a nutritious alternative to heavy desserts, proving that healthy can be delicious. Whether for a family gathering or a personal treat, these pops are sure to impress!
Frozen Yogurt Pops Ingredients
For the Yogurt Base
• Greek Yogurt – Provides creaminess and tangy flavor; full-fat gives a richer treat while non-fat is a lighter choice.
• Honey or Maple Syrup – A natural sweetener to balance the yogurt's tartness; adjust to your taste for the perfect sweetness.
• Vanilla Extract (optional) – A hint of sweetness that enhances the overall flavor profile.
• Milk or Yogurt – Use to thin the mixture if it’s too thick; add gradually until you reach your desired consistency.
• Pinch of Salt – Enhances sweetness and overall flavor without being identifiable.
For the Fruit Mix-Ins
• Fresh/Frozen Fruit (e.g., berries, mango, peaches) – Adds natural sweetness and vibrant flavor; combine a mixture for a colorful presentation.
Optional Toppings
• Granola – Offers delightful crunch and texture; perfect for adding on top before freezing.
• Chocolate Chips – A sweet treat that brings an indulgent touch to your pops.
• Chopped Nuts – Great for added protein and crunch; try your favorites like almonds or walnuts.
• Shredded Coconut – Adds tropical flair and chewiness to each bite.
These Frozen Yogurt Pops not only provide a fun and refreshing treat but also let you customize them to suit your taste and nutritional needs. Happy popping!
Step‑by‑Step Instructions for Frozen Yogurt Pops
Step 1: Prepare the Fruit
Start by washing and chopping your fresh fruits into small pieces. If you’re using frozen fruits, there’s no need to thaw them; simply measure them out for use. For a smoother texture in your Frozen Yogurt Pops, consider pureeing half of your fruit blend in a blender until smooth and creamy.
Step 2: Make the Yogurt Mixture
In a large bowl, combine Greek yogurt with honey or maple syrup. Whisk these ingredients together until the mixture is smooth and creamy, ensuring there are no lumps. Add a splash of vanilla extract to enhance the flavor profile—this makes your Frozen Yogurt Pops taste even more delightful!
Step 3: Adjust Sweetness
Taste the yogurt mixture to see if it meets your sweetness preference. If it’s too tart for your liking, gradually incorporate more honey or maple syrup, stirring well after each addition. This step ensures that your Frozen Yogurt Pops will hit the right notes of flavor, so you can savor each bite.
Step 4: Thin the Mixture (if needed)
Check the consistency of your yogurt mixture. If it feels too thick to pour, add milk or a bit more yogurt, one tablespoon at a time, until it reaches a pourable consistency. This will help the mixture fill your molds easily, making perfect Frozen Yogurt Pops that are creamy and enjoyable.
Step 5: Add Salt
Sprinkle a pinch of salt into the yogurt mixture and stir gently to incorporate. This small addition enhances the sweetness and overall flavor of your Frozen Yogurt Pops, ensuring they are perfectly balanced and deliciously satisfying with each taste.
Step 6: Combine Fruit and Yogurt
Gently fold your prepared fruit into the yogurt mixture, ensuring that it is evenly distributed throughout. This not only adds vibrant colors to your Frozen Yogurt Pops but also provides delightful bursts of flavor with every lick. Take care not to overmix, so the fruit stays chunky.
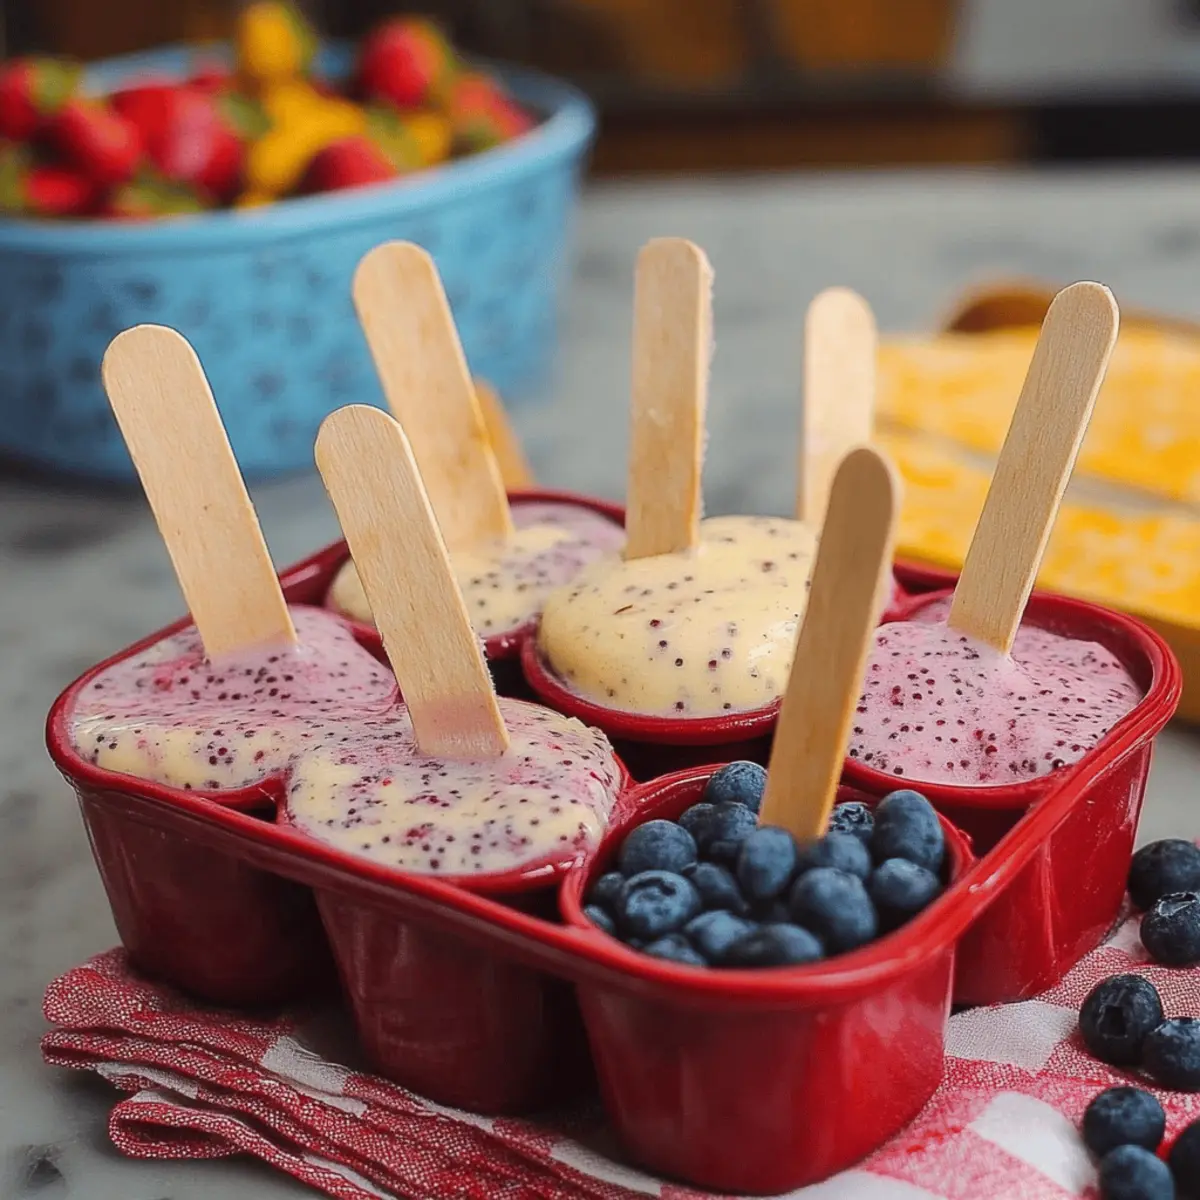
Step 7: Fill Popsicle Molds
Carefully pour the fruit and yogurt mixture into your popsicle molds, leaving a little space at the top of each mold to allow for expansion as they freeze. This step is crucial; too much mixture could lead to messy pops, while the right amount ensures a perfect shape.
Step 8: Insert Popsicle Sticks
Once the molds are filled, insert the popsicle sticks into the center of each mold. Ensure they stand upright, allowing the mixture to freeze around them without knocking them over. This will make it easy to enjoy your Frozen Yogurt Pops after they are set.
Step 9: Freeze
Place the filled molds into your freezer, allowing them to freeze for at least 4 to 6 hours, or ideally, overnight. This extended time ensures that your Frozen Yogurt Pops are fully set, providing the best texture and flavor when you finally take them out.
Step 10: Remove from Molds
To release the Frozen Yogurt Pops, run warm water over the outside of the molds for a few seconds. Gently pull the pops out by the sticks once they begin to loosen, being careful not to pull too hard. This technique helps maintain the shape of your delicious creations.
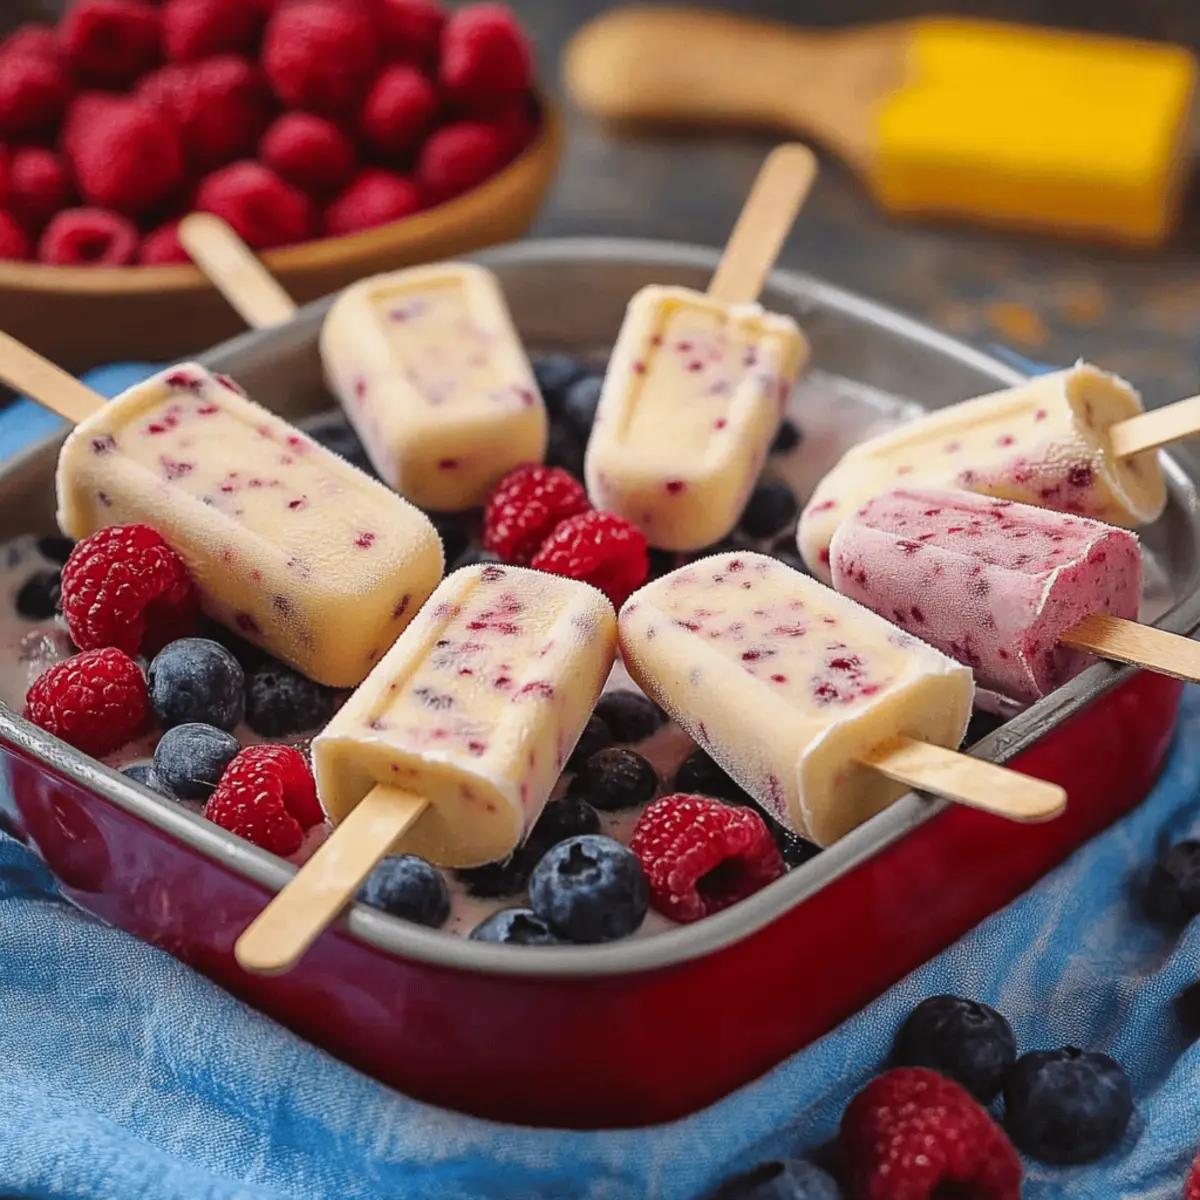
Step 11: Enjoy or Store
Serve your Frozen Yogurt Pops immediately for a refreshing treat, or wrap them individually in plastic wrap and store them in a freezer-safe container for later enjoyment. With proper storage, these delightful pops will stay fresh for 2-3 months, ready for a guilt-free snack whenever you desire.
Frozen Yogurt Pops Variations & Substitutions
Feel free to get creative and make these Frozen Yogurt Pops truly your own by exploring these fun and delicious variations!
- Dairy-Free: Substitute Greek yogurt with almond or coconut yogurt for a creamy, vegan-friendly option that everyone will love.
- Nutty Delight: Swirl in some peanut butter or almond butter for a deliciously nutty flavor that adds richness and protein to each pop.
- Chocolate Dipped: After freezing, dip the pops in melted dark chocolate for an indulgent treat that's hard to resist. Just a bite of the cold yogurt with the warm chocolate is pure bliss!
- Tropical Twist: Use pineapple chunks and a splash of coconut milk to create a tropical burst of flavor that transports you to the beach with every lick.
- Coffee Lover: Blend in a shot of espresso or cold brew for an energizing coffee-flavored pop that’s perfect for those early mornings.
- Spicy Kick: Add a pinch of cayenne pepper to the mixture for a surprising little kick that contrasts beautifully with the sweetness of the yogurt.
- Sweet Swaps: Experiment with different natural sweeteners like agave syrup or stevia to find your perfect balance of sweetness without the calories.
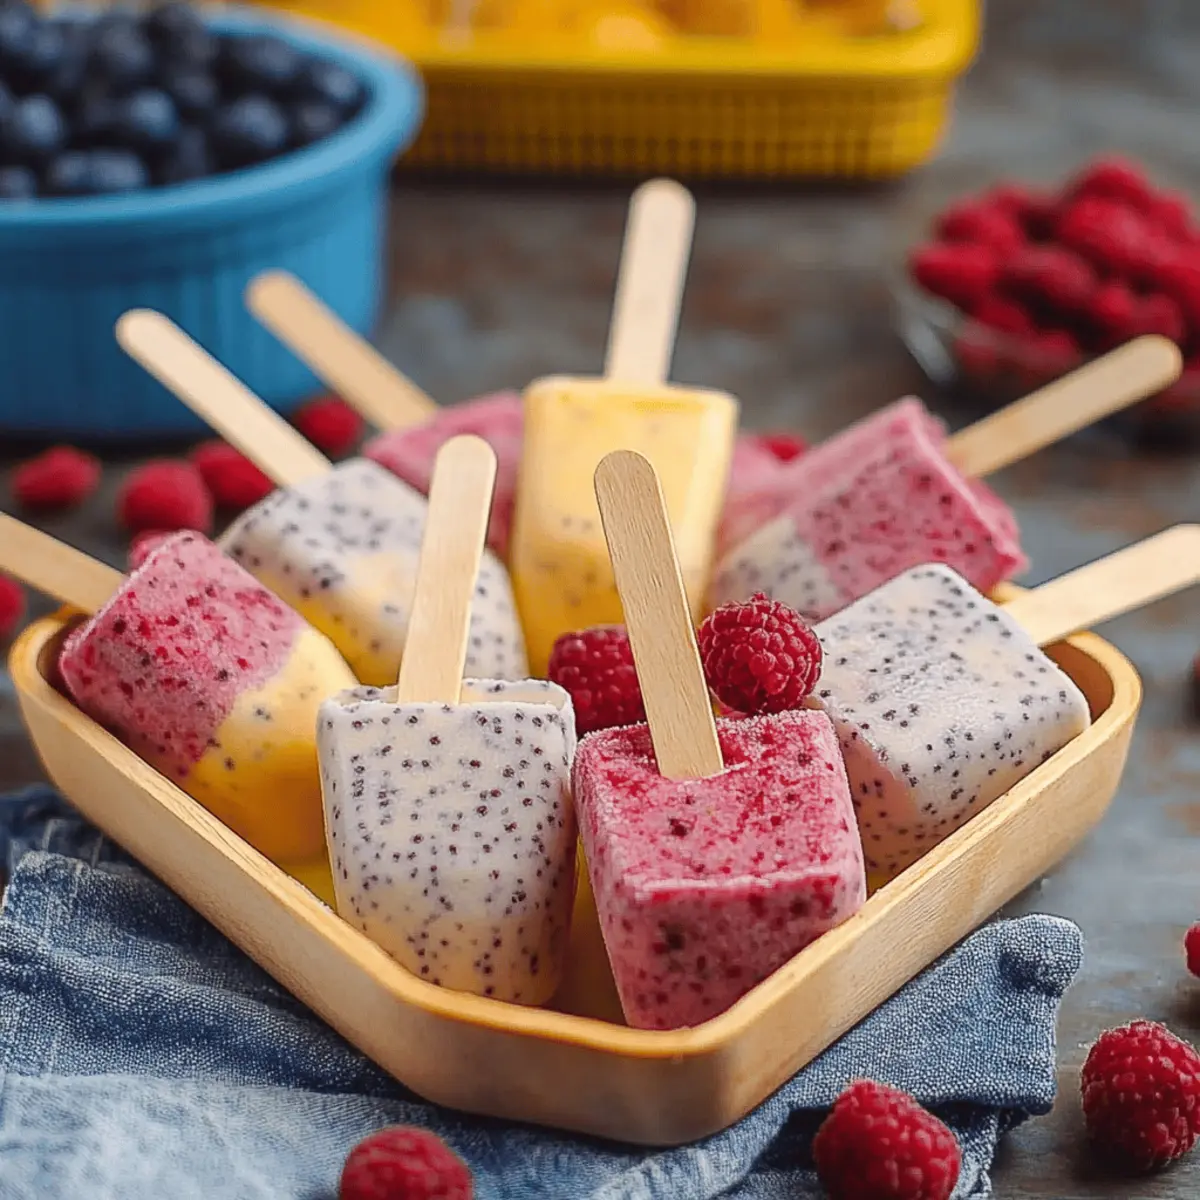
- Berry Medley: Combine different berries like strawberries, blueberries, and raspberries to make a colorful and antioxidant-rich treat that’s bursting with flavor.
Each variation opens up a world of possibilities to suit your mood and preferences! For other healthy dessert inspirations, you might also enjoy trying out a zesty yogurt parfait or refreshing fruit sorbet. Enjoy your kitchen adventure!
Make Ahead Options
These Frozen Yogurt Pops are an ideal choice for busy home cooks looking to save time on hot summer days! You can prepare the yogurt mixture and chop your chosen fruits up to 24 hours in advance. Simply mix your Greek yogurt, sweetener, and any flavor enhancers, then store it in an airtight container in the refrigerator. Keep the chopped fruit separate to maintain its freshness. When you’re ready to assemble, just fold the fruit into the yogurt, fill the molds, and freeze overnight for the best results. This method ensures that your pops taste just as delicious and vibrant without compromising on quality, giving you a refreshing treat ready whenever you need it!
Expert Tips for Frozen Yogurt Pops
- Choose Quality Yogurt: Use high-quality Greek yogurt for creaminess and flavor; a low-quality yogurt can lead to unappealing results.
- Balance Sweetness: Always taste the mixture before freezing; adjusting sweetness after freezing is nearly impossible, so get it right now!
- Mix-ins Matter: Be mindful of the moisture content in fresh fruits; some fruits can make the yogurt mixture too watery if added in excess.
- Use Silicone Molds: Opt for silicone molds to make removing the pops easier; they provide flexibility to pop out your treats without damage.
- Experiment Freely: Don’t hesitate to try unique flavor combinations like mango-lime or strawberry-basil; customizing your Frozen Yogurt Pops can lead to delightful surprises.
How to Store and Freeze Frozen Yogurt Pops
Fridge: Store your Frozen Yogurt Pops in the fridge for up to 3 days if you plan to enjoy them soon, but this is not ideal as they are best served frozen.
Freezer: Wrap each pop individually in plastic wrap or place them in a freezer-safe container to avoid freezer burn. These treats can last for up to 2-3 months in the freezer, remaining deliciously creamy.
Serving: When you're ready to enjoy your pops, remove them from the freezer and let them sit at room temperature for a few minutes to soften slightly. This helps with easy removal from molds if they’re still in there.
Reheating: Since Frozen Yogurt Pops are meant to be enjoyed cold, there's no reheating necessary. Enjoy them right out of the freezer for the best experience!
What to Serve with Frozen Yogurt Pops?
Whether you're hosting a sunny barbecue or seeking a refreshing treat to accompany your afternoon, creating a delightful summer spread is easy!
- Creamy Fruit Salad: A medley of seasonal fruits adds fresh brightness, enticingly complementing the creamy texture of the yogurt pops.
- Crunchy Granola Parfait: Layering your yogurt pops with granola and yogurt creates a satisfying texture contrast and a burst of flavor.
- Grilled Chicken Skewers: These savory bites bring a deliciously smoky flavor that balances the sweetness of your frozen treat.
- Ice-Cold Lemonade: A zesty, refreshing drink that perfectly pairs with the coolness of the yogurt pops, making you feel rejuvenated.
- Berry Tart: A light dessert that showcases sweet berries, echoing the fruity flavor of the pops, while adding a touch of elegance to your spread.
- Chocolate Dip: Melted dark chocolate for drizzling adds a touch of decadence, turning your frozen pops into an indulgent treat.
- Coconut Water: This hydrating drink complements the tropical flair of your yogurt pops, refreshing you with every sip.
- Mini Cheesecakes: Their creamy base pairs wonderfully with the fruity pops, creating a delightful balance of flavors for all to enjoy.
- Fruity Smoothies: A blend of your favorite fruits can enhance the fruity essence of your frozen yogurt pops for an extra refreshing treat.
Frozen Yogurt Pops Recipe FAQs
What fruits work best for Frozen Yogurt Pops?
Absolutely! Fresh or frozen fruits like berries, mango, peaches, and bananas are fantastic choices. For a smoother texture, feel free to puree some of the fruit before mixing; this creates a beautiful balance of creamy yogurt and fruity goodness!
How long can I store Frozen Yogurt Pops in the freezer?
Very! When properly wrapped in plastic or stored in a freezer-safe container, your Frozen Yogurt Pops can stay delicious for up to 2-3 months. Just remember to keep them tightly sealed to prevent freezer burn.
Can I freeze the yogurt mixture before adding the popsicle sticks?
Certainly! Just note that it's best to fill the molds completely before freezing them. If you choose to freeze the mixture without sticks, let it soften slightly when you’re ready to serve, and then add the sticks before refreezing for a few hours.
What if my pops are difficult to remove from the molds?
No worries! If you’re struggling to get your Frozen Yogurt Pops out, simply run warm water on the outside of the molds for a few seconds. This helps loosen them up, allowing you to gently pull them out by the sticks without losing any shape.
Are these pops suitable for kids with allergies?
Of course! You can customize your Frozen Yogurt Pops to cater to various dietary needs. For dairy-free options, substitute Greek yogurt with plant-based yogurt. For nut allergies, simply skip nut-based mix-ins or toppings to ensure everyone can enjoy!
Delicious Frozen Yogurt Pops: Your Guilt-Free Summer Escape
Ingredients
Equipment
Method
- Wash and chop fresh fruits into small pieces or measure out frozen fruits.
- Combine Greek yogurt with honey or maple syrup in a large bowl and whisk until smooth.
- Adjust sweetness by tasting the mixture and adding more sweetener if desired.
- If mixture is too thick, thin with milk or yogurt, one tablespoon at a time.
- Add a pinch of salt and stir to incorporate.
- Gently fold in the prepared fruit, avoiding overmixing.
- Pour the mixture into popsicle molds, leaving space at the top.
- Insert popsicle sticks into the center of the molds.
- Freeze for 4 to 6 hours, preferably overnight.
- Run warm water over the outside of the molds to release the pops.
- Serve immediately or store in a freezer-safe container for later.


Leave a Reply