
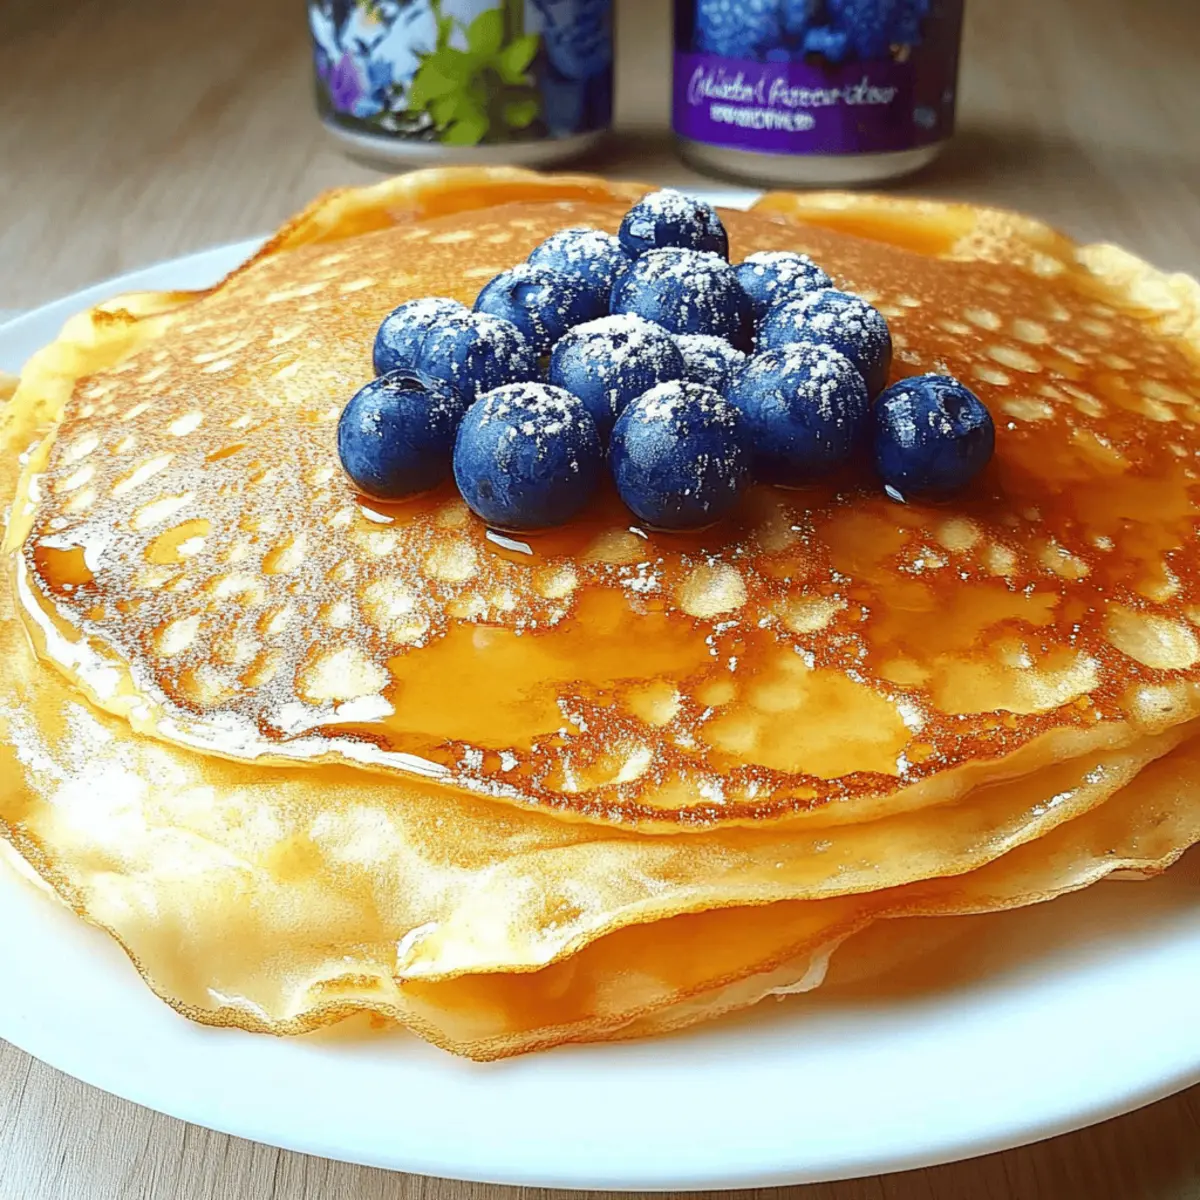
The aroma of freshly cooked pancakes wafted through my kitchen, instantly taking me back to cozy mornings spent with family around the table. Today, I’m excited to share my go-to recipe for Dutch Pancakes, or Pannenkoeken, that create a fun and flexible breakfast experience. These delightful, thin pancakes not only have a crispy edge and soft center, but they also encourage creativity with a variety of toppings to suit any palate, whether you're craving a sweet treat or a savory sensation. With just a handful of simple ingredients and minimal prep time, making these customizable pancakes is a breeze, making them a foolproof addition to your brunch or breakfast repertoire. Ready to flip your pancake game? Let’s dive in!
Why are Pannenkoeken so beloved?
Versatility at its Finest: You can serve Pannenkoeken any time of day, transforming breakfast, brunch, or even dessert with ease.
Endless Topping Options: From Nutella to savory toppings like sautéed mushrooms, the possibilities are limited only by your imagination!
Quick and Easy: With minimal prep and cooking time, these pancakes are perfect for busy mornings or spontaneous gatherings.
Crowd-Pleasing Delight: Whether serving a family, friends, or just treating yourself, everyone loves the light, fluffy texture and customizable nature of these pancakes.
Cultural Treasure: Enjoy a taste of Dutch tradition and make your mealtime more festive with Pannenkoeken’s rich heritage and fun serving style.
Pannenkoeken Ingredients
• Delight in the simplicity of making these Dutch pancakes with just a few common ingredients!
For the Batter
- All-purpose flour – Provides structure; substitute with whole wheat flour for a nuttier flavor.
- Granulated sugar – Adds that necessary touch of sweetness; consider honey or maple syrup for a natural twist.
- Baking powder – Ensures fluffy pancakes; choose gluten-free baking powder if needed.
- Baking soda – Enhances leavening when combined with acid; optional if using just baking powder.
- Salt – Essential for balancing sweetness and enhancing flavor.
- Large egg – Acts as a binder and adds richness; substitute with flaxseed meal or applesauce for a vegan alternative.
- Buttermilk – Gives moisture and a slight tang; mix milk with vinegar or lemon juice as a quick substitute.
- Melted butter – Adds moisture and flavor; feel free to use vegetable oil or coconut oil instead.
- Vanilla extract – Enhances aroma and taste; swap it for almond extract for a different flavor profile.
Optional Toppings
- Powdered sugar – A light dusting adds sweetness; perfect for a classic finish.
- Maple syrup – Drizzle this over warm pancakes for a delightful sweet touch.
- Fresh fruit (berries, bananas) – Elevate your pancake experience with fresh flavors and vibrant colors.
- Whipped cream – Add a creamy texture to your pancakes, ideal for sweet variations.
- Chocolate sauce – For those who crave a richer dessert, this is the perfect indulgence!
Feel inspired to customize your Pannenkoeken!
Step‑by‑Step Instructions for Pannenkoeken
Step 1: Combine Dry Ingredients
In a large bowl, whisk together the all-purpose flour, granulated sugar, baking powder, baking soda, and salt until thoroughly mixed. This will ensure an even distribution of leavening agents for your Pannenkoeken, setting the foundation for their fluffy texture. Take a moment to admire your dry mixture before moving on!
Step 2: Mix Wet Ingredients
In another bowl, whisk the large egg until lightly beaten. Add in the buttermilk, melted butter, and vanilla extract, blending them together until smooth. This creamy mixture will provide moisture and richness to your Pannenkoeken batter, resulting in delightful pancakes. Let’s keep the momentum going!
Step 3: Combine Wet and Dry Mixtures
Pour the wet ingredients gently into the dry mixture. Using a spatula, fold the ingredients together until just combined; a few lumps are perfectly fine—overmixing can toughen the batter. Allow the combined mixture to rest, covered, for 5 to 10 minutes, which will enhance the texture of your Pannenkoeken.
Step 4: Heat the Cooking Surface
While your batter rests, heat a lightly oiled non-stick frying pan or griddle over medium heat. It’s essential to reach the right temperature; a drop of water should sizzle on the surface when ready. This preparation will ensure your Pannenkoeken cook evenly and develop a beautiful golden color.
Step 5: Cook the Pancakes
Once hot, pour approximately ¼ cup of batter onto the surface for each pancake, spacing them out for easy flipping. Cook for about 2-3 minutes or until bubbles form on the surface and the edges start appearing set. This is the perfect moment to flip those Pannenkoeken!
Step 6: Flip and Finish Cooking
Gently flip each pancake using a spatula, and cook for an additional 2-3 minutes on the other side until golden brown. Pay close attention to the visual cues; your Pannenkoeken should look inviting and enticing as they reach perfection. Remove from the heat and set aside on a warm plate.
Step 7: Serve with Toppings
Finally, serve your warm Pannenkoeken with your choice of toppings. Whether you prefer powdered sugar, maple syrup, fresh fruits, whipped cream, or chocolate sauce, each topping will add a personal touch to your pancakes. Enjoy this delicious meal with family and friends any time of day!
Pannenkoeken: Variations & Substitutions
Feel free to let your creativity shine as you adapt this Pannenkoeken recipe to showcase your personal tastes and preferences!
-
Dairy-Free: Use almond or oat milk instead of buttermilk, and coconut oil in place of melted butter for a dairy-free twist.
Switching to non-dairy options not only keeps it light but also opens a delightful new flavor profile. -
Vegan: Combine flaxseed meal with water to replace the egg and use a plant-based milk for a fully vegan version.
These substitutes maintain moisture and richness while keeping the traditional vibe of the Pannenkoeken intact. -
Whole Grain: Substitute all-purpose flour with whole wheat or spelt flour for added fiber and nutrition without sacrificing softness.
The nuttier flavor will complement savory toppings beautifully, making them a hearty option. -
Chocolate Lovers: Add chocolate chips into the batter or drizzle warm chocolate sauce on top for an indulgent treat.
The rich chocolate elements make this a perfect dessert-style pancake that is sure to satisfy cravings! -
Spiced Delight: Incorporate cinnamon or nutmeg into the batter for warm, cozy flavors that evoke feelings of comfort.
This simple addition enhances the taste experience, bringing a delightful aroma to your kitchen. -
Fruit-Infused: Blend in mashed bananas or pureed apples for sweetness and a touch of natural fruit flavor right in the batter.
This not only adds taste but also moisture, creating an extra fluffy pancake that your family will love. -
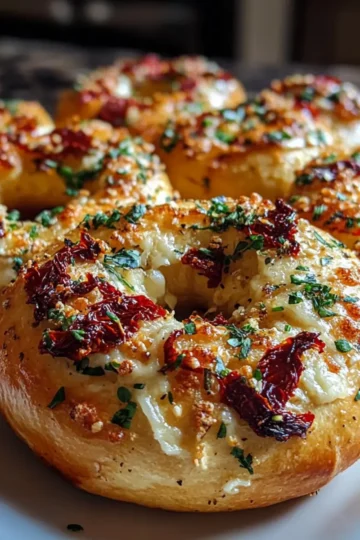
Savory Spin: Try mixing in finely chopped herbs like chives or spinach to the batter for a savory variation that pairs well with cheese.
These herbaceous notes will elevate your breakfast or brunch to a gourmet level, making it truly special. -
Nutty Twist: Fold in crushed nuts for added crunch and healthy fats, amplifying the texture and flavor enormously!
A handful of walnuts or pecans adds a delightful contrast and can transform your breakfast into a nourishing meal.
Explore these variations and let your Pannenkoeken journey be as diverse and delicious as your imagination allows! Each option brings a unique spin on this beloved Dutch classic, ensuring you never grow bored of your breakfast! Enjoy every bite, and consider trying them alongside Endless Topping Options for an even more delightful experience!
Storage Tips for Pannenkoeken
Fridge: Store leftover Pannenkoeken in an airtight container for up to 2 days. Make sure they are cooled completely before sealing to prevent condensation.
Freezer: Layer cooked pancakes between sheets of parchment paper and place them in a freezer-safe bag. They can last up to 3 months in the freezer.
Reheating: To reheat, microwave thawed pancakes for about 30 seconds or toast them in a toaster for a crispy finish, ensuring they are warmed through.
Make-Ahead Tip: Prepare the batter a day in advance and keep it in the fridge, allowing for a quick and easy breakfast option.
Tips for the Best Pannenkoeken
- Rest the Batter: Allowing the batter to rest for 5-10 minutes enhances the texture and fluffiness of your Pannenkoeken. Don’t skip this step!
- Check the Heat: Ensure your cooking surface is properly heated before adding the batter. If it’s too cool, pancakes may stick or cook unevenly.
- Mind the Lumps: It’s okay to have a few lumps in your batter. Overmixing can lead to tough pancakes, so just fold until combined.
- Use a Non-Stick Pan: A well-seasoned non-stick frying pan or griddle is key for easy flipping and even cooking of your Pannenkoeken.
- Customize Toppings: Don't hesitate to get creative with toppings! From savory to sweet, personalize each serving to match your cravings and moods.
- Keep Warm: If you're making multiple pancakes, keep them warm in a low oven (about 200°F) until ready to serve, ensuring everyone enjoys them hot!
Make Ahead Options
These Pannenkoeken are perfect for busy mornings or spontaneous gatherings! You can prepare the batter up to 24 hours in advance and store it in the refrigerator in an airtight container. This not only saves you time but also allows the flavors to meld beautifully. If you prefer, you can also portion and refrigerate cooked pancakes for up to 3 days; simply reheat them in a toaster or microwave. To serve, just shake the chilled batter gently to incorporate, then cook as directed, and you'll have warm, fluffy pancakes that are just as delicious as when made fresh!
What to Serve with Easy and Versatile Dutch Pancakes
The perfect Pannenkoeken can be transformed into a full meal experience with delightful pairings that excite the senses.
-
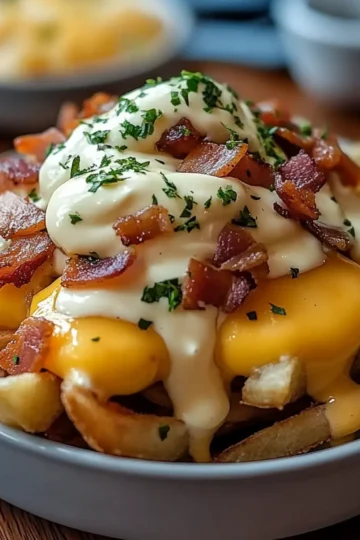
Crispy Bacon: The savory crunch of bacon provides a perfect contrast to the fluffy pancakes, adding a hearty touch to your breakfast.
-
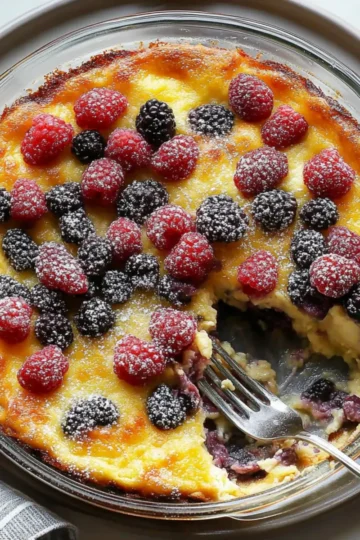
Fresh Berries: A colorful medley of strawberries, blueberries, and raspberries brings a burst of freshness and natural sweetness, making it a refreshing complement.
-
Whipped Cream: Light and airy whipped cream adds a dreamy richness that enhances the indulgence of each bite.
-
Maple Syrup: This classic choice drizzles beautifully over Pannenkoeken, bringing warmth and sweetness that is simply irresistible.
-
Savory Mushrooms: Sautéed mushrooms offer a savory and earthy depth, creating a delightful savory twist for those craving something hearty.
-
Greek Yogurt: A dollop of creamy Greek yogurt adds tanginess, along with a protein boost that will keep you satisfied throughout the day.
-
Nutella Drizzle: For a decadent touch, drizzle Nutella over your pancakes; it’s a heavenly combination that sweet tooths will adore.
-
Apple Compote: Warm spiced apple compote elevates the flavor profile, offering a cozy and comforting addition to your meal.
-
Chilled Orange Juice: Bright and refreshing, a glass of chilled orange juice pairs well with the sweetness of Pannenkoeken while balancing indulgence with a citrusy zest.
Pannenkoeken Recipe FAQs
What type of flour should I use for Pannenkoeken?
All-purpose flour is recommended for the best structure, but you can substitute it with whole wheat flour for a nuttier flavor. If you're looking for a gluten-free option, a gluten-free all-purpose flour can work well too!
How should I store leftover Pannenkoeken?
Store your leftover Pannenkoeken in an airtight container in the fridge for up to 2 days. Ensure they are completely cooled before sealing to avoid moisture build-up, which can make them soggy.
Can I freeze Pannenkoeken?
Absolutely! To freeze, layer your cooked pancakes between sheets of parchment paper to prevent sticking, then place them in a freezer-safe bag or container. They can be stored for up to 3 months. When you're ready to enjoy them, simply thaw and reheat in the microwave or toaster for a quick treat!
What if my pancake batter is too thick?
If you find that your batter is thicker than desired, simply add a splash of milk or buttermilk to loosen it up. Keep mixing gently until you reach the desired pourable consistency. A well-mixed batter, with a few lumps, ensures fluffy Pannenkoeken.
Are Pannenkoeken suitable for people with egg allergies?
For an egg-free version of Pannenkoeken, you can replace the large egg with ¼ cup of unsweetened applesauce or a mixture of 1 tablespoon of flaxseed meal with 2.5 tablespoons of water, stirred together and allowed to sit for a few minutes. This will help bind the batter while keeping it delicious!
How long can I keep the batter in the fridge?
You can prepare the pancake batter in advance and keep it in the fridge for about 1-2 days. Just give it a good stir before using, as some separation may occur. Enjoy your freshly made Pannenkoeken any day of the week without the morning fuss!
Indulge in Light and Fluffy Pannenkoeken for Any Occasion
Ingredients
Equipment
Method
- In a large bowl, whisk together the all-purpose flour, granulated sugar, baking powder, baking soda, and salt until thoroughly mixed.
- In another bowl, whisk the large egg until lightly beaten. Add in the buttermilk, melted butter, and vanilla extract, blending them together until smooth.
- Pour the wet ingredients gently into the dry mixture. Using a spatula, fold the ingredients together until just combined.
- While your batter rests, heat a lightly oiled non-stick frying pan or griddle over medium heat.
- Once hot, pour approximately ¼ cup of batter onto the surface for each pancake, cooking for about 2-3 minutes until bubbles form.
- Gently flip each pancake using a spatula and cook for an additional 2-3 minutes until golden brown.
- Serve your warm Pannenkoeken with your choice of toppings.

Leave a Reply