
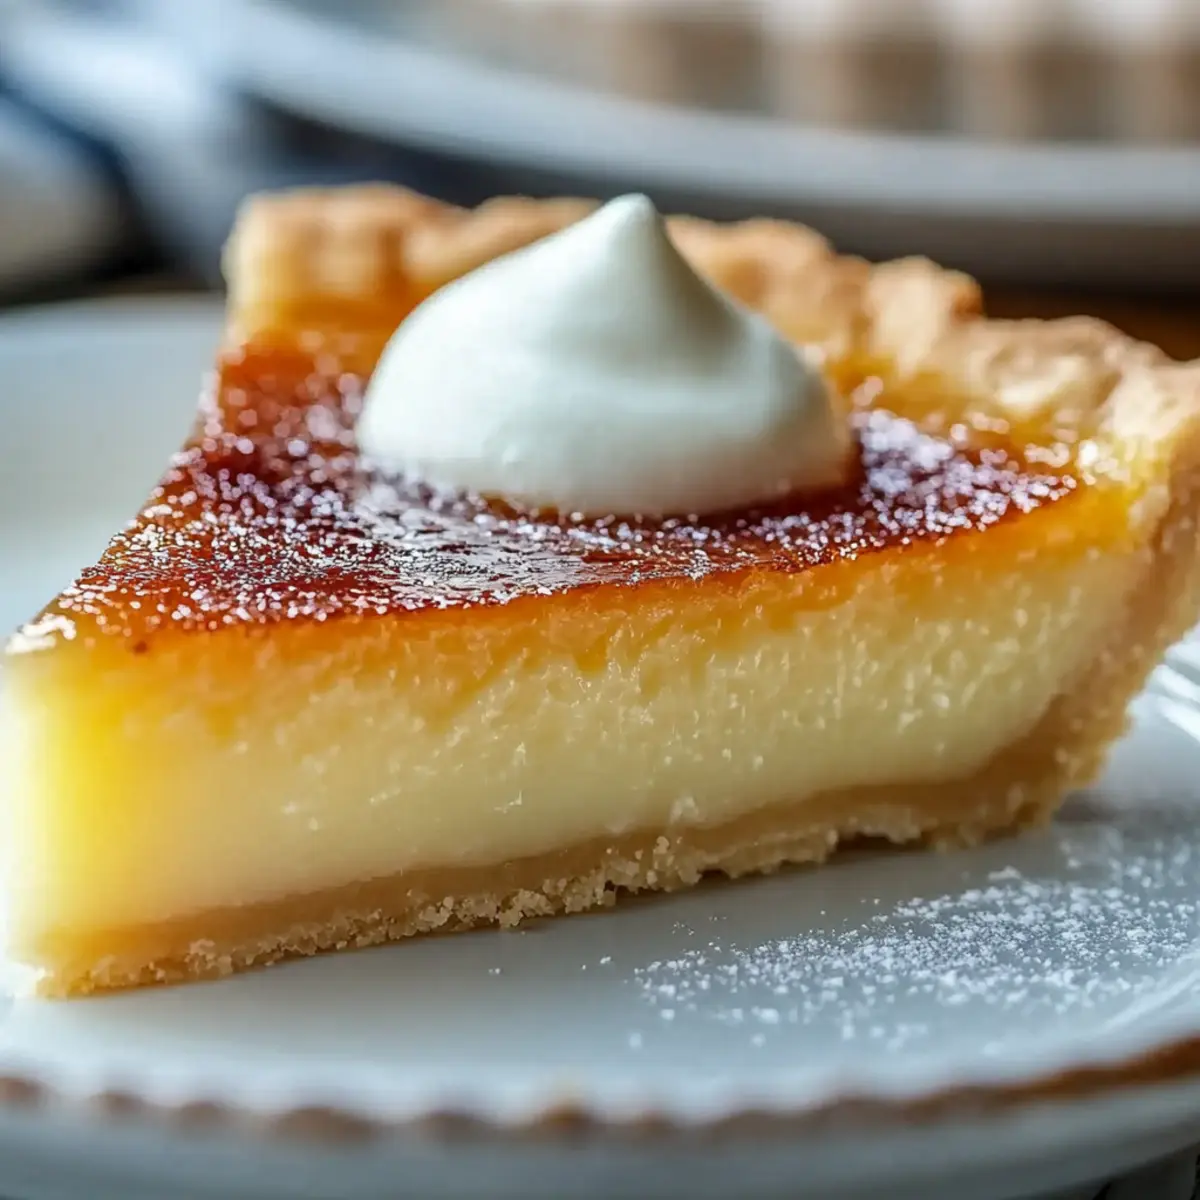
There's nothing quite like the aroma of a homemade dessert wafting through the kitchen, instantly transporting me to those warm Southern summers spent around the family table. Today, I'm thrilled to share my take on a Classic Southern Buttermilk Pie, a silky custard delight that captures the heart of comfort food. With its creamy filling and a hint of tang, this pie is not just quick to whip up but also relies on no-fancy ingredients, making it accessible for everyone. Whether you're hosting a gathering or simply craving something sweet, this nostalgic dessert will surely wrap you in its cozy embrace. Curious to discover how simple pantry staples can transform into a delightful treat? Let’s dive into the recipe!
Why is buttermilk pie a must-try?
Comforting Bliss: Indulge in the luscious texture of this classic Southern pie that brings warmth to any gathering.
Quick to Make: With only a handful of simple ingredients, you can satisfy that sweet craving without the fuss.
Endless Variability: Feel free to experiment with flavors—try lime or a sprinkle of nutmeg for a fresh twist.
Nostalgic Treat: Bring back memories of family dinners and Southern hospitality with every creamy slice.
Perfect Pairing: Top with whipped cream or berries for an elevated dessert experience that your guests will adore!
Buttermilk Pie Ingredients
For the Filling
- Granulated Sugar – This primary sweetener creates a perfectly balanced flavor; you can swap it for coconut sugar for a healthier option.
- Unsalted Butter – Adds a rich flavor and smooth texture; margarine or dairy-free alternatives work well for a lighter version.
- Large Eggs – Essential for binding the ingredients and giving that custard-like texture; consider egg substitutes for a vegan pie.
- Buttermilk – Provides the signature tang and creaminess; yogurt mixed with milk or a dairy-free alternative with vinegar can be used instead.
- All-Purpose Flour – Thickens the filling beautifully; for a gluten-free option, cornstarch is a great substitute.
- Fresh Lemon Juice – Brightens the flavor and balances sweetness; vinegar can be used in a pinch.
- Vanilla Extract – Adds a warm, aromatic note; opt for vanilla bean paste for an even richer taste.
- Salt – Enhances the flavors and balances sweetness; feel free to omit it for a low-sodium version.
For the Crust
- 9-inch Unbaked Pie Crust – The foundation of this dessert; you can choose homemade, store-bought, or even a gluten-free variety.
Step‑by‑Step Instructions for Buttermilk Pie
Step 1: Preheat the Oven and Prepare the Crust
Begin by preheating your oven to 350°F (175°C). While it warms up, take your 9-inch unbaked pie crust and fit it snugly into a pie dish. Crimp the edges for a decorative touch, and prick the bottom of the crust with a fork to prevent bubbling during baking.
Step 2: Mix the Sugar and Butter
In a large mixing bowl, add your granulated sugar along with the melted unsalted butter. Using a whisk, mix them together until the mixture becomes smooth and glossy, which should take about 2-3 minutes. This step is crucial for ensuring a rich and flavorful filling for your classic Buttermilk Pie.
Step 3: Incorporate the Eggs
Next, crack in your large eggs one at a time, beating well after each addition. This ensures that each egg is fully integrated into the mixture, contributing to the custardy texture of the pie. Take your time with this step, as a well-mixed filling yields a creamier dessert.
Step 4: Add Remaining Ingredients
Once the eggs are thoroughly mixed in, it's time to add the buttermilk, all-purpose flour, fresh lemon juice, vanilla extract, and a pinch of salt. Whisk everything together until smooth, which will take about 2 minutes. This combined mixture transforms into the luscious filling that embodies the heart of your Buttermilk Pie.
Step 5: Pour and Bake
Now, pour your silky filling into the prepared pie crust, ensuring an even distribution. Place your pie in the preheated oven and bake for 50-55 minutes. Look for the edges to be set and golden, but remember, the center should still have a slight jiggle, indicating it's ready to cool into a perfect custard.
Step 6: Cool and Chill
After baking, remove the pie from the oven and allow it to cool completely on a wire rack for about 2 hours. This cooling period helps set the custard. Once cooled, refrigerate the pie for at least 2 hours before slicing to allow the flavors to meld and enhance your delicious Buttermilk Pie experience.
Expert Tips for Buttermilk Pie
- Gentle Mixing: Avoid overmixing the filling, as this can create unwanted bubbles. Be sure to mix just until combined for that silky smooth texture.
- Perfect Jiggle: When baking, aim for a slight jiggle in the center of your buttermilk pie. This ensures a creamy custard consistency instead of a rubbery texture.
- Cooling Time: Patience is key! Let your pie cool completely before slicing to achieve clean, beautiful slices and enhance the flavor.
- Check the Crust: Keep an eye on the pie crust to prevent it from over-browning. Use pie shields or foil if necessary.
- Flavor Boost: Don’t hesitate to customize your buttermilk pie by adding a pinch of nutmeg or cinnamon for a delightful twist!
How to Store and Freeze Buttermilk Pie
Fridge: Store any leftover buttermilk pie in the refrigerator, covered tightly with plastic wrap or aluminum foil, for up to 3 days to maintain freshness.
Freezer: For longer storage, wrap slices tightly in plastic wrap followed by aluminum foil and freeze for up to 2 months.
Thawing: To enjoy frozen buttermilk pie, thaw it in the fridge overnight before serving. Allow slices to come to room temperature for the best texture.
Reheating: If desired, gently reheat individual slices in the microwave for about 15-20 seconds or in the oven at 350°F until warm to enhance the flavor!
Buttermilk Pie Variations & Substitutions
Feel free to make this recipe your own with these delightful swaps and variations.
- Citrus Swap: Use lime or orange juice instead of lemon juice for a refreshing twist that adds vibrant flavor.
- Dairy-Free Delight: Replace buttermilk with a mix of almond milk and vinegar for a creamy, plant-based alternative. Your pie will still be luscious!
- Gluten-Free Option: Swap all-purpose flour for cornstarch to cater to gluten-free diets, ensuring a delightfully smooth filling.
- Egg Alternatives: For a vegan version, use an equal amount of flaxseed meal mixed with water as an egg substitute, keeping the texture creamy.
- Spice it Up: Add a pinch of cinnamon or nutmeg to the filling for a warm, inviting flavor profile that resonates with comfort.
- Decadent Toppings: Top your pie with whipped cream and chocolate drizzle for an extra indulgent touch that elevates the presentation.
- Additional Texture: Toss in some chopped nuts like pecans or walnuts into the filling for a delightful crunch with every bite.
- Chocolate Lovers: Incorporate cocoa powder for a rich chocolate twist that turns your buttermilk pie into a decadent dessert.
As always, embracing your creativity in the kitchen can lead to fantastic new flavors. Consider pairing this pie with some homemade whipped cream or fresh berries for an unforgettable dessert experience!
What to Serve with Classic Southern Buttermilk Pie
There’s something undeniably special about creating a full meal that captivates both the taste buds and the heart, especially when sweet memories are involved.
-
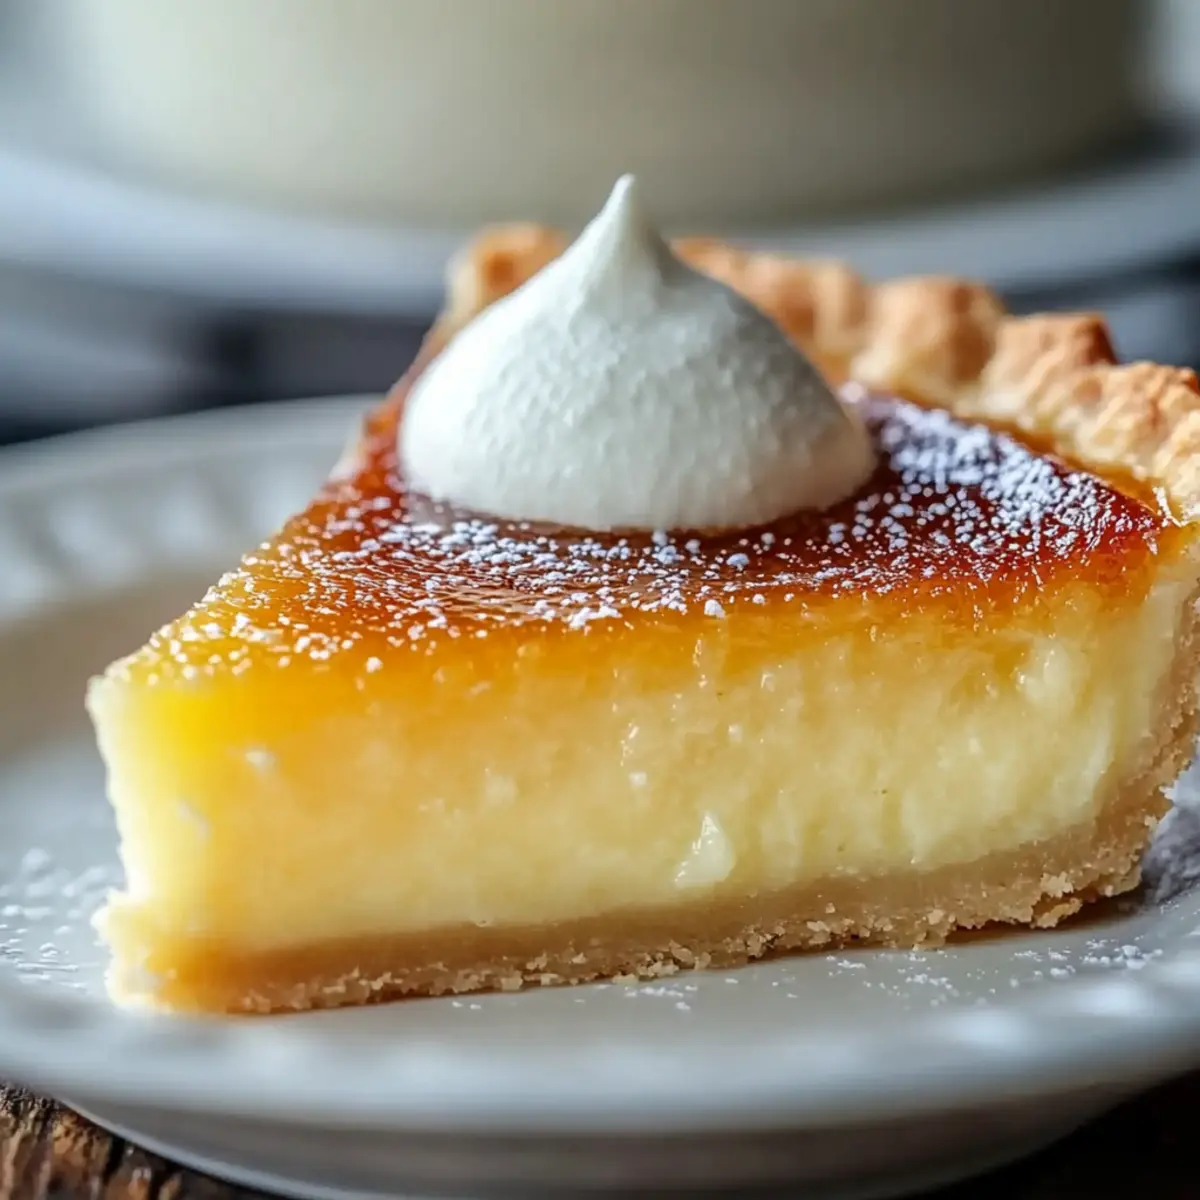
Whipped Cream: Nothing beats a dollop of freshly whipped cream on top of your slice, adding a light and airy contrast to the velvety custard.
-
Fresh Berries: A medley of strawberries, blueberries, or raspberries adds a pop of color and a tart balance to the sweet richness of the pie. The burst of freshness in each bite compliments the creamy filling beautifully.
-
Vanilla Ice Cream: A scoop of creamy vanilla ice cream placed beside your buttermilk pie is pure indulgence; the cold temperatures make each forkful a delightful experience that melts in your mouth.
-
Iced Tea: Refreshing and classic, a chilled glass of sweetened iced tea pairs perfectly with the pie's Southern roots, enhancing the nostalgic flavors of your meal.
-
Coffee: For those who crave a warm beverage, a cup of rich, brewed coffee rounds out the dessert beautifully; its slightly bitter profile cuts through the sweetness of the pie.
-
Chocolate Drizzle: Drizzling a bit of chocolate sauce over the pie creates a sweet contrast and adds a touch of elegance that can instantly elevate your dessert presentation.
-
Citrus Salad: Lighten up the meal with a zesty citrus salad; the acidic notes will refresh your palate, making each bite of pie even more enjoyable.
-
Lemonade: A glass of homemade lemonade can serve as a refreshing counterpart, with its zesty sweetness enhancing the buttermilk's tanginess in every delicious bite.
Make Ahead Options
These Classic Southern Buttermilk Pies are perfect for meal prep enthusiasts! You can prepare the filling up to 24 hours in advance; simply mix all the ingredients and store them in an airtight container in the refrigerator to keep it fresh and prevent separation. The unbaked pie crust can also be made and frozen for up to 3 months; just wrap it tightly in plastic wrap, so it retains its texture. When you're ready to serve, fill the thawed crust with the prepared filling and bake as directed. This approach allows you to enjoy delightful pie with minimal effort, all while savoring the same luscious flavor on busy weeknights!
Buttermilk Pie Recipe FAQs
How do I choose ripe buttermilk?
Buttermilk is typically sold as a liquid, so you won't have to worry about ripeness like you would with fruits or vegetables. Always select fresh buttermilk with a clean, pleasant aroma and without any lumps. If you can find buttermilk with a near expiration date, it's best to use it for baking right away.
How should I store leftover buttermilk pie?
Absolutely! To store your leftover pie, cover it tightly with plastic wrap or aluminum foil and place it in the refrigerator. It will keep fresh for up to 3 days. When ready to enjoy, let the slices sit at room temperature for about 20 minutes for the best texture.
Can I freeze buttermilk pie?
Yes! Freezing is a great way to preserve your buttermilk pie for a longer period. Simply wrap individual slices tightly in plastic wrap and then cover them with aluminum foil to prevent freezer burn. You can freeze the pie for up to 2 months. When you're ready to eat, thaw it overnight in the fridge, and allow slices to come to room temperature before serving.
What if my custard doesn't set properly?
If your buttermilk pie doesn’t set right and feels too runny, it may need more baking time. Ensure that while the edges are set and golden, the center should retain a slight jiggle when you gently shake the pie. If it’s undercooked, return it to the oven for another 5-10 minutes. Always check during the final baking stages to avoid overcooking.
Are there any dietary considerations I should keep in mind?
Very! If you're making this pie for someone with dietary restrictions, you can easily adapt the recipe. For a dairy-free version, substitute buttermilk with a mix of dairy-free milk and vinegar. For a gluten-free version, use cornstarch instead of flour. It’s important to check and communicate with your guests about their specific allergies or dietary needs to ensure they enjoy this comforting dessert.
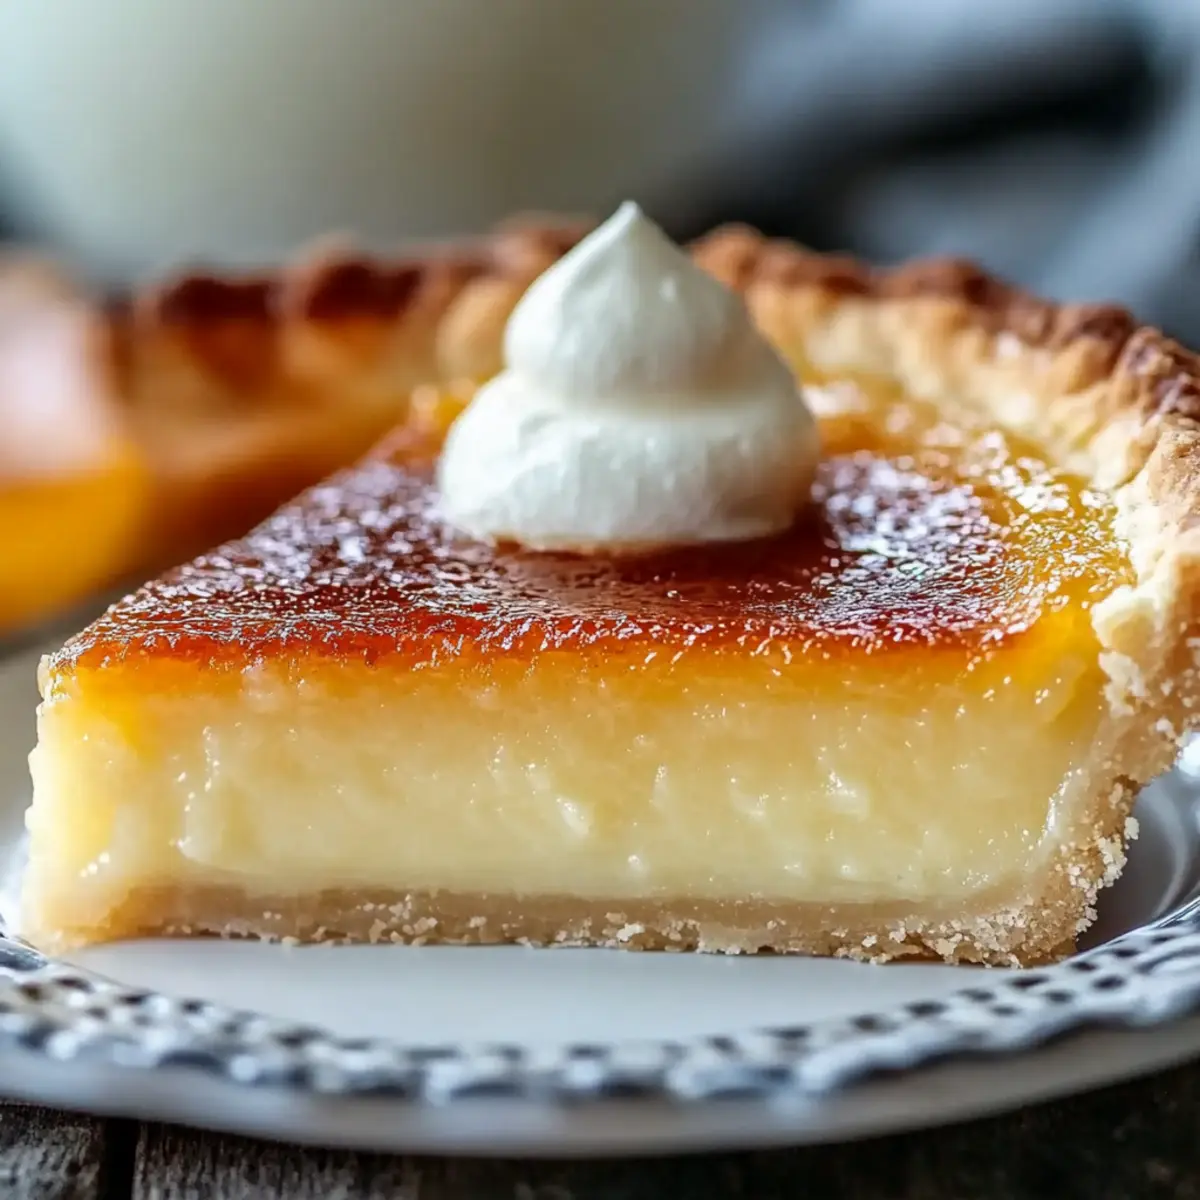
Indulgent Buttermilk Pie: A Slice of Southern Comfort
Ingredients
Equipment
Method
- Preheat your oven to 350°F (175°C). Fit the unbaked pie crust into a pie dish, crimping the edges, and prick the bottom with a fork.
- In a large mixing bowl, combine granulated sugar and melted butter, mixing until smooth and glossy (about 2-3 minutes).
- Add the eggs one at a time, beating well after each addition.
- Add buttermilk, flour, lemon juice, vanilla, and salt, whisking until smooth (about 2 minutes).
- Pour the filling into the prepared pie crust and bake for 50-55 minutes until edges are set and golden.
- Allow the pie to cool completely on a wire rack for about 2 hours, then refrigerate for at least 2 hours before serving.


Leave a Reply