
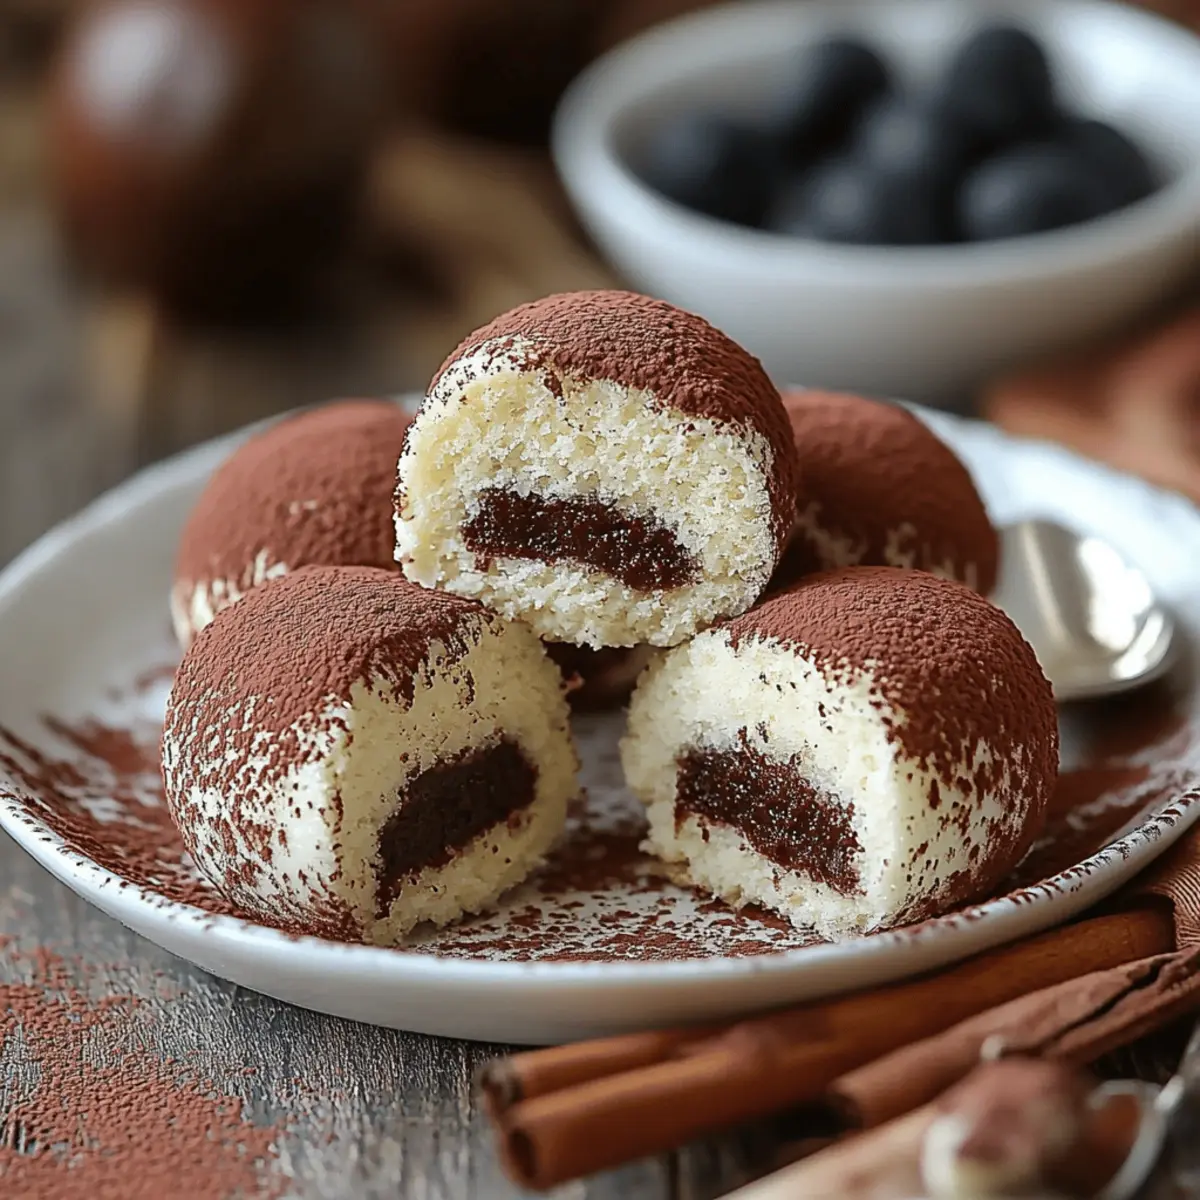
As I stood in my kitchen, a wave of nostalgia washed over me, reminding me of evenings spent savoring rich slices of tiramisu with friends. This time, however, I decided to create a fun twist on the classic Italian favorite—Tiramisu Balls! These quick, no-bake delights capture the essence of traditional tiramisu, transforming it into bite-sized treats that are not just a crowd-pleaser but also incredibly easy to whip up. With creamy mascarpone mixed with coffee-soaked ladyfingers and dusted with cocoa powder, they are perfect for those warm afternoons, spontaneous gatherings, or simply as a sweet personal indulgence. Plus, they’re vegetarian-friendly, making them a versatile dessert option. Are you ready to roll up your sleeves and indulge in these delightful Tiramisu Balls? Let's dive in!
Why are Tiramisu Balls so irresistible?
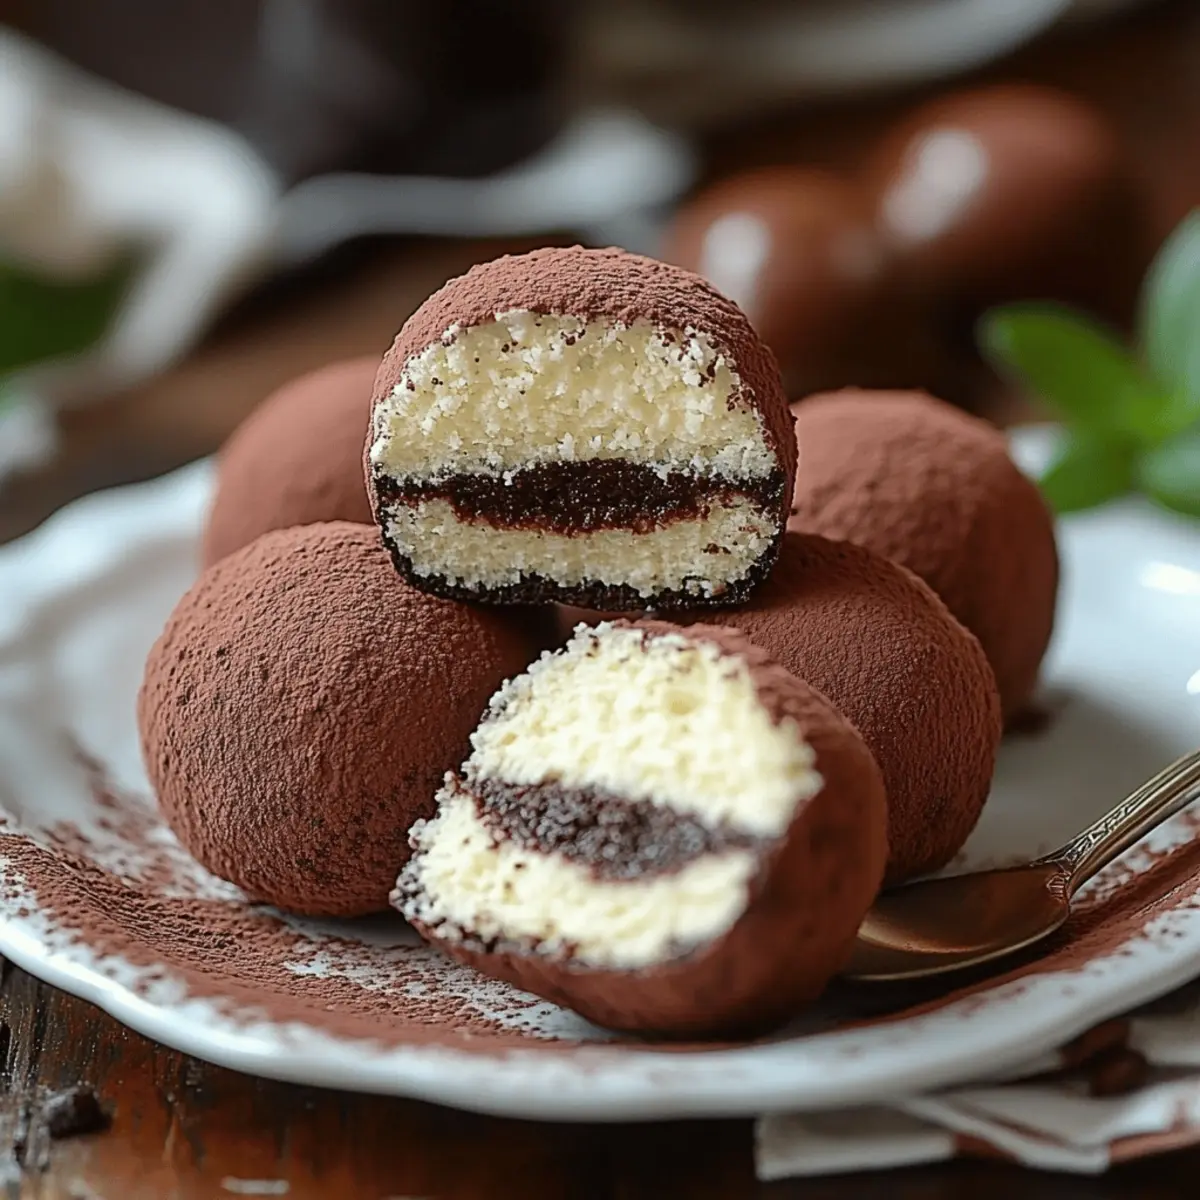
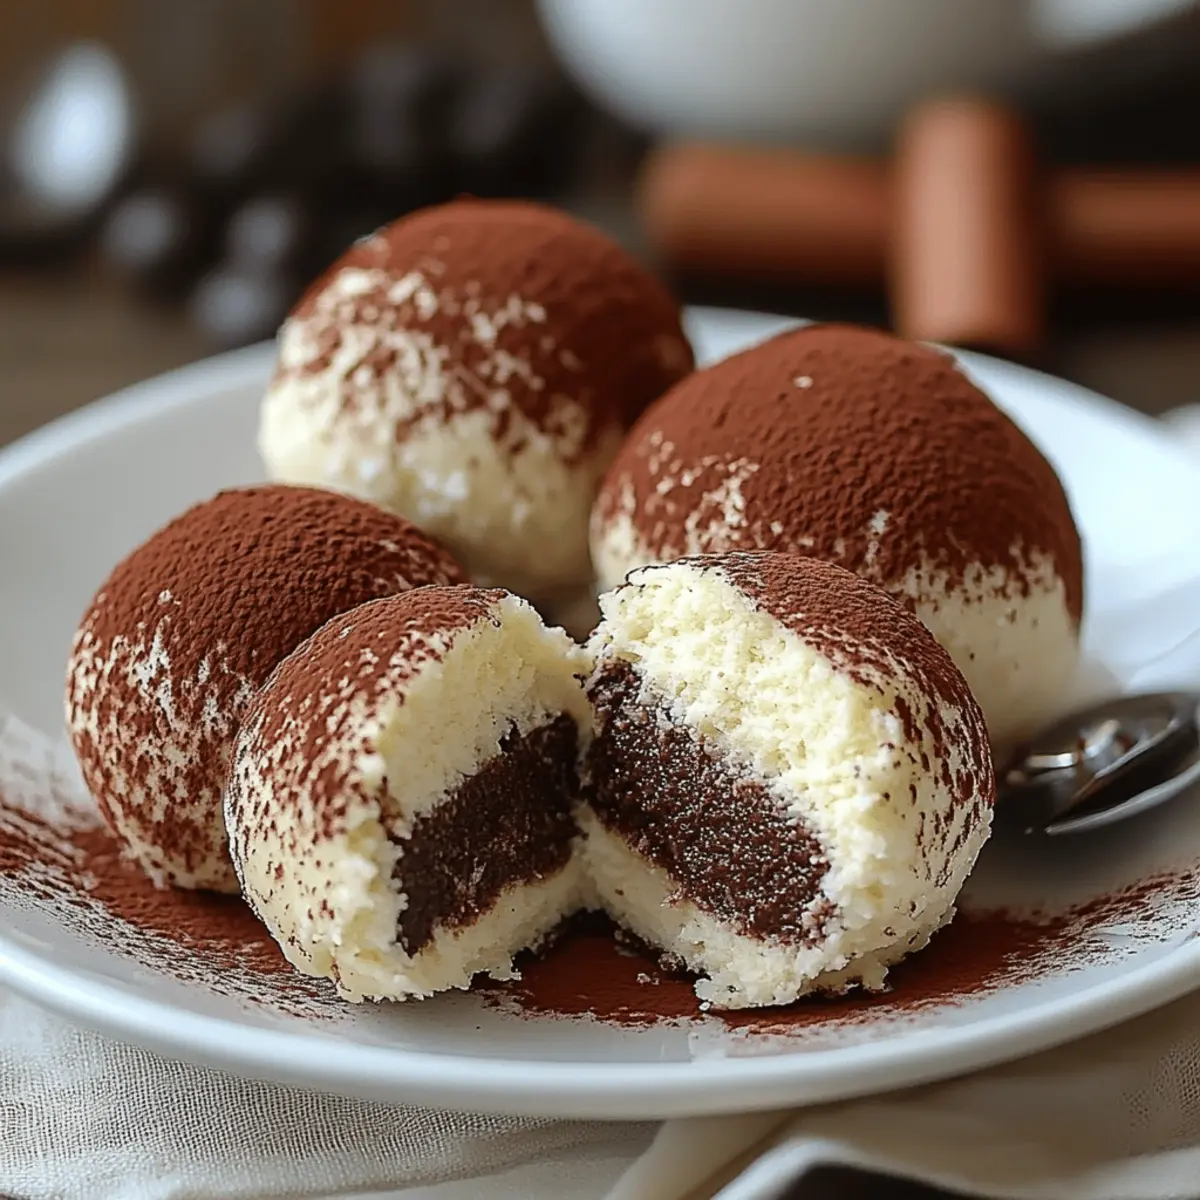
Rich, Creamy Indulgence: These Tiramisu Balls offer the luxurious flavors of traditional tiramisu in every bite.
No-Bake Convenience: Perfect for busy days, this easy recipe requires no baking, making it a hassle-free treat.
Versatile Options: Easily adaptable, you can substitute coffee with tea or add chocolate chips for added flair.
Crowd-Pleasing Appeal: Whether for a cozy family dinner or a festive gathering, these bite-sized delights are sure to impress!
Quick to Prepare: Whip them up in under an hour and chill for tasty desserts at a moment’s notice.
Tiramisu Balls Ingredients
For the Cream Mixture
- Mascarpone Cheese – Provides creaminess and structure; ensure it's at room temperature for easy mixing.
- Heavy Cream – Adds fluffiness; must be chilled before whipping to achieve stiff peaks.
- Powdered Sugar – Sweetens the mascarpone mixture and aids in smoothness; sifting prevents clumps.
- Vanilla Extract – Enhances flavor complexity for a richer taste.
- Pinch of Salt – Balances sweetness and enhances overall flavor profile.
For the Base
- Ladyfingers (Savoiardi biscuits) – The base for the tiramisu; they must be dipped in coffee to absorb flavor.
- Strong Brewed Coffee – Provides the signature coffee flavor; make sure it’s cooled before dipping ladyfingers.
- Coffee Liqueur – Optional for added depth; can be omitted for a non-alcoholic version or replaced with flavored liquors.
For Finishing Touches
- Unsweetened Cocoa Powder – Dusting for taste and presentation, giving that classic tiramisu feel.
- Chocolate Shavings (optional) – Add these for an elegant garnish if desired.
Get ready to savor Tiramisu Balls that deliver all the delightful flavors of the traditional dessert in an easy-to-make, bite-sized form!
Step‑by‑Step Instructions for Tiramisu Balls
Step 1: Whip the Cream
Start by pouring the chilled heavy cream into a mixing bowl. Using an electric mixer on medium-high speed, beat the cream for about 3-5 minutes until it reaches stiff peaks. The cream should hold its shape when lifted with a whisk. Take care not to overwhip, as it can become grainy. Set this bowl aside for later use in your Tiramisu Balls.
Step 2: Prepare the Mascarpone Mixture
In another bowl, place the room-temperature mascarpone cheese along with the sifted powdered sugar. Use a hand mixer on low speed to blend until completely smooth and free of lumps, which should take about 2 minutes. This creates a rich, creamy base that will be the foundation of your Tiramisu Balls.
Step 3: Add Flavorings
To the smooth mascarpone mixture, add the vanilla extract and a pinch of salt. Gently stir to incorporate these flavorings, ensuring an even distribution throughout the cream. This step enhances the overall flavor profile of your Tiramisu Balls, creating a delightful contrast with the coffee-dipped ladyfingers that will follow.
Step 4: Fold in the Whipped Cream
Carefully fold the whipped cream into the mascarpone mixture using a spatula. Add the whipped cream in two or three additions, gently cutting through the mixture and lifting it from the bottom. This technique maintains the airy texture you achieved while whipping the cream, ensuring a light and creamy filling for your Tiramisu Balls.
Step 5: Chill the Mascarpone Cream
Now, cover the bowl containing the combined mascarpone and whipped cream with plastic wrap. Refrigerate for at least 30 minutes to allow the flavors to meld and the mixture to firm up. This chilling time is crucial for the perfect consistency when forming your Tiramisu Balls.
Step 6: Brew Strong Coffee
While the cream chills, prepare one cup of strong brewed coffee. Using a coffee maker or French press, brew a robust blend. Allow the coffee to cool to room temperature. This cooling process is essential to avoid soaking the ladyfingers too much, which can make them soggy in your Tiramisu Balls.
Step 7: Optional Liqueur Addition
If you choose to add some complexity to your coffee flavor, mix in the coffee liqueur into the cooled coffee. Stir well to combine. This step is optional, so feel free to skip it if you prefer a non-alcoholic version of Tiramisu Balls or if you're catering to kids.
Step 8: Dip the Ladyfingers
Take the ladyfingers and quickly dip each one into the cooled coffee mixture. Allow them to soak for just a couple of seconds, ensuring they absorb the flavor while remaining firm. Soggy ladyfingers could lead to a mushy filling, compromising the texture of your delightful Tiramisu Balls.
Step 9: Crush the Ladyfingers
Once dipped, place the soaked ladyfingers into a food processor. Pulse them until finely crushed, resembling coarse crumbs. This will help incorporate that distinct tiramisu texture into your balls, creating a harmonious blend with the mascarpone cream. Transfer the crushed mixture into a large mixing bowl.
Step 10: Combine the Mixtures
Gently fold the crushed ladyfingers into the chilled mascarpone cream mixture. Use a spatula to blend everything until evenly combined. The mixture should be thick and cohesive, embodying the indulgent flavor of classic tiramisu in each bite-sized ball you’ll soon shape.
Step 11: Chill Again
Cover the mixing bowl with plastic wrap and place it back in the refrigerator for at least one hour. This second chill allows the flavors to deepen and makes the mixture more manageable for shaping into Tiramisu Balls. Patience at this step pays off with richer flavor.
Step 12: Shape the Balls
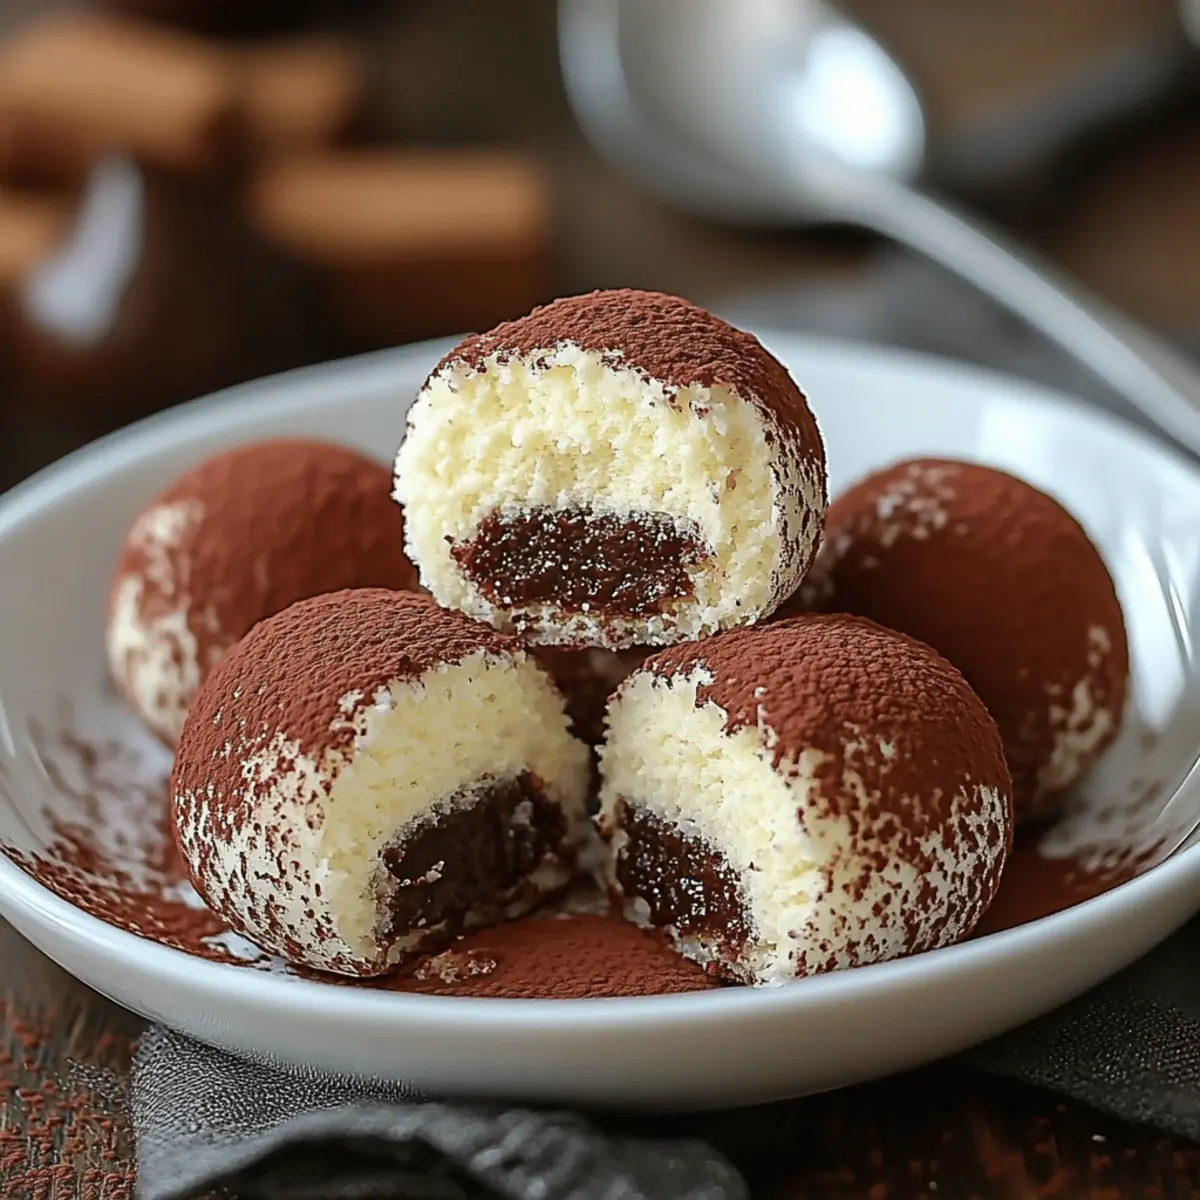
After chilling, it's time to shape the mixture into bite-sized balls. Using a spoon or a small cookie scoop, take a portion of the mixture and roll it gently between your palms to form 1-inch balls. Place them on a parchment-lined baking sheet, ensuring they maintain their shape while awaiting their final touches.
Step 13: Dust with Cocoa Powder
Once all the Tiramisu Balls are formed, roll each one in unsweetened cocoa powder until fully coated. This final step not only enhances the flavor but also adds a classic tiramisu aesthetic. The cocoa gives your delightful treats a rich, dark finish that signals indulgence.
Step 14: Optional Garnish
If you desire a decorative touch, sprinkle some chocolate shavings on top of each Tiramisu Ball. This added garnish elevates their appearance, making them a stunning treat for any gathering or special occasion. Trim the edges for a refined look before serving.
Step 15: Final Chill
Refrigerate the finished Tiramisu Balls for at least another 30 minutes to allow them to set properly. Chilling ensures each bite is a perfectly creamy, delicious experience, setting the stage for a delightful conclusion to any meal. Serve chilled and savor the rich, creamy deliciousness!
What to Serve with Tiramisu Balls?
Indulging in Tiramisu Balls opens up a world of delightful pairings that elevate your dessert experience.
-
Fresh Berries: The tartness of raspberries or strawberries contrasts beautifully with the creamy sweetness of Tiramisu Balls.
-
Espresso or Coffee: A strong cup complements the coffee flavors in the Tiramisu Balls, enhancing every decadent bite.
-
Whipped Cream: A light dollop adds a fluffy texture, creating a lovely balance to the rich chocolate and coffee notes.
-
Chocolate Bark: The crunch and deep chocolate flavor offers a textural surprise alongside the soft, creamy Tiramisu Balls, making for a perfect treat.
-
Vanilla Ice Cream: Creamy vanilla ice cream melts slightly against the chocolate dusting of your Tiramisu Balls, delivering a harmonious blend of flavors and temperatures.
-
Dessert Wine: A glass of sweet dessert wine brings out the flavor profile of your no-bake treats, making for an elevated dessert experience.
-
Mint Leaves: Fresh mint leaves can add a refreshing contrast and a pop of color, brightening up the presentation platter beautifully.
-
Nut-Crusted Cookies: Crunchy cookies, like biscotti or almond thins, add a deliciously nutty crunch that pairs well with the creamy filling of Tiramisu Balls.
-
Chocolate-Covered Strawberries: This versatile pairing offers a luscious chocolate and berry burst alongside the rich flavors, appealing to those with a sweet tooth.
These suggestions not only amplify the experience but also introduce diverse flavors and textures, turning a simple dessert into a satisfying feast.
Tiramisu Balls: Customization Ideas
Feel free to let your creativity shine by adapting this delightful recipe to suit your taste buds!
-
Dairy-Free: Substitute mascarpone with coconut cream and use a plant-based heavy cream for a tropical twist.
-
Decaf Delights: Replace the coffee with decaf coffee or brewed herbal tea to create a soothing, caffeine-free version.
-
Nutty Burst: Mix in crushed hazelnuts or almonds with the mascarpone for an inviting crunch that complements the smoothness.
-
Fruit Fusion: Add a splash of orange or lemon zest to brighten the flavor, making it a refreshing treat for warmer days.
-
Spicy Kick: Introduce a hint of espresso powder or even cinnamon for an extra kick that elevates the classic flavors.
-
Chocolate Lovers: Incorporate mini chocolate chips into the ladyfinger mixture for chocolatey surprises in every bite.
-
Vegan Twist: For a vegan option, use nut-based cream cheese and plant-based whipped cream to create a decadent dessert.
-
Chocolate Drizzle: Drizzle melted dark chocolate on top of chilled Tiramisu Balls for an indulgent finishing touch that’s simply irresistible!
By incorporating these variations, you’ll discover that each bite is a new adventure waiting to be savored!
Storage Tips for Tiramisu Balls
Fridge: Keep Tiramisu Balls in an airtight container for up to 5 days. This will help maintain their creamy texture and delightful flavors.
Freezer: Tiramisu Balls can be frozen for up to a month. Place them in a single layer on a baking sheet before transferring to an airtight container to prevent sticking.
Thawing: To enjoy frozen Tiramisu Balls, transfer them to the fridge to thaw overnight. This gentle method keeps them deliciously creamy.
Reheating: These no-bake treats are best enjoyed chilled; simply serve straight from the fridge for the perfect texture and flavor.
Expert Tips for Tiramisu Balls
-
Use Chilled Tools: Ensure your mixing bowls and utensils are cold before whipping the cream; this helps achieve stiff peaks and a fluffy texture for your Tiramisu Balls.
-
Monitor Soaking Time: Quick-dip the ladyfingers in coffee. A soggy ladyfinger can lead to a mushy filling, so just a second or two is all you need for flavor absorption.
-
Avoid Overmixing: When combining the mascarpone and whipped cream, fold gently. Overmixing can deflate the airiness, resulting in a denser filling for your Tiramisu Balls.
-
Taste and Adapt: Before rolling into balls, taste the mixture. Adjust sweetness or add a little extra vanilla if desired; this ensures the final product is perfectly tailored to your taste.
-
Chill Twice for Best Results: Be sure to chill the mixture not just once but twice. This helps the flavors meld and sets the mixture for easier shaping into delightful Tiramisu Balls.
Make Ahead Options
These Tiramisu Balls are the perfect solution for busy cooks looking to save time without sacrificing flavor! You can prepare the mascarpone filling and crush the ladyfingers up to 24 hours in advance. Simply follow the recipe up to the point of combining the mascarpone cream with the crushed ladyfingers, then cover the mixture tightly and refrigerate it. This helps maintain its creamy texture and ensures the flavors meld beautifully. When you're ready to serve, just shape the mixture into balls, roll them in cocoa powder, and refrigerate for another 30 minutes before enjoying. With these make-ahead tips, you’ll have delightful Tiramisu Balls ready with minimal effort, perfect for any gathering!
Tiramisu Balls Recipe FAQs
What type of mascarpone cheese should I use?
Absolutely! Opt for high-quality mascarpone cheese, ideally at room temperature, to ensure a smooth blending with the other ingredients. This creaminess is key to achieving the rich texture that makes Tiramisu Balls so delightful.
How should I store Tiramisu Balls?
Keep your Tiramisu Balls in an airtight container in the refrigerator for up to 5 days to maintain their creamy consistency. If you need to enjoy them later, simply place them in the freezer where they can last for up to 3 months. Just remember to layer them with parchment paper to prevent sticking.
Can I freeze Tiramisu Balls? How do I do it?
Yes, you can! To freeze Tiramisu Balls, first arrange them in a single layer on a baking sheet lined with parchment paper. Freeze until solid, then transfer them to an airtight container or a ziplock bag, separating layers with parchment to avoid clumping. Thaw them in the refrigerator overnight when you’re ready to enjoy!
What if the mixture is too runny when I prepare Tiramisu Balls?
If your mixture turns out runny, it could be due to overwhipped cream or not chilling it long enough. To troubleshoot, try refrigerating the mixture for an additional hour to firm it up before shaping. If needed, you can also fold in more crushed ladyfingers to help absorb excess moisture.
Are Tiramisu Balls suitable for kids or those avoiding alcohol?
Very! You can easily make Tiramisu Balls kid-friendly by skipping the coffee liqueur and using milk instead of coffee to dip the ladyfingers. This keeps the flavor light and allows everyone to enjoy these tasty treats without any alcohol.
How can I tell if my ladyfingers are fresh enough for Tiramisu Balls?
When selecting ladyfingers, look for a light tan color and a firm texture; they should not be too soft or stale. If you notice any dark spots or a hard texture, they may not absorb the coffee mixture well, impacting the final taste of your Tiramisu Balls. Always choose fresh ladyfingers for the best results!
Indulgent Tiramisu Balls: Easy No-Bake Treats to Savor
Ingredients
Equipment
Method
- Whip the chilled heavy cream until stiff peaks form.
- Prepare the mascarpone mixture by combining mascarpone cheese and powdered sugar until smooth.
- Add vanilla extract and a pinch of salt to the mascarpone mixture and stir well.
- Fold in the whipped cream gently to maintain airiness.
- Chill the mascarpone cream mixture for at least 30 minutes in the refrigerator.
- Brew one cup of strong coffee and allow it to cool to room temperature.
- Optional: Mix in coffee liqueur into the cooled coffee, if desired.
- Dip each ladyfinger quickly into the coffee mixture for flavor absorption.
- Crush the soaked ladyfingers in a food processor until finely crushed.
- Fold the crushed ladyfingers into the chilled mascarpone mixture.
- Chill the combined mixture for at least one hour before shaping.
- Shape the mixture into 1-inch balls and place on a parchment-lined baking sheet.
- Dust each ball with unsweetened cocoa powder.
- Optional: Garnish with chocolate shavings before serving.
- Refrigerate for another 30 minutes before serving.


Leave a Reply